How to use launcher-type widgets
In Getsitecontrol, a launcher is a widget that launches another widget upon click.
This feature comes in handy if you want to allow visitors to open a website form with a button click.
For example, instead of displaying a full-length contact form on the page, you can display a floating “Contact us” button that will open a form upon click.
Launchers work well for long forms including order forms, survey forms, service request forms, and so on.
Launchers are typically small floating buttons, but they can take any shape you want. Even a button on a popup can be a launcher if set up correctly.
In this tutorial, we’ll show you how to create a floating button (widget A) that launches a survey form (widget B) upon click. Without further ado, let’s dive right in!
Step 1. Create a launcher (or widget A)
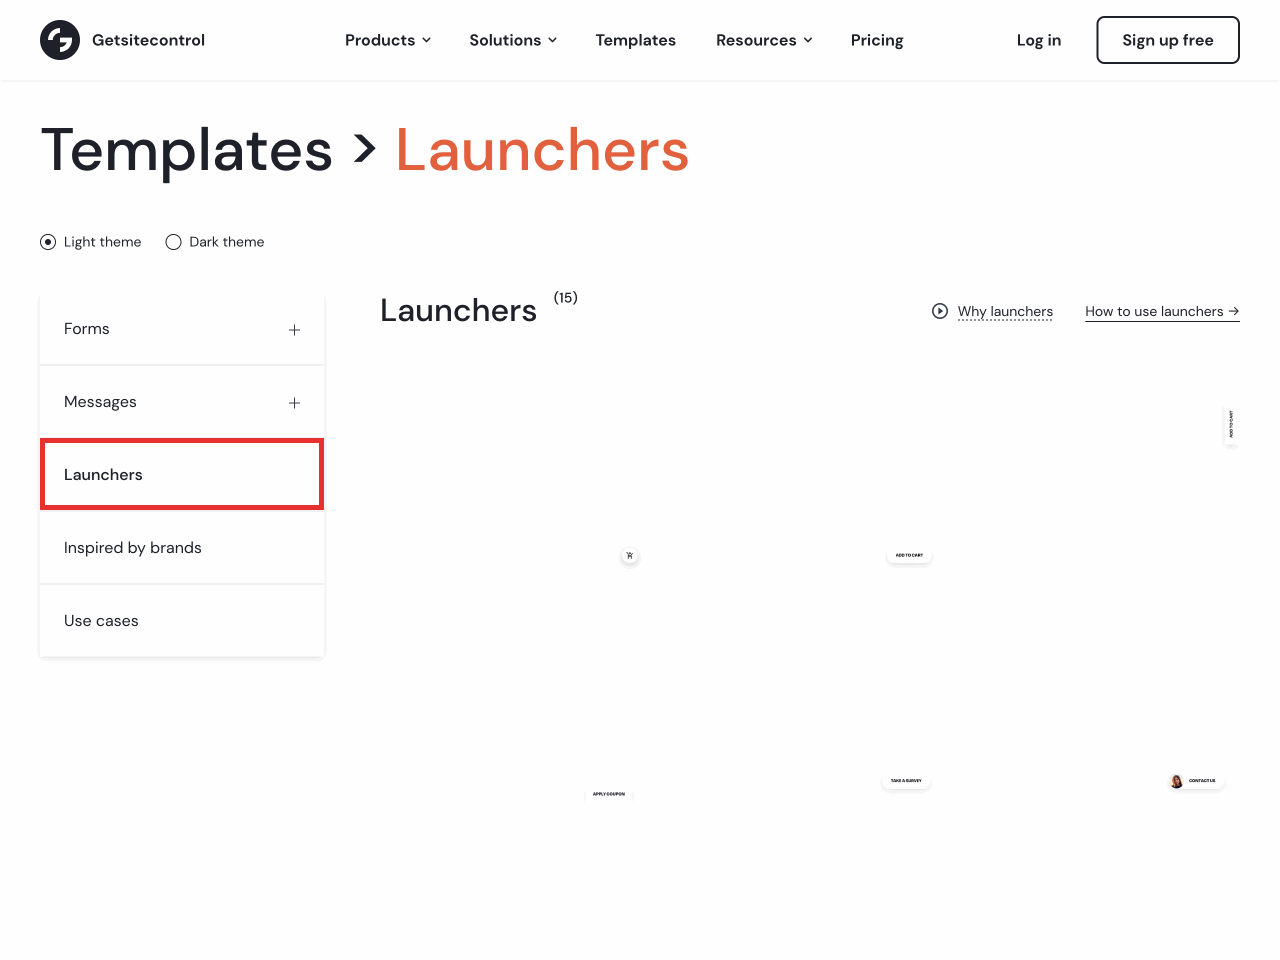
First, let’s create the launcher widget. To do that, open the template gallery and select Launchers. Here you’ll find all the launcher templates available:
Choose the launcher you want to add to your site. Click on it to open the widget preview and hit Take this template
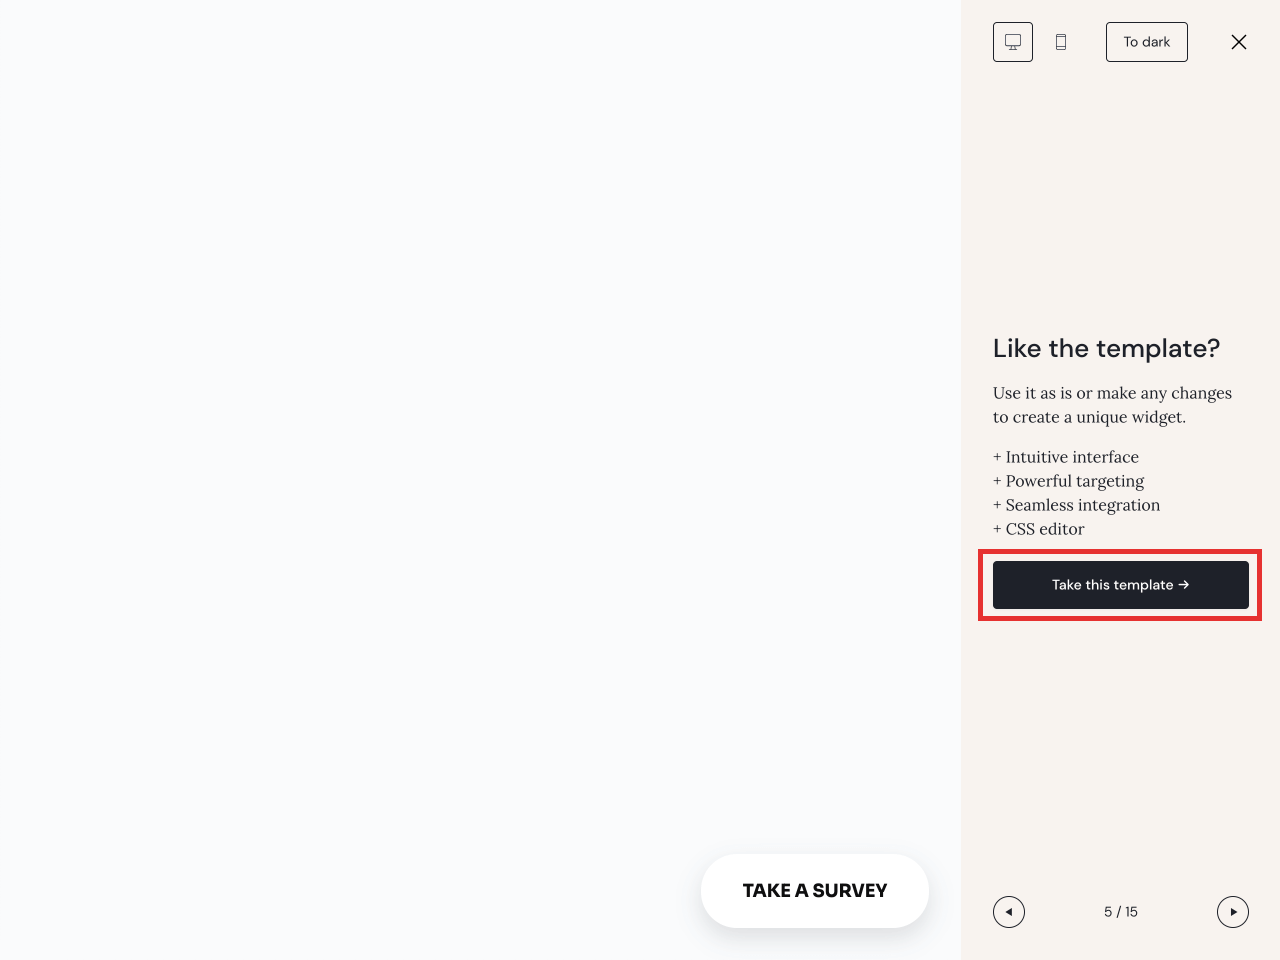
For this example, we have chosen a floating button.
Once you click the Take this template button, you’ll bring the template to your dashboard for editing (you may need to log in first).
You can now proceed to customize your launcher: adjust its size, color, and copy. Or, you can leave the template as it is if you like it.
Once you finish designing your launcher, make sure to Save & close it. We’ll set it aside for now while we move on to creating widget B.
Step 2. Create the survey form (or widget B)
Go back to the template gallery and find the relevant section for the type of widget you want to display on your website.
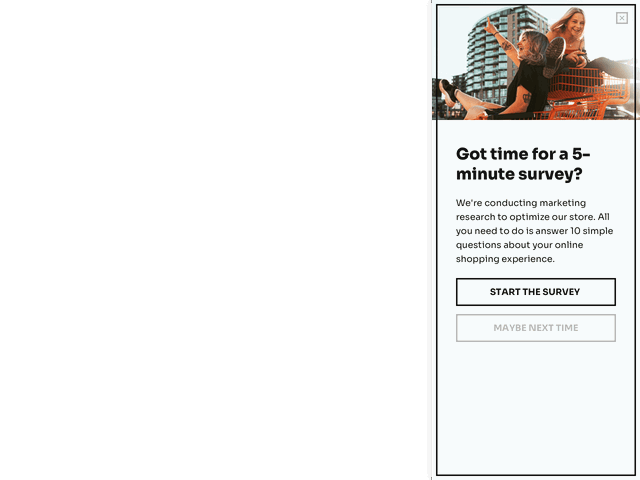
For this example, we’ve chosen a survey form:
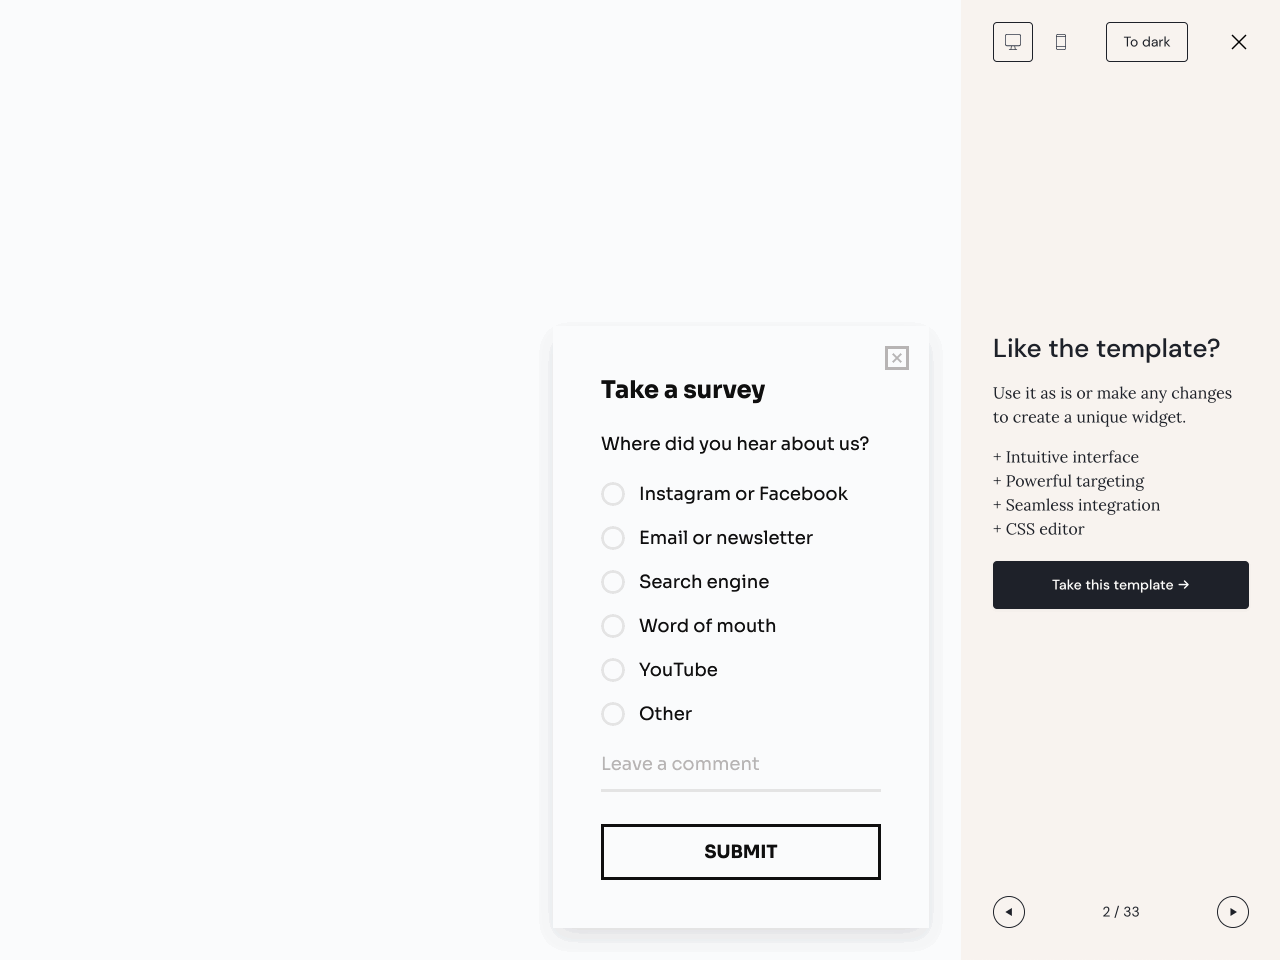
You’ll find more survey templates in the corresponding section of the gallery.
Once you’ve chosen a template, click the Take this template button and proceed to customize its content and appearance.
When you are done, move on to the Targeting tab.
Step 3. Set up widget B
The next step is to set up the survey form (widget B) to appear only when someone clicks on the floating button (widget A).
In the Targeting tab, find the Start displaying widget section and remove all conditions from it. The following message will appear: The widget won’t appear on the site automatically, but you can trigger it programmatically:
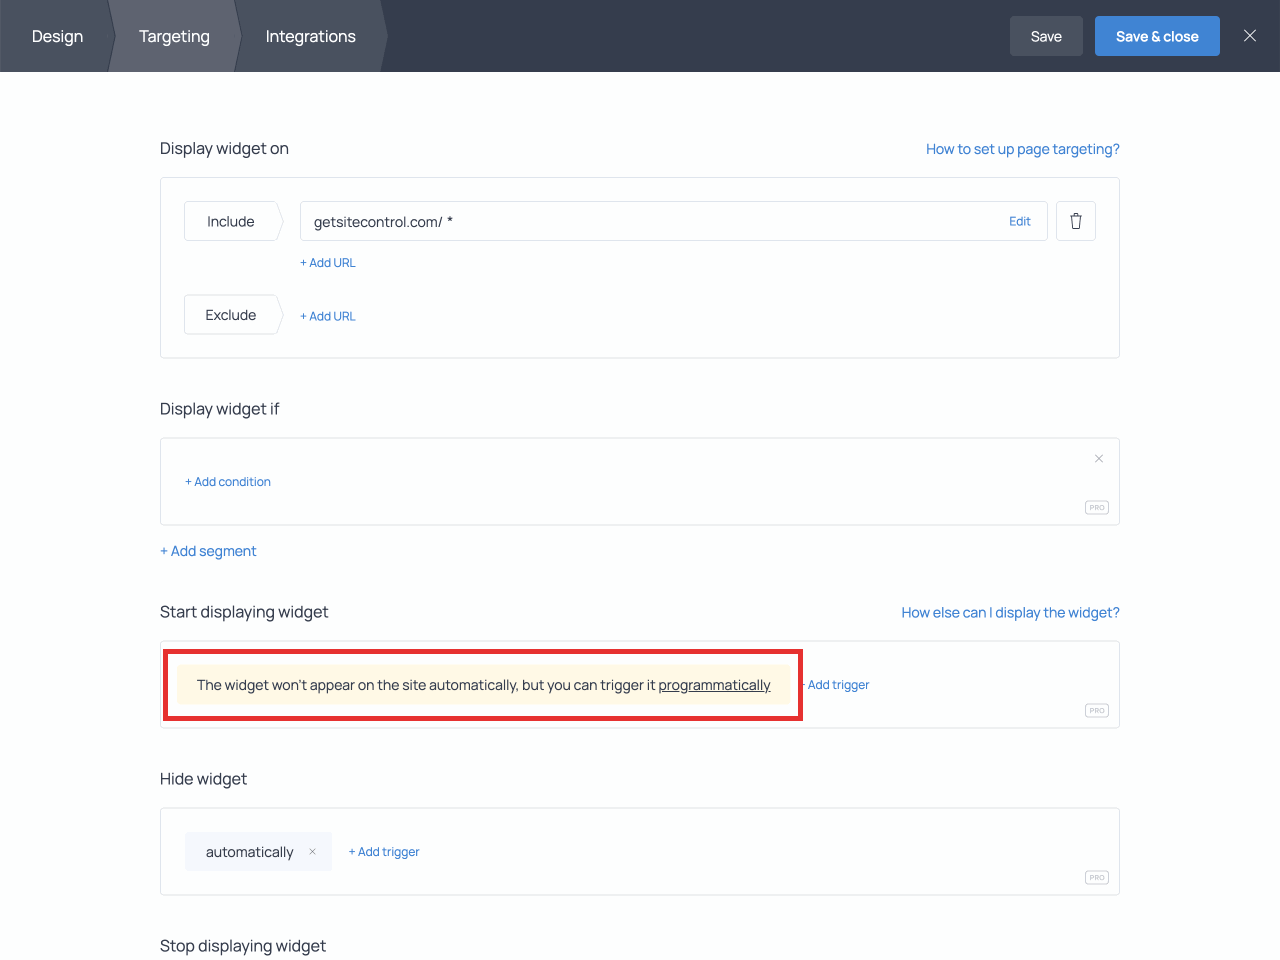
Once you are done editing the targeting settings, hit the Save & close button to save the changes and proceed to activate the widget.
Step 4. Set up an action for your launcher
Finally, it’s time to assign an action to your launcher that will open widget B.
Depending on how your launcher is structured, the action can be assigned to the background of the launcher or to an action button on it.
Assigning the action to the background click
You’ll want to use this option for sticky buttons or panels that look like buttons.
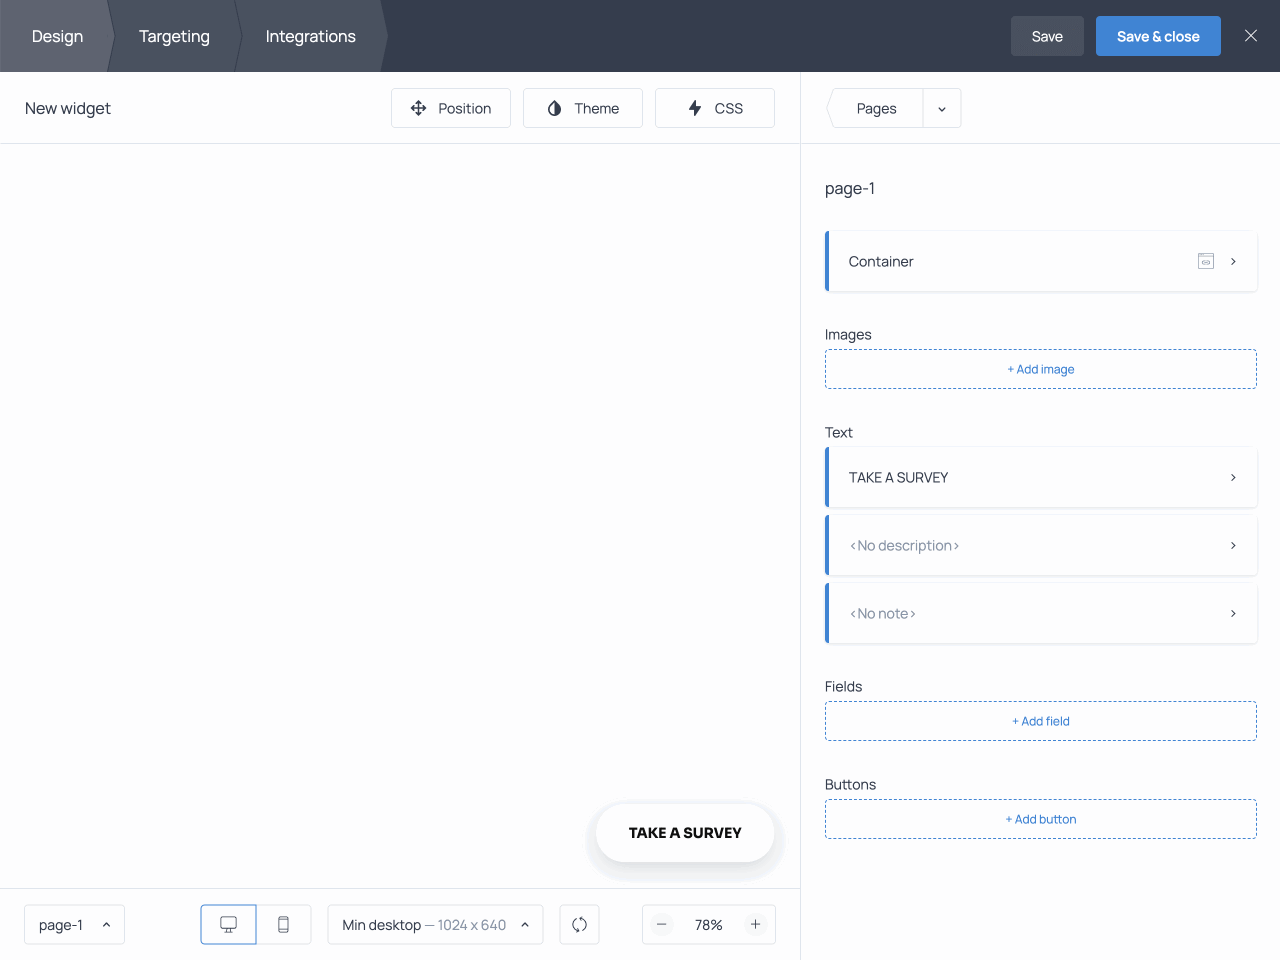
When editing the launcher, open the Container section on the Design tab.
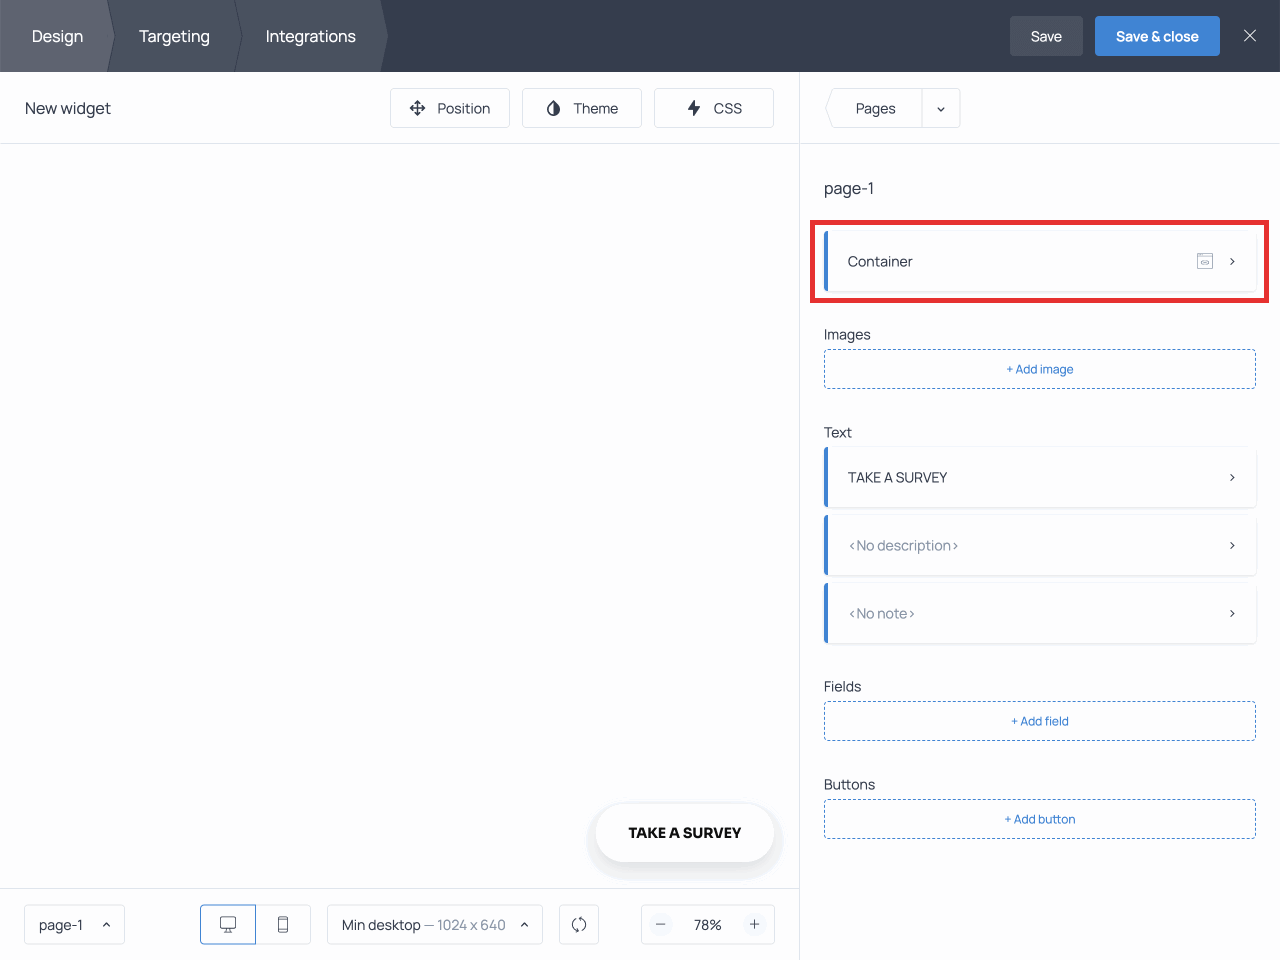
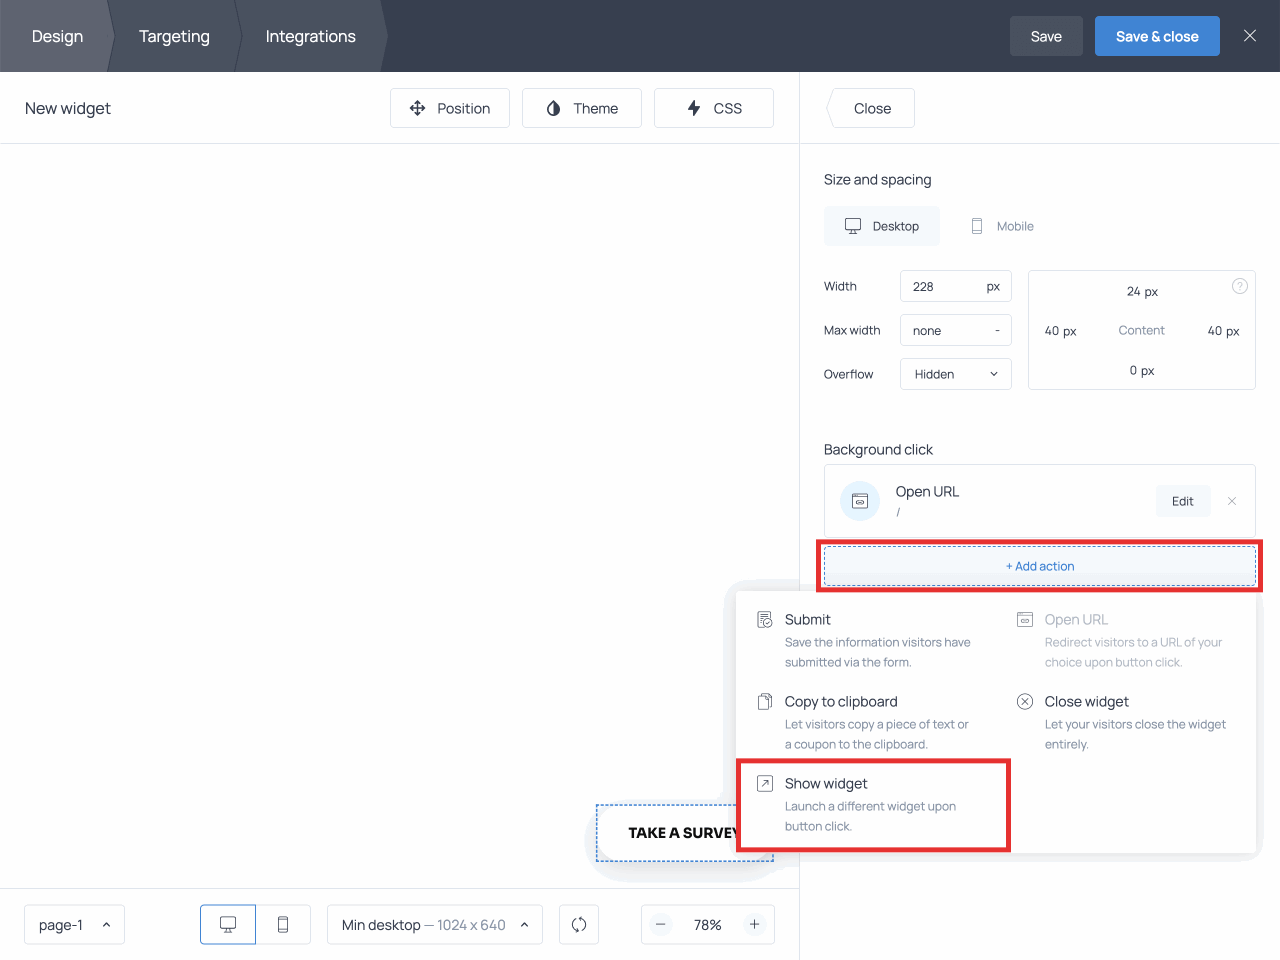
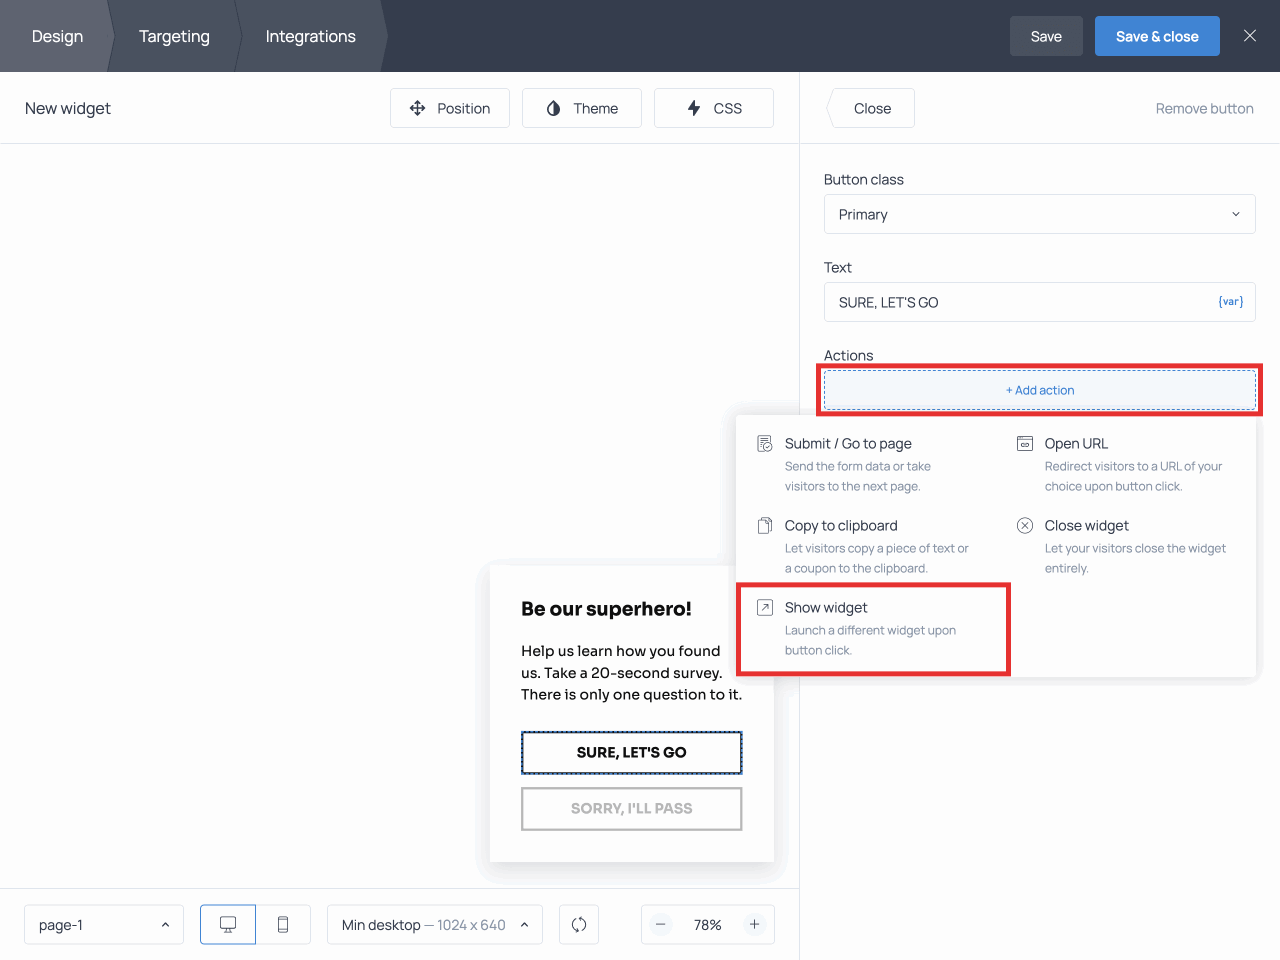
Find the Background click section. Remove the default Open URL action from it and click the + Add action link. In the dropdown menu, choose the Show widget action:
Click Choose and you’ll see a list of all widgets in your account. Select widget B from the list:
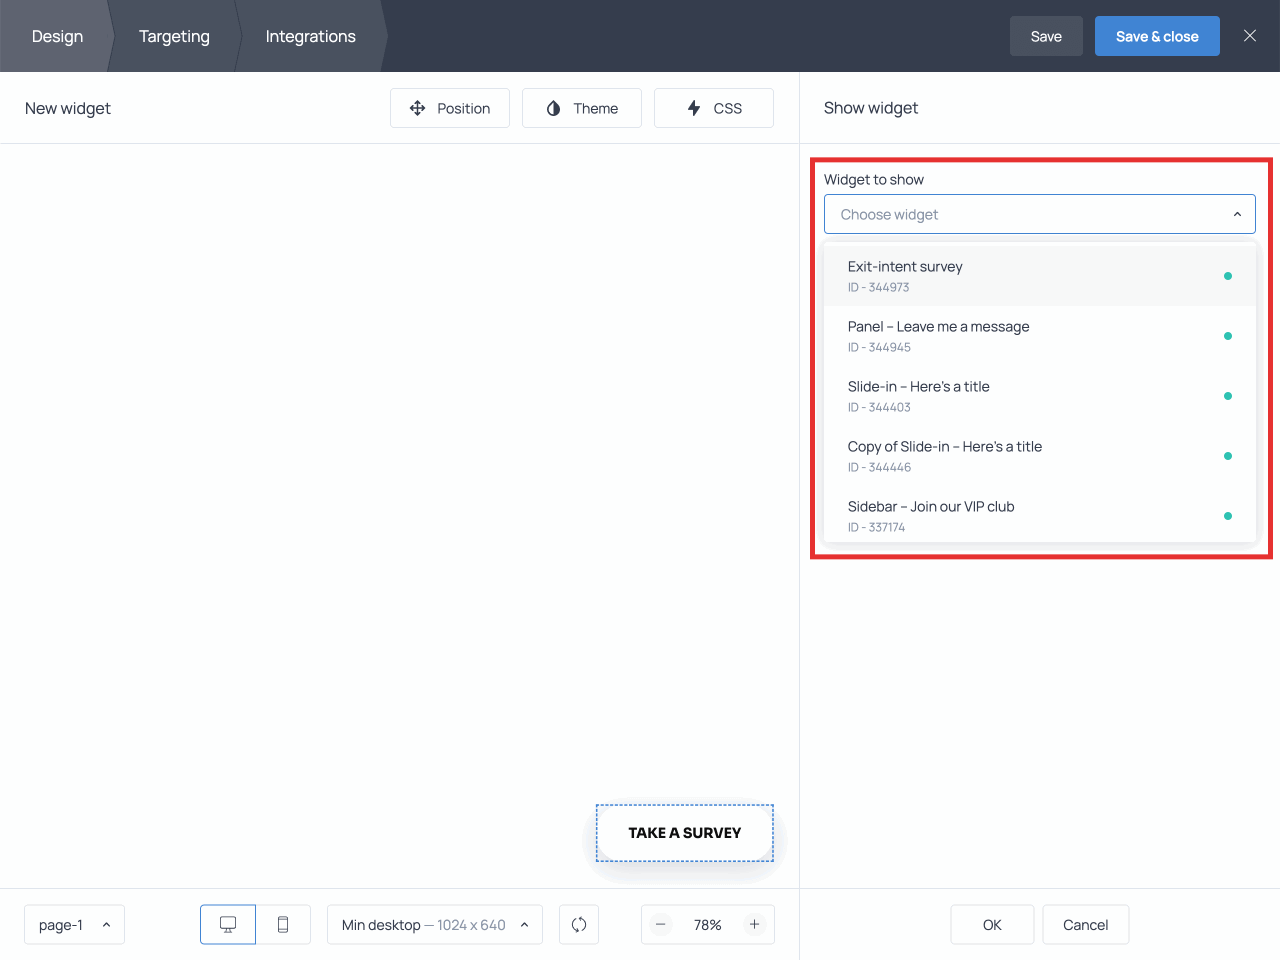
Once you’ve selected the widget, click Done.
Don’t forget to hit the Save & close button to save the changes and then activate the widget.
Assigning the action to a button click
You’ll want to use this option when using widget buttons as launchers.
When editing the widget, find the Buttons section in the Design tab and click on the necessary button.
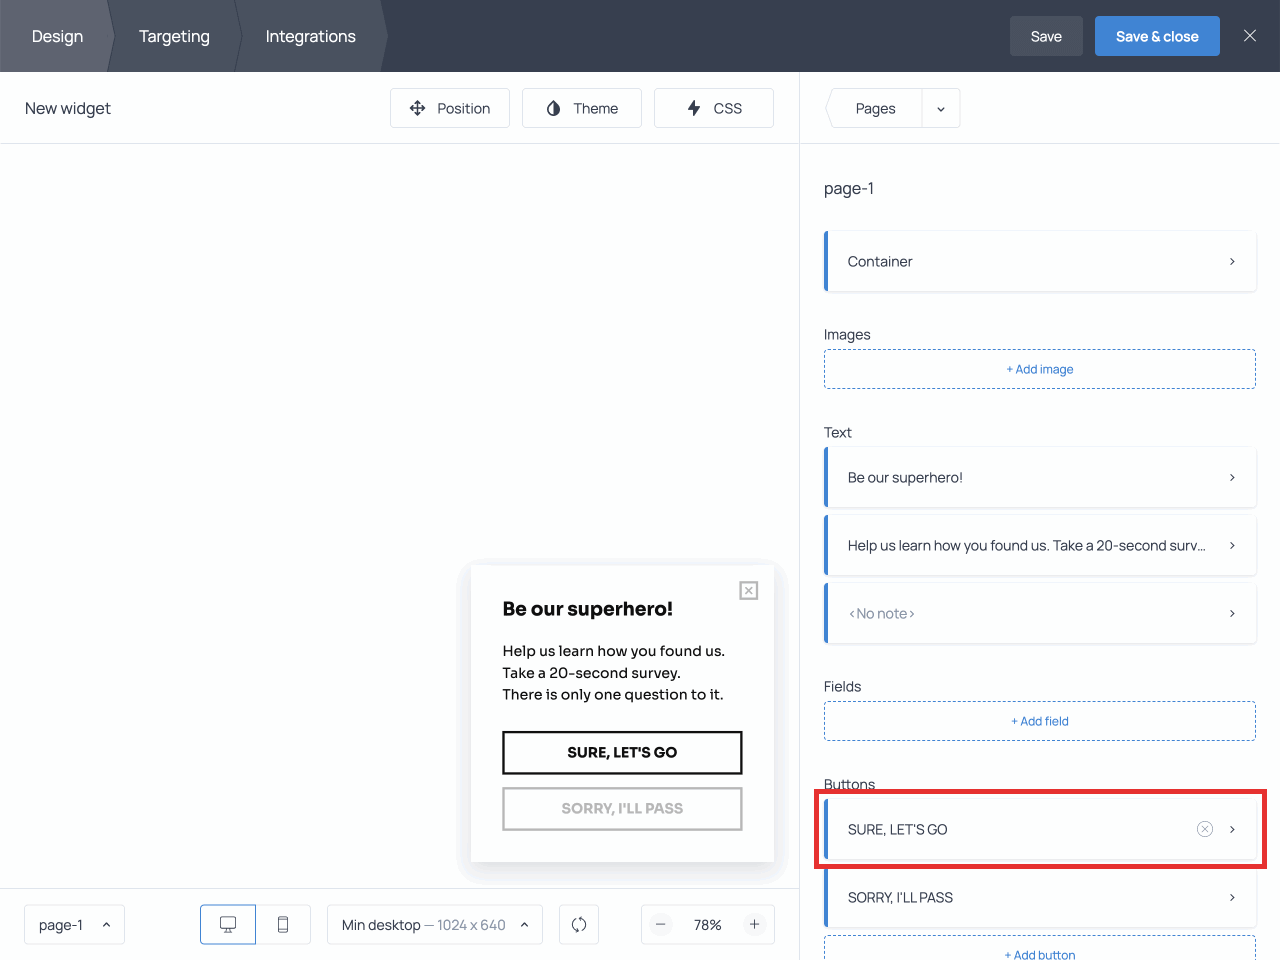
Remove the default action and click the + Add action link. In the dropdown menu, choose Show widget.
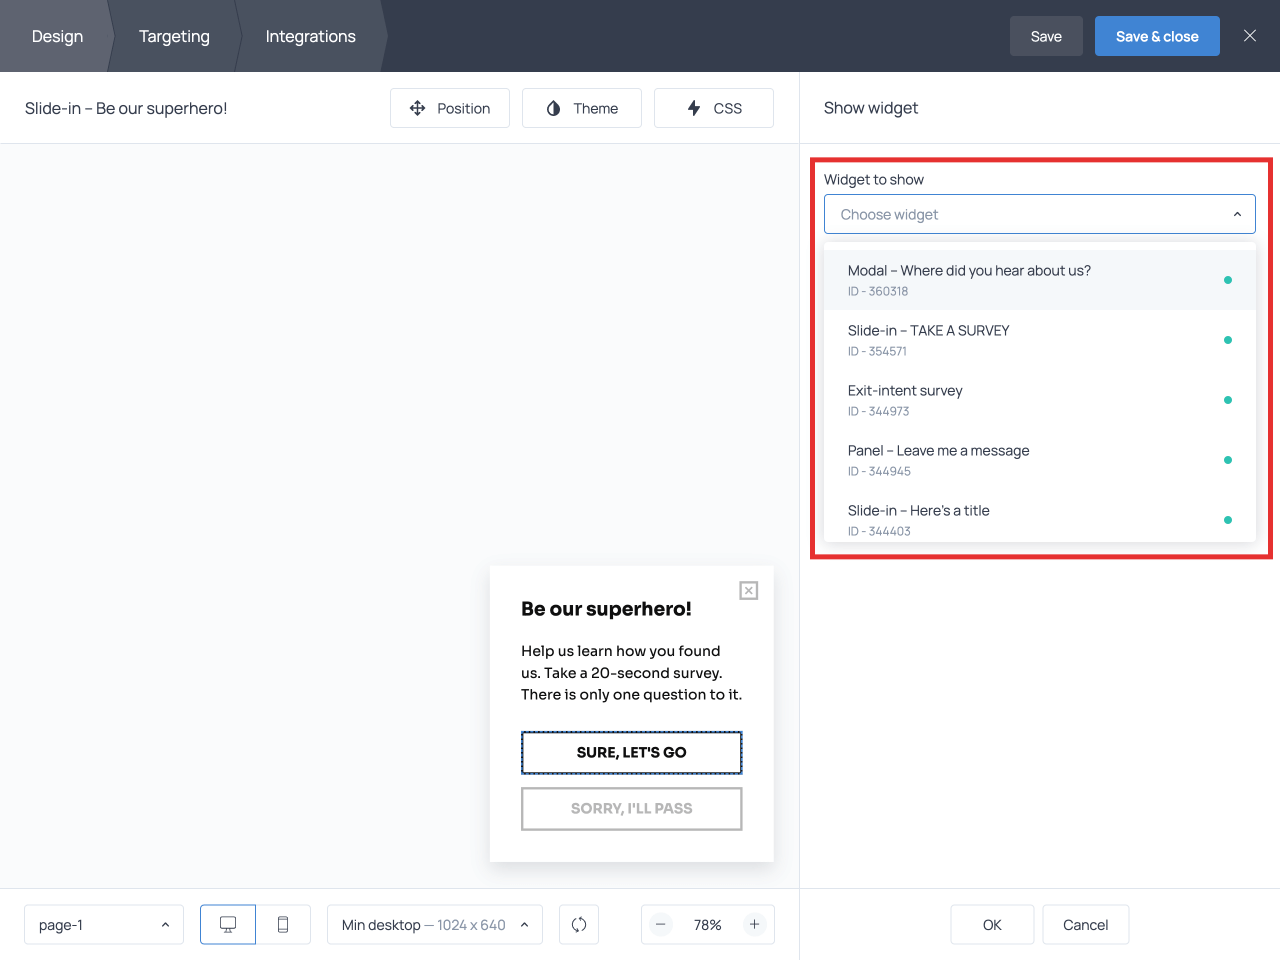
Click Choose to see the list of all widgets in your account. Select widget B from the list and click Done.
Don’t forget to Save & close the widget and then activate it from the dashboard.
And that’s it, your launcher setup is now complete.
Feel free to reach out to our Tech Support team should you face any issues with this or other tasks.