Create Shopify age verification for free
Pick a template, customize the message, and publish in minutes. No coding required, free plan available.
Selling alcohol, cannabis, vaping products, or adult content on Shopify means one thing is non-negotiable: visitors need to confirm their age before they can browse. An age verification popup handles that automatically. It appears when someone arrives at your online store, asks them to confirm they meet the minimum age requirement, and either lets them in or redirects them away.
GSC Email Marketing, Pop ups is a Shopify app that lets you add an age verification popup to your store for free in minutes. It connects directly to your website and lets you select a pre-designed age gate template. From there, just apply brand colors, fonts, visuals, and adjust button copy.
The popup can be set to appear sitewide or limited to specific collections and product pages — useful for stores that carry both age-restricted and general products.
All age verification popups have the same mechanics: a visitor confirms their age and gets access, or declines and gets redirected. Where templates differ is in design — whether they’re full-screen or modal popups, or whether they include an image, for instance — and in how many steps the confirmation requires.
A checkbox confirmation requires visitors to actively acknowledge the age requirement by ticking a box before the confirmation button becomes active. The extra step makes the confirmation more deliberate, which is why stores in stricter regulatory categories — alcohol, cannabis, vaping — tend to favor this approach.
For stores that prefer a straightforward approach, a modal with no checkbox keeps the interaction simple — just a direct question and two clearly labeled buttons. It suits stores where the age requirement is straightforward and the priority is moving visitors through the gate with as little friction as possible.
I’ve been using it for over 6 months. Easy user interface to understand; trending marketing strategies to help beginners. This app is a blessing!
Tobacco store owner capterraThe visible message is typically brief: a short headline stating the age requirement, a brief one or two line description, and two action buttons. Stores that need to surface detailed compliance language usually link to a separate terms or policy page rather than embed it in the popup itself.
| Text element | Copy example |
|---|---|
| Headline | Are you over 18? |
| Body text | Please confirm your age before continuing. This website contains products intended for adults only. |
| Confirm button | I’m over 18 |
| Decline button | I’m under 18 |
The confirm button closes the popup and grants the visitor access to the page or store. Visitors who don’t confirm their age are redirected to a destination of your choice. Common redirect options include an external page such as Google, a regulatory information page, or a custom landing page explaining the age restriction. Some Shopify stores redirect underage visitors to a section of their own site where no restricted products are sold.
Shopify age verification popups can be configured to display sitewide or limited to specific pages, collections, or URL patterns. For stores with mixed catalogs, limiting the popup to age-restricted sections reduces friction for visitors browsing products that don’t require verification — while keeping restricted content protected. A store selling craft spirits alongside branded merchandise, for example, would typically limit the age gate to the alcohol collection rather than applying it across the entire storefront.
Since minimum age requirements vary by country and product category, stores selling internationally typically need a separate age verification popup for each target region — one configured with a 21+ threshold for US visitors, another with 18+ for EU visitors, for instance. Merchants operating across multiple markets should verify local requirements before setting thresholds, as standards can differ considerably by country and product type.
GSC has been an absolute game-changer for my website! The app is incredibly user-friendly, allowing me to create eye-catching pop-ups and forms with ease. Almost 3 years using the app.
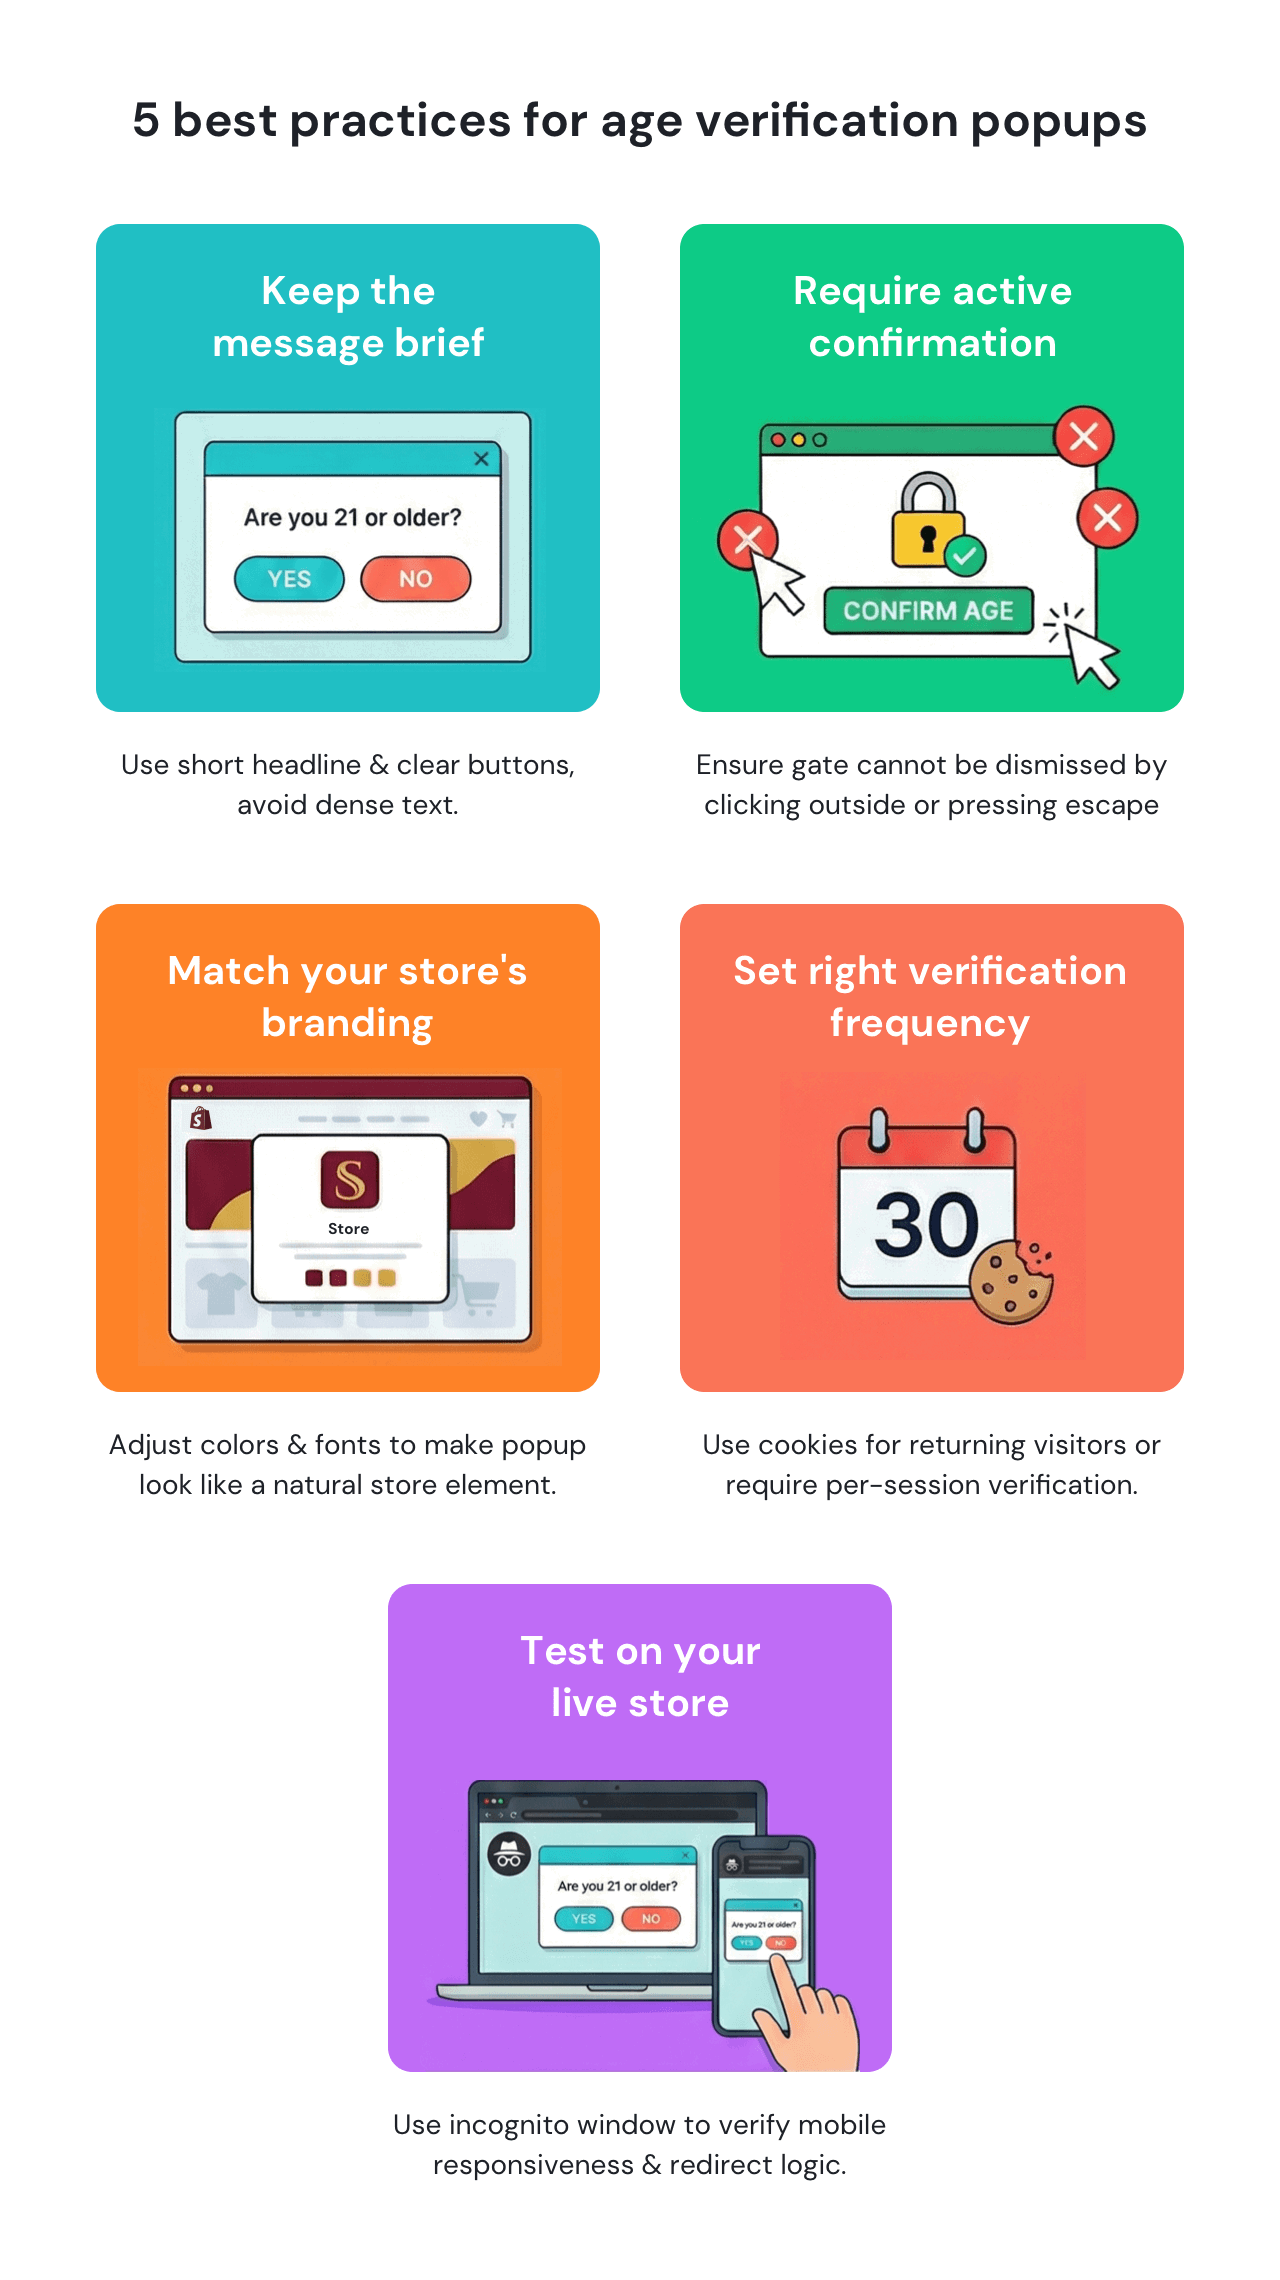
shopifyVisitors who encounter a dense block of text before they can continue browsing are more likely to leave. Age verification popups that state the minimum age in a single sentence, followed by two clearly labeled buttons, tend to perform better than those displaying extended legal language. Compliance disclosures are more appropriate on a linked terms page than embedded in the popup itself.
An age gate that looks consistent with the rest of the store builds more trust than a generic overlay. Most Shopify stores customize the popup’s background, button colors, and typography to match their brand — a small adjustment that makes the age gate feel like a natural part of the experience rather than an interruption. GSC’s age verification templates support full visual customization without touching any code.
An age verification popup that can be closed without a response — by clicking outside it, pressing Escape, or tapping a close button — doesn’t actually restrict access. For Shopify stores in regulated product categories, this is worth checking deliberately. The popup should leave visitors with exactly two options, confirming their age or being redirected away.
Age verification popups appear for first-time visitors by default and close once the visitor confirms their age — that part is standard. The less obvious decision is how long to remember returning visitors. A 30-day cookie is common, but stores selling strictly regulated products often opt for shorter durations or per-session verification instead. Shared devices are a real scenario, and a long cookie duration means a subsequent visitor on the same device bypasses the age gate entirely.
After publishing, open the store in an incognito browser window to simulate the experience of a first-time visitor. The popup should appear immediately, the confirmation button should grant access, and visitors who don’t confirm their age should land on the correct redirect destination. Testing on mobile is worth the extra step — most Shopify store traffic comes from smartphones, and button sizing and text readability can differ significantly from the desktop view.
The GSC Email Marketing, Pop ups app takes minutes to configure — with age verification templates ready to customize and publish on your Shopify store. After the initial setup, the popup handles every visitor interaction automatically, no ongoing maintenance required.
Hundreds of stores in regulated product categories use GSC age verification popups to demonstrate compliance with minimum age requirements, reduce exposure to legal risk, and signal responsible selling. The setup decisions — which pages to cover, what age threshold to display, where to redirect visitors who don’t confirm their age — are all configurable and adjustable as your catalog or regulatory environment changes.
Find the app in the Shopify App Store and get started with the free plan, no commitment required.
If you are looking for a versatile popup solution for Shopify without breaking the bank, just go for it.
shopifyShopify doesn’t include a native age verification feature. Some premium themes offer a basic built-in age gate option, but most standard and free themes don’t. The most common solution is installing a dedicated age verification app from the Shopify App Store. GSC Email Marketing, Pop ups is one option that requires no custom code to set up, offers ready-made templates, and has a free plan available.
The appropriate minimum depends on what you sell and where your customers are located. For example, in the United States, tobacco and vaping products carry a federal minimum of 21. Alcohol minimums are set at the state level, typically 21. Cannabis is regulated state by state. For stores selling internationally, requirements vary by country and region. When in doubt, consult local regulations or a legal advisor familiar with your target markets.
Yes. GSC Email Marketing, Pop Ups app lets you set targeting rules that limit the popup appearance to specific pages, collections, or URLs containing specific words. Stores with mixed catalogs use this to apply age verification only where it’s needed rather than gating the entire store.
Lightweight popup apps load independently of your store’s page content and don’t have a measurable impact on load times when implemented correctly. GSC popups load asynchronously, so they don’t block other storefront elements from rendering.
Visitors who decline are redirected to a page of your choice. Common options include Google, an external compliance page, or a custom landing page explaining the age restriction. Shopify stores with mixed catalogs sometimes redirect underage visitors to a section of their site where no restricted products are sold.
After configuring the popup in GSC Email Marketing, Pop ups, use the preview mode to see what the result will look like on desktop and mobile devices, then open your Shopify store in an incognito browser window to simulate a first-time visitor. Make sure that the confirm button closes the popup correctly, visitors who don’t confirm their age are redirected to the intended destination, and that the popup looks as expected on mobile.
Nina De la Cruz is a content strategist at Getsitecontrol. She is passionate about helping small and medium ecommerce brands achieve sustainable growth through email marketing.
What better place to promote a discount than where shoppers are closest to making a purchase? Product pages are where customers compare options, evaluate products, and decide whether to add an item to their cart. A well-placed popup or banner makes your offer more visible at this critical moment, encouraging hesitant shoppers to take action.
Whether you’re offering a first-order discount, a limited-time coupon, free shipping, or another promotional offer, displaying it on the product page can increase conversions. Instead of manually reducing the prices of individual products, you can promote the same offer across selected products, collections, or vendors with a single targeted popup.
Discount popups are among the easiest conversion tools available to Shopify merchants. A well-timed offer gives hesitant visitors a reason to act — whether that’s completing a first purchase, returning to an abandoned cart, or joining an email list.
Most Shopify store visitors leave without buying — and without any indication of why. If you’re a store owner, the moment visitors are leaving is your last opportunity to capture an email address, prevent cart abandonment, or ask them what’s missing. With the right trigger and the right offer, Shopify exit popups can turn a session that would have ended with nothing into a conversion.
Subscribe to get updates
Get beginner-friendly tips for growing your online business.