Skip logic and branching
Skip logic & branching allows forms to adapt to respondents’ input instead of following a fixed sequence. For example, based on how someone answers a survey question, the form can show a different follow-up question or send the respondent to a specific completion page.
Showing different questions or outcomes based on respondents’ answers makes form flows more personalized. Well-designed, relevant forms are easier to complete and encourage more interaction, leading to higher engagement, more meaningful customer data, and more opportunities to convert responses into revenue.
How branching decisions are made
In Getsitecontrol, branching happens when a respondent submits a form page by clicking a button. At that moment, the platform checks the branching rules set for that button and compares the answer with the defined conditions. If a condition matches, the corresponding rule is applied and the respondent is routed to the target page. If no conditions match, the form follows the default outcome and continues or finishes as expected.
Key elements of a branching form
Skip logic & branching relies on a set of elements that work together to control the form flow. Understanding these elements makes it easier to set up and troubleshoot branching forms.
Form pages
Every branch in a form leads to a page. Pages are the possible destinations that respondents can reach based on their answers. Because of this, all pages must exist before setting up skip logic.
Giving the pages descriptive names makes it easier to select the correct destinations when configuring skip logic.
Form fields
Skip logic conditions are based on form fields. Each condition evaluates the response submitted for a specific field and compares it to one or more expected response options.
Fields used for branching should represent clear decision points. Structured fields such as radio buttons, dropdowns, ratings, and checkboxes are best suited for this purpose, as their responses are preset and easy to evaluate.
Field IDs and option IDs
Skip logic conditions are defined using field IDs and response option IDs rather than the labels visible to respondents. Renaming these identifiers makes it easier to set up branching rules.
Descriptive identifiers also make reports easier to understand, as they clearly indicate what each response refers to without a review of the form field setup.
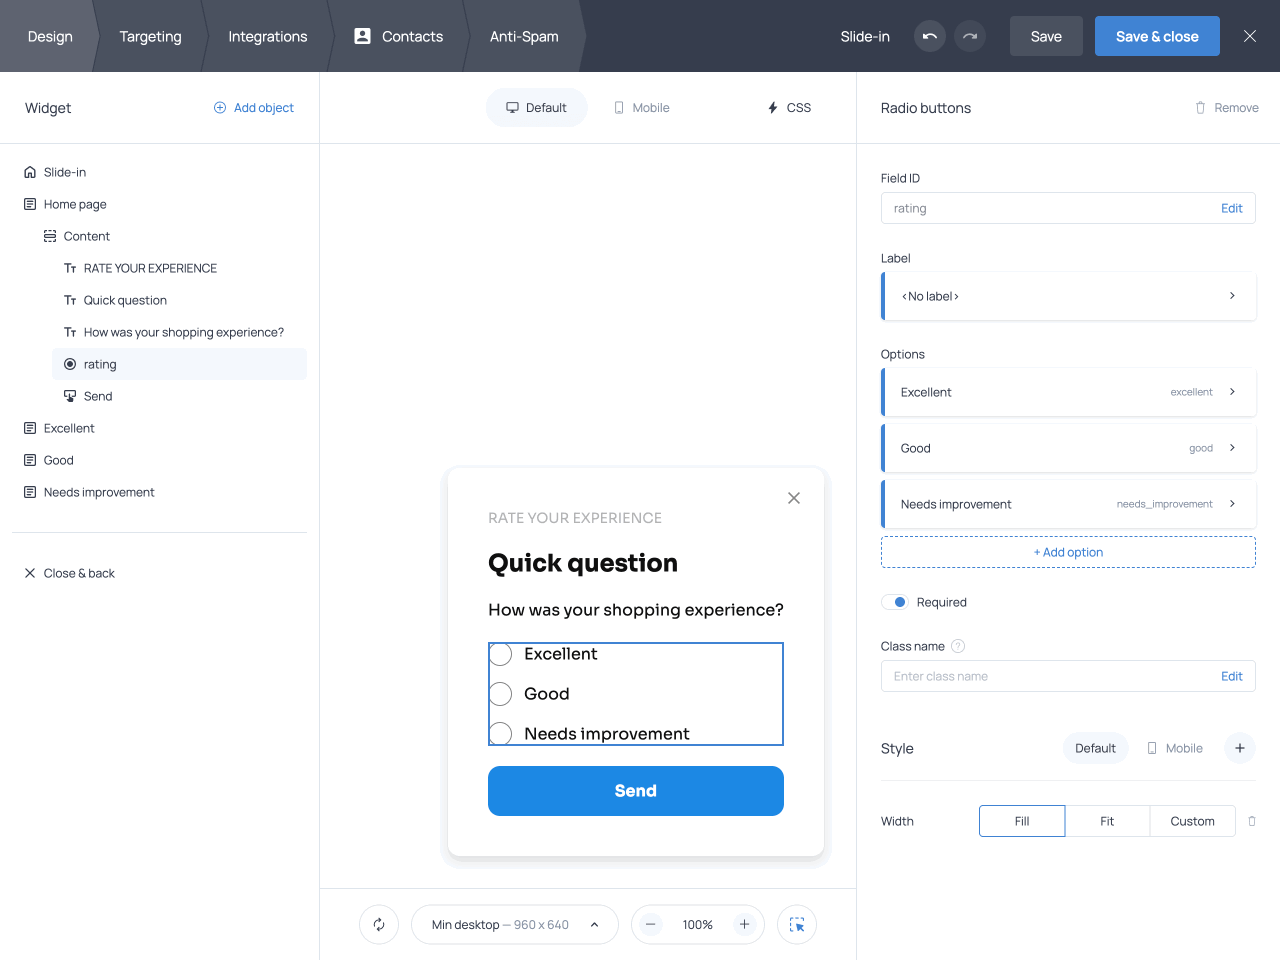
Field IDs and response option IDs can be updated in the field’s settings.
Buttons
In Getsitecontrol, skip logic is configured at the button level. The button must have a Submit/Go to page action assigned, as skip logic is configured within this action’s settings.
Buttons act as the trigger for branching. Each time a respondent clicks the button, Getsitecontrol evaluates the configured skip logic and determines which page opens next. For this reason, button settings are the first place to look when reviewing or troubleshooting a skip logic setup.
Preparing a form for branching
Before defining branching rules, all the elements that make up skip logic and branching should be in place. Pages should be created and named based on their role in the flow, such as initial questions, follow-up questions, or completion pages. Fields should represent clear choices that can drive branching. Field IDs and option IDs should be renamed to reflect their meaning. Pages containing fields should feature a main button with a Submit/Go to page action assigned.
Renamed form pages, form field IDs, and response option IDs
Technical characteristics
The following technical characteristics define how Skip logic & branching works in Getsitecontrol and are important to understand before setting up branching rules.
Branching happens between pages, not within a page
Skip logic & branching determines how respondents move between form pages. It does not control the visibility of individual fields within a page.
Branching is evaluated only when a page is submitted
Branching logic is evaluated only when a page is submitted. Conditions are checked at submission, not dynamically as respondents interact with fields. This means branching decisions are always based on confirmed input rather than partial or unsubmitted responses.
Conditions apply only to answers from the current page
Conditions are evaluated per page and can only be based on answers collected on the current page; responses from previous pages are not available for conditions.
Defining branching rules
Branching rules define how different answers connect to different outcomes. In Getsitecontrol, branching rules are configured in the button’s Submit/Go to page action. To define custom rules, the action must be set to Skip logic and branching instead of the default Linear page order.
Each rule combines three elements: a form field, a condition that evaluates its response, and a target page that opens when the condition is met.
Multiple rules can be defined for a single button, allowing different answers to lead to different pages. Rules are evaluated in order, and the first matching rule determines the next step in the flow.
Choosing the field that drives branching
Each branching rule is based on a single form field from the current page. The response submitted for that field determines which rule applies.
Branching decisions must rely on one clear decision field per page. Combining multiple inputs into a single branching decision is not supported.
Defining conditions and outcomes
Conditions determine which answers trigger a rule. They compare submitted responses against selected response options and decide whether a rule applies. Each condition is linked to a target page that opens when the condition is met, regardless of the original page order.
To define conditions, the default Always setting must be changed to If. The Always option routes respondents to the same page regardless of the answer submitted on the current page. It does not apply any conditions.
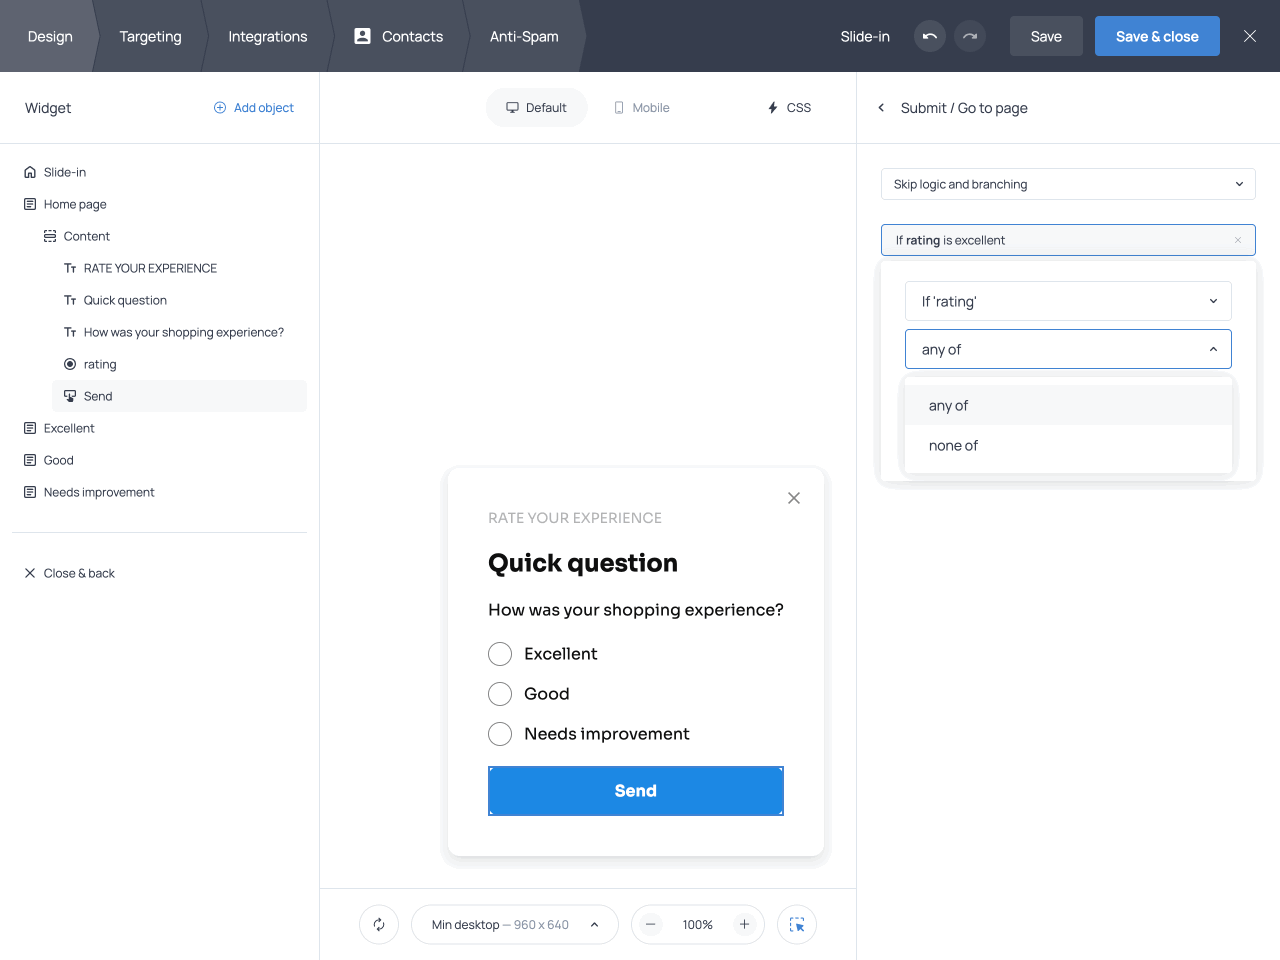
Conditions use one of two operators: any of or none of. The any of operator applies when the response should match one or more selected options, while none of applies when the response should not match those options.
For example, to show a follow-up page only when a respondent selects ‘Excellent’ as a rating, use any of and select ‘Excellent’ as the matching value.
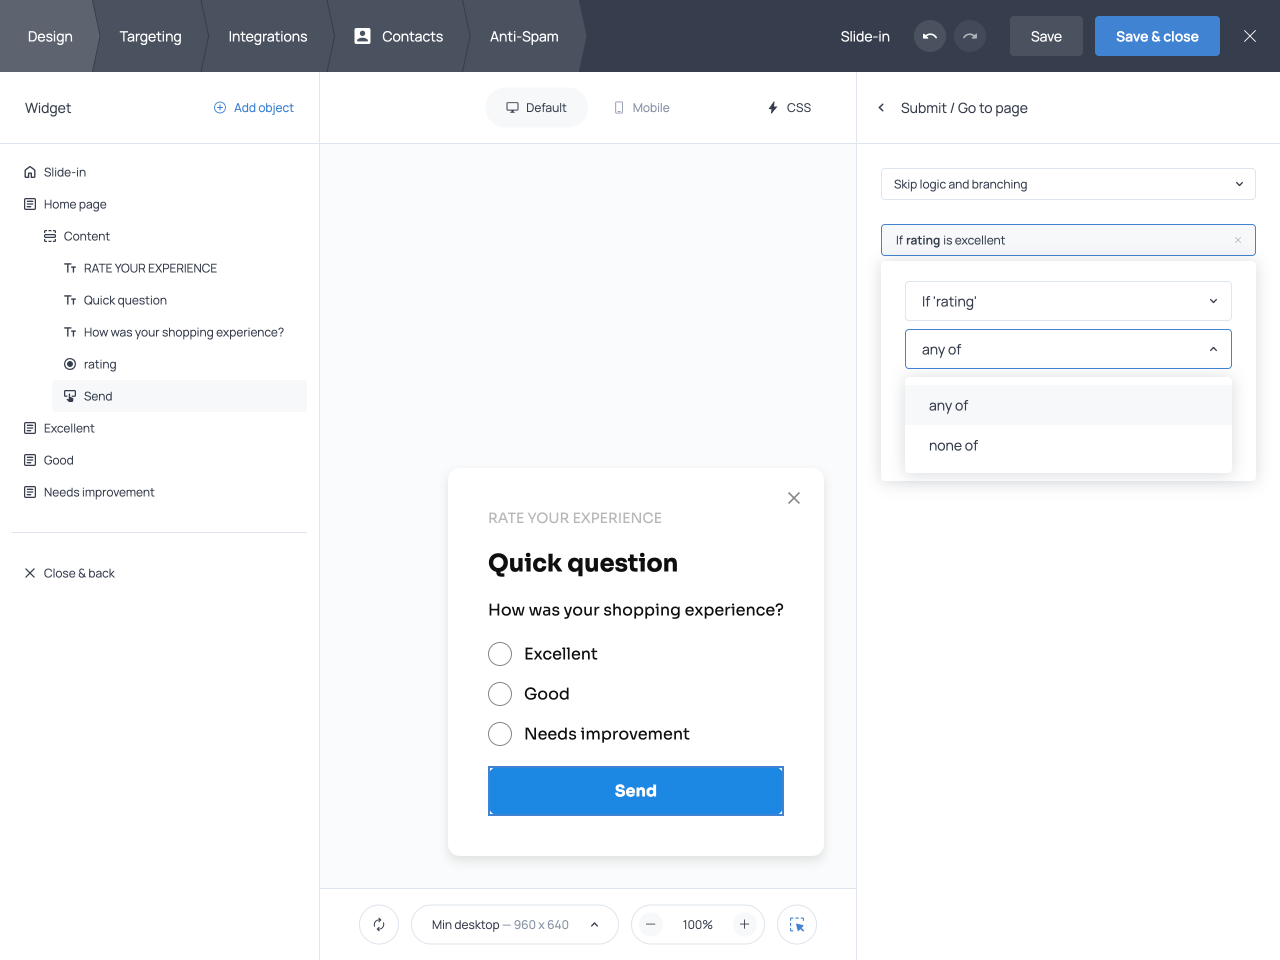
A condition using the any of operator
Rule order and fallback behavior
When a button has multiple rules, Getsitecontrol evaluates them from top to bottom. The first matching rule determines which page opens next.
The final rule acts as the fallback rule ( else ). It applies when none of the other rules match and must always be defined. This ensures that every possible answer leads to a valid outcome and prevents dead ends in the form flow.
Ending the form intentionally
Instead of leading to another page, a button can be configured to Finish the form. When this option is used, the collected data is submitted, a completion animation is shown, and the form returns to the first page.
This option is useful when no additional input is required, but it should be used intentionally, as it bypasses the remaining pages in the form.
Recap: setting up Skip logic & branching
- Create and rename the form pages.
- Add structured form fields that represent clear decisions.
- Rename field IDs and response option IDs for clarity.
- Define branching rules in the button’s Submit/Go to page action.
- Ensure a fallback outcome is set under else.
- Verify each branch by submitting the form with different responses.
A complete Skip logic & branching setup
Troubleshooting skip logic & branching
| Issue | Solution |
|---|---|
| The form always follows the default page order | Check the button settings on each page and confirm that Skip logic and branching is enabled instead of Linear page order |
| The wrong page opens after submission | Review the rules set in the button for the relevant field responses |
| A rule never triggers | Verify that the correct field ID and response option IDs are referenced in the rule’s condition |
| The form ends earlier than expected | Check whether the button is set to Finish instead of routing to another page |
| Logic is difficult to maintain or debug | Rename pages, field IDs, and option IDs to clearly reflect their purpose in the form flow |
Use cases and branching strategies
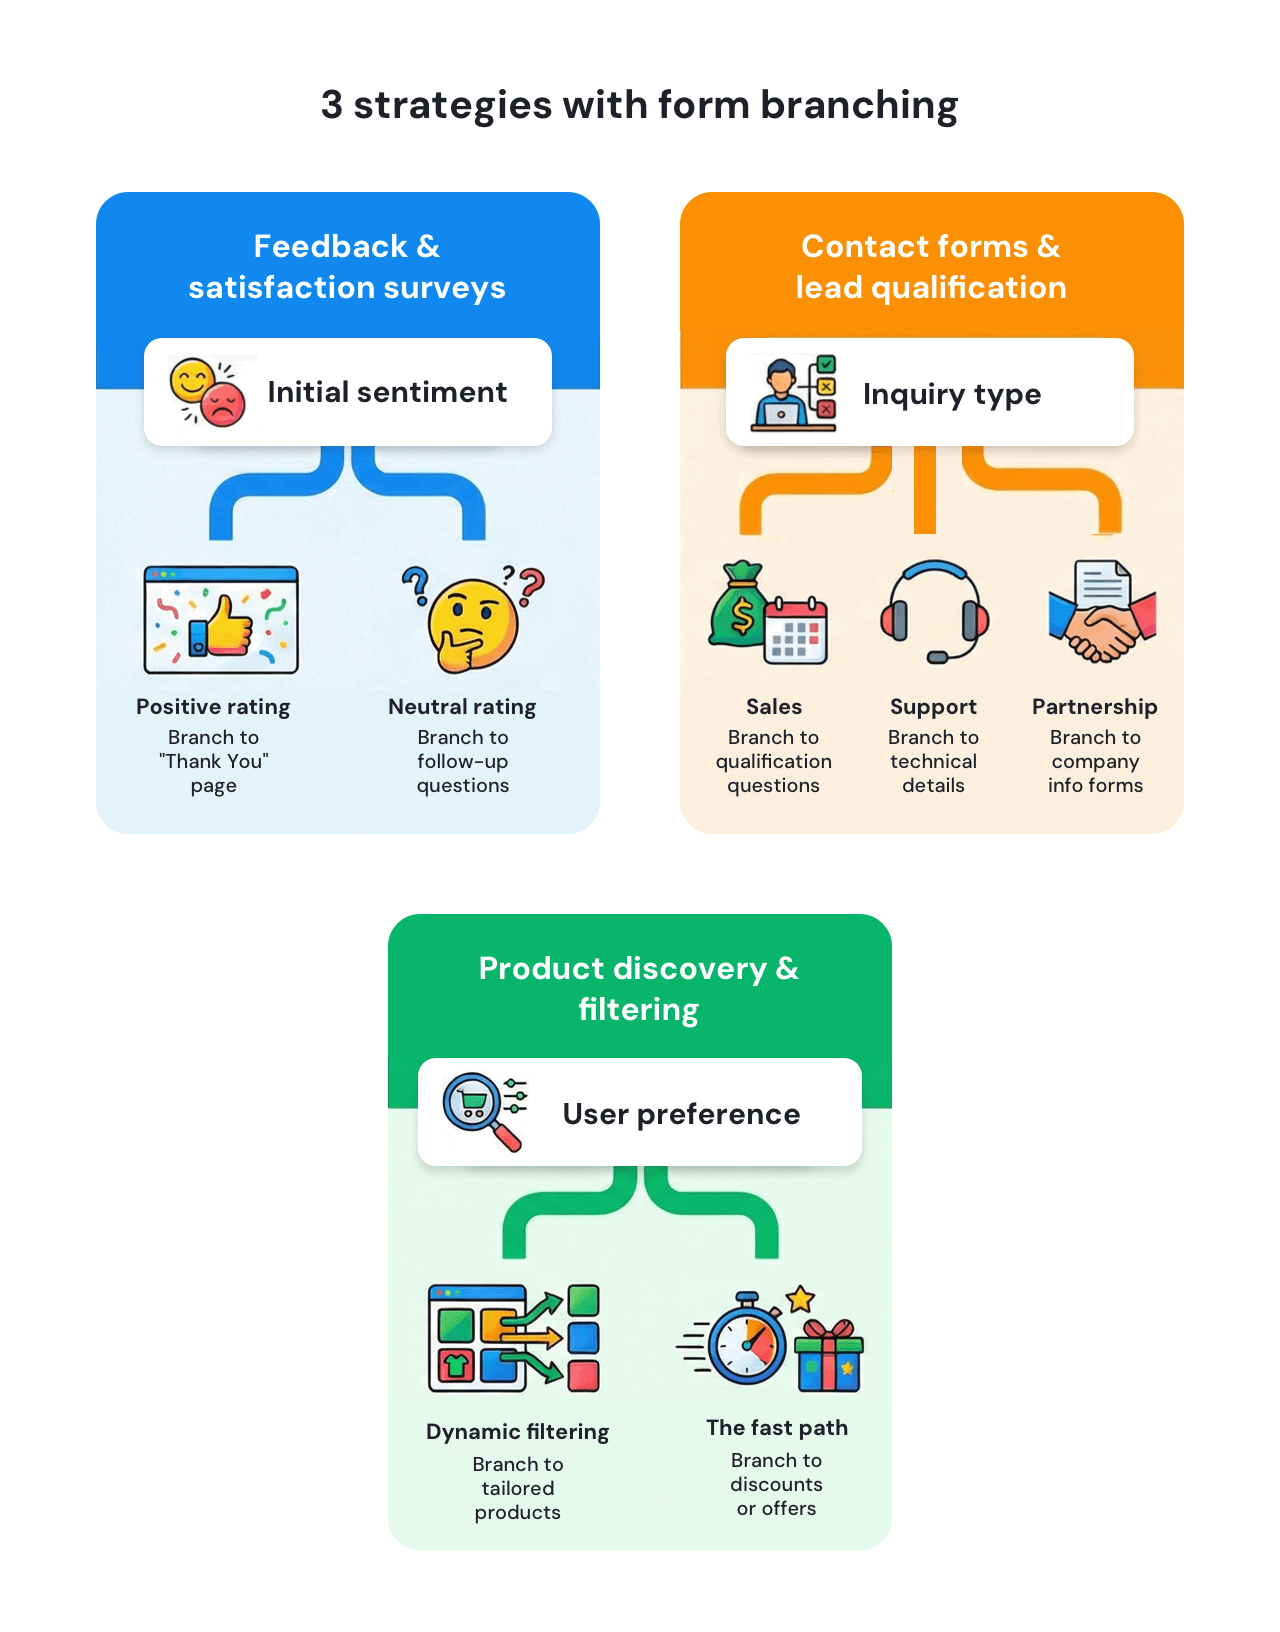
Feedback and satisfaction surveys
In feedback forms, not every respondent needs the same follow-up questions. Skip logic makes it possible to ask for additional details only when someone reports a negative or neutral experience, while allowing satisfied respondents to complete the form immediately.
This keeps the form short for most respondents while still capturing deeper insights when issues arise, improving both completion rates and data quality.
Contact forms and lead qualification
Contact forms often receive inquiries with very different intents, such as sales questions, support requests, or partnership proposals. Skip logic makes it possible to identify that intent early and route respondents to relevant questions.
As a result, submissions are better structured and easier to act on, helping teams respond faster and more accurately.
Product discovery and filtering
When visitors are exploring products or offers, a generic form can slow them down. Skip logic can guide respondents through a short series of choices and direct them to outcomes that match their needs, such as specific products, categories, or offers.
Used this way, forms become interactive discovery tools that shorten the path from interest to action and support revenue growth.
In summary
Skip logic & branching in Getsitecontrol makes it possible to create forms that adapt to each respondent instead of forcing everyone through the same flow. By showing only relevant questions and outcomes, forms become easier to complete and feel more personal.
As a result, respondents are more likely to engage with the forms and complete them. The forms collect more accurate and actionable responses, and perform better overall, whether the goal is collecting feedback, qualifying leads, or guiding visitors toward the right product.


