How to integrate widgets with Klaviyo
If you use Klaviyo for email marketing and Getsitecontrol to collect email addresses on your website, you can connect the two to automatically send new contacts to a selected Klaviyo list. In this guide, you’ll learn how to set up the integration.
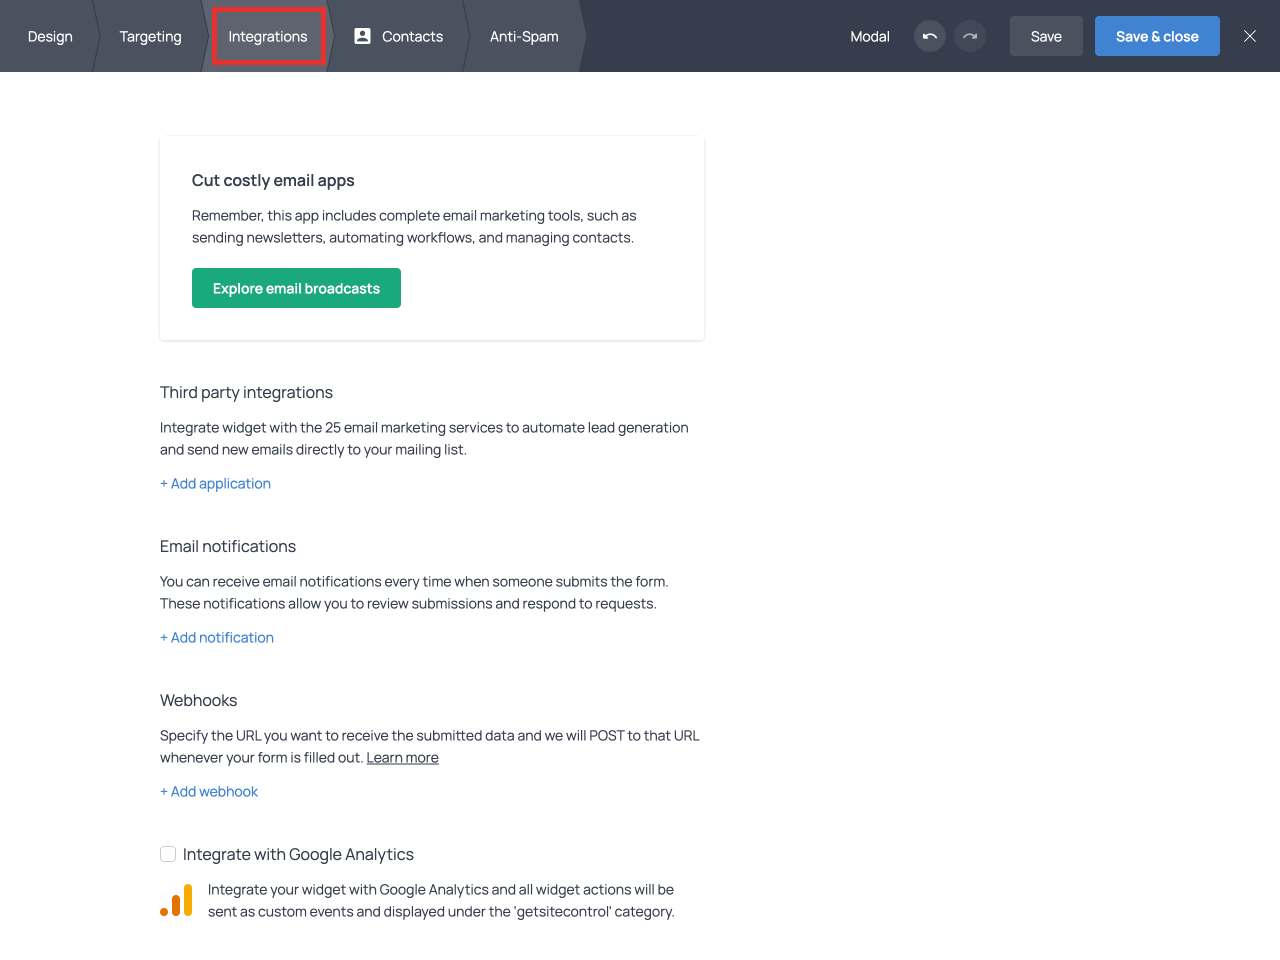
1. Find the Integrations tab
To connect a Getsitecontrol widget to Klaviyo, go to the ‘All widgets’ section, find the widget, and open the widget editor by clicking on the Edit button.
Next, switch to the Integrations tab from the top bar.
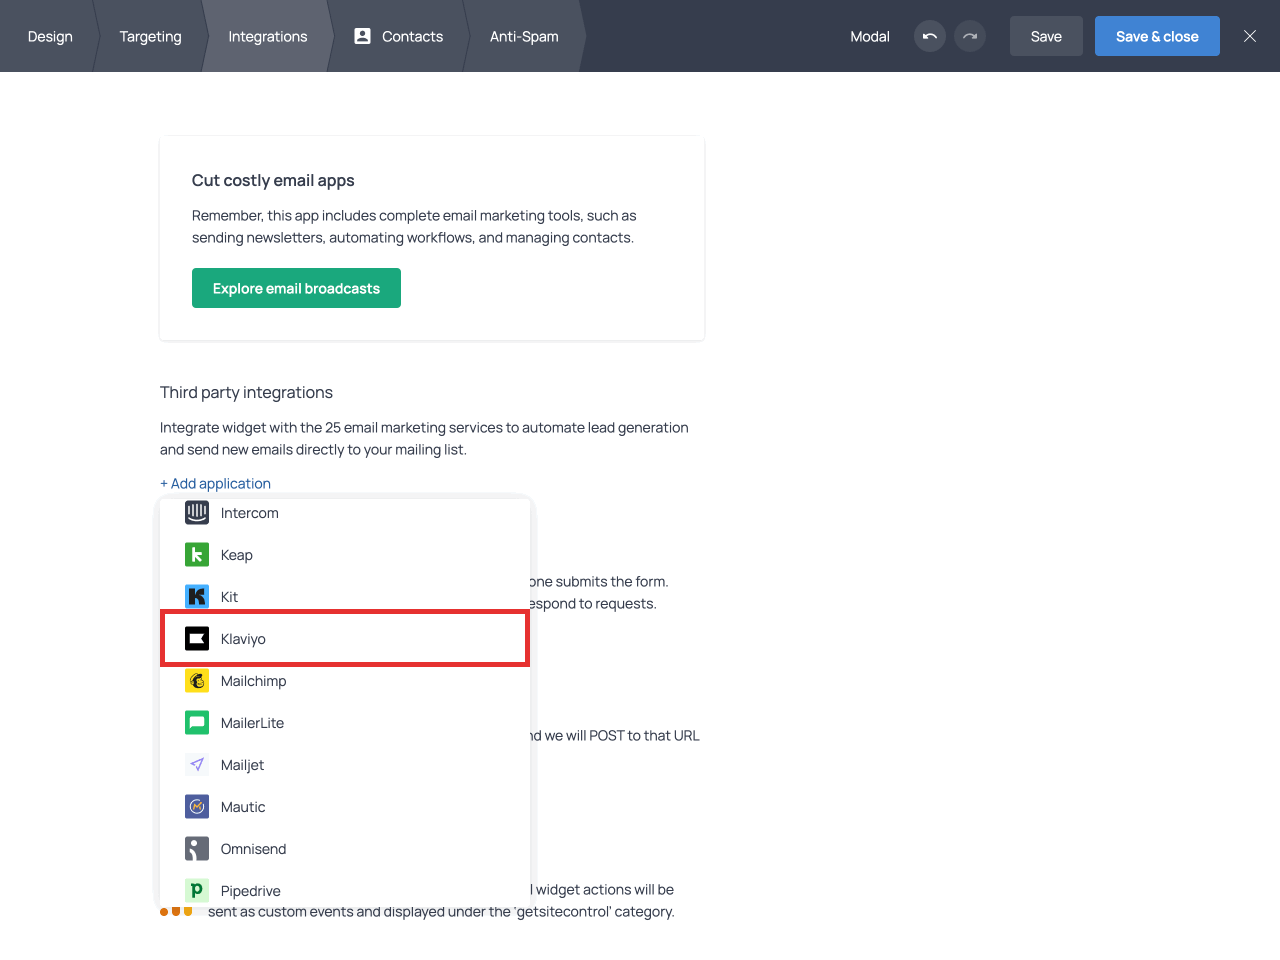
2. Connect your Getsitecontrol account to Klaviyo
In the ‘Third party integrations’ section, click the +Add application link and choose Klaviyo from the drop-down list.
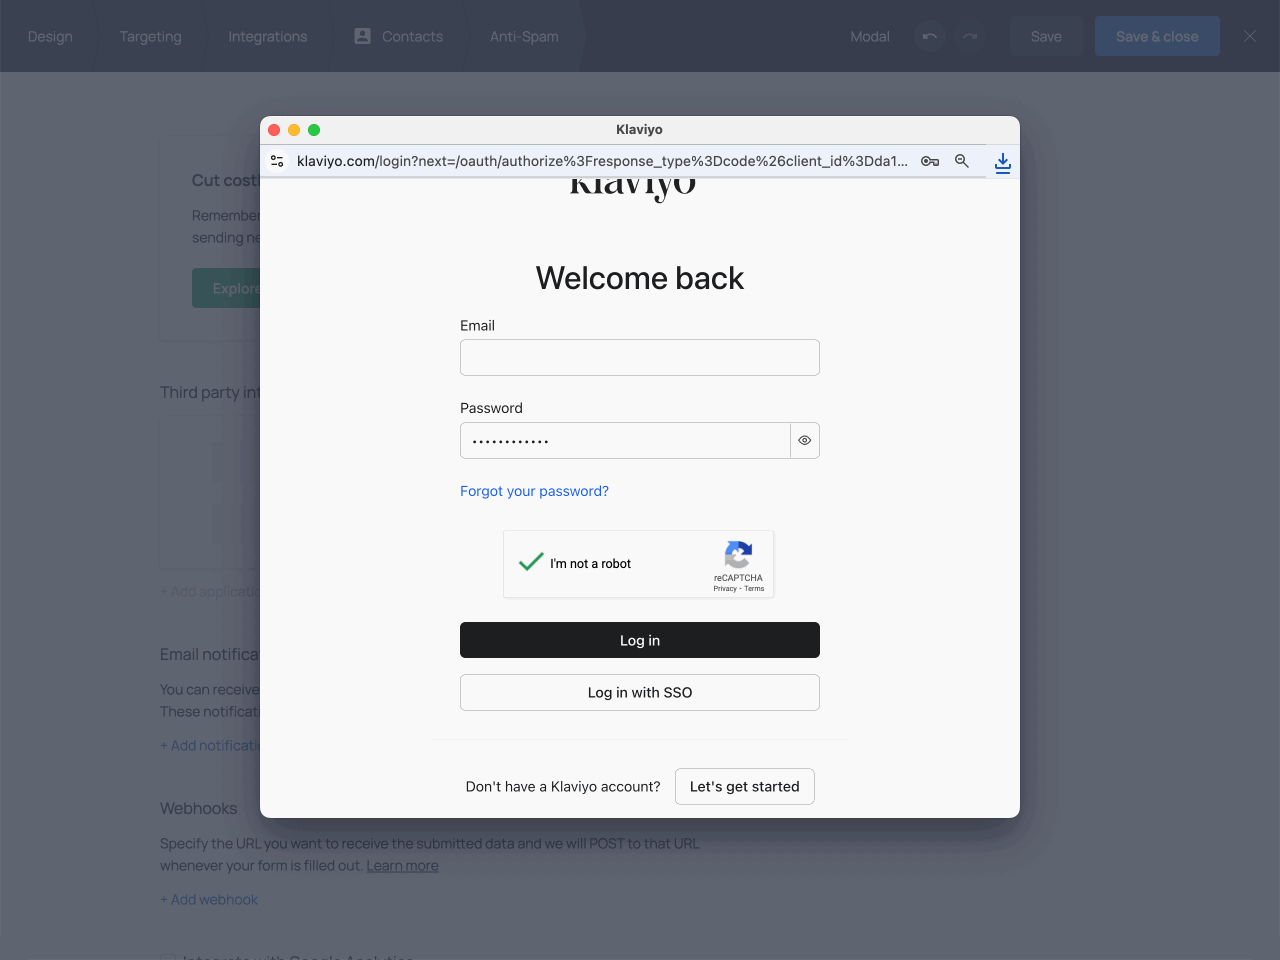
Next, log in to your Klaviyo account.
Click the ‘Allow’ button to grant Getsitecontrol access to your Klaviyo account.
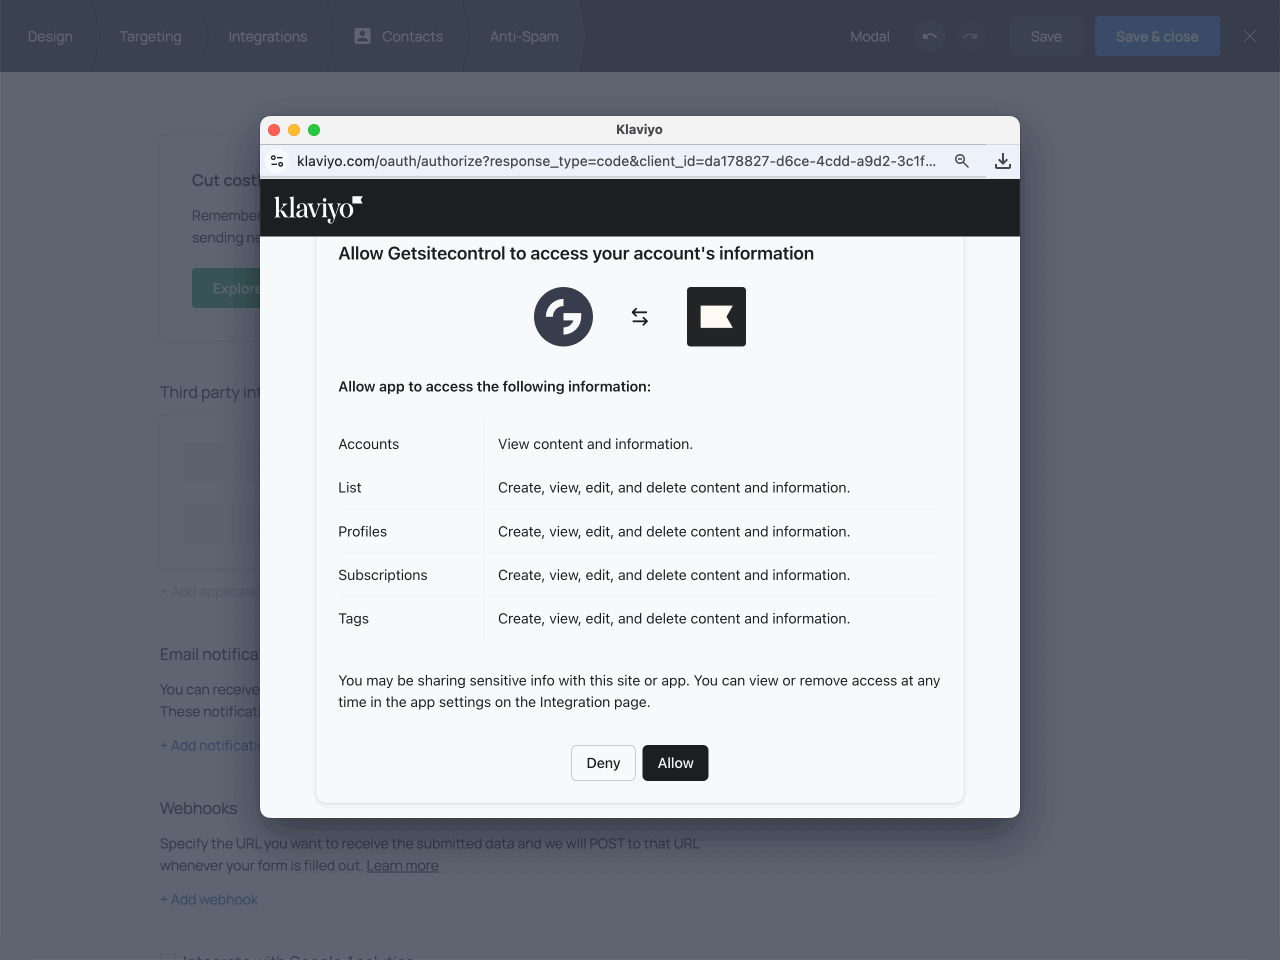
Now your accounts are connected.
3. Choose the list
Choose the Klaviyo list where you want to send the collected emails.
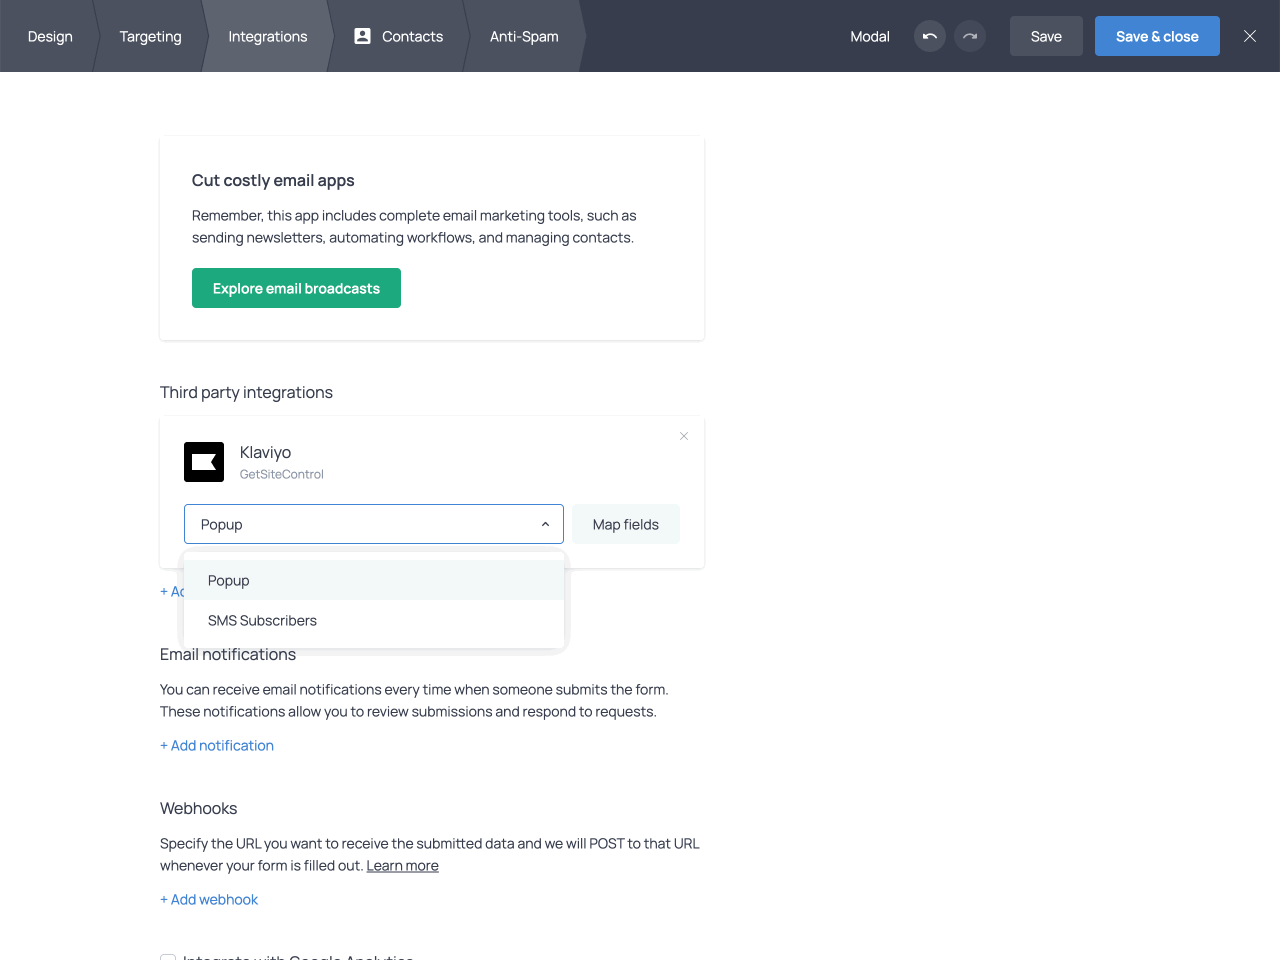
❗ You can only select an existing Klaviyo list. If you want to use a new list, you’ll need to create it in Klaviyo first.
4. Map your widget fields
Lastly, click Map fields to map your widget fields to the Klaviyo properties you want to pass data to.
To pair a Getsitecontrol field with a Klaviyo property, click the {var} icon and select the field under ‘Form’:
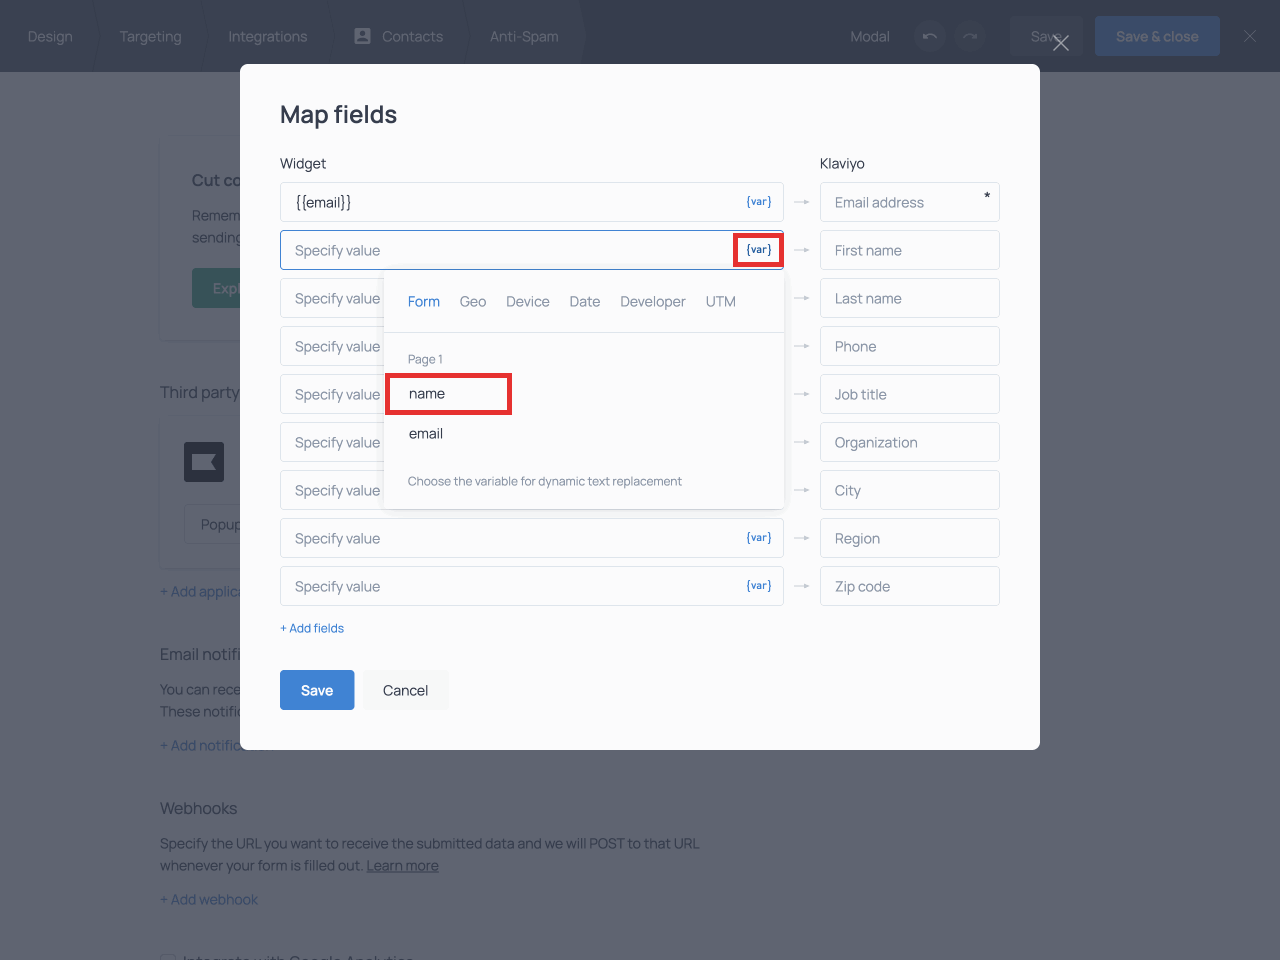
To learn more about field mapping, read the dedicated guide.
When you are done mapping the fields, click Save. Then, Save and close the widget.
You can connect your widget to more than one third-party application. Click the +Add application link to set up another integration for the widget.
If you have trouble setting up the integration or your contacts aren’t appearing in Klaviyo, do not hesitate to contact our Tech Support team.