Add exit-intent popups to Shopify
Start converting abandoning visitors today.
Most Shopify store visitors leave without buying — and without any indication of why. If you’re a store owner, the moment visitors are leaving is your last opportunity to capture an email address, prevent cart abandonment, or ask them what’s missing. With the right trigger and the right offer, Shopify exit popups can turn a session that would have ended with nothing into a conversion.
If you’re looking for an app that lets you add exit-intent popups to Shopify, GSC Email Marketing, Pop ups is one of the most versatile options for this goal. It comes with pre-designed popup templates for email capture, cart abandonment recovery, and exit surveys.
What makes it particularly effective for Shopify stores is the targeting precision: exit popups can be scoped to the cart page only, conditioned on cart value, and filtered by products visitors are browsing, so the right offer reaches the right visitor at exactly the right moment.
The most common exit-intent popup example used by online store owners is an email capture form. The rationale behind it is simple: instead of letting store visitors leave without a trace, you invite them to join your email list. This way, you can reach them later via inbox and introduce a first-purchase discount, showcase bestsellers, and entice them to come back. According to Getsitecontrol’s data, offering a discount via an exit popup converts over 5% of visitors who were about to leave into subscribers.
Another common type of exit popups on Shopify is a discount offered when a visitor is abandoning items in the cart. A visitor leaving the cart page is as close to a completed sale as a store gets. They’ve browsed, chosen, and added items — an exit-intent popup gives you one last opportunity to encourage checkout completion. Getsitecontrol’s data shows that exit popups offering an immediate discount on the cart page convert up to 13.5% of abandoning shoppers.
Most online stores lose the majority of their visitors without ever knowing why. An exit-intent survey turns that moment into a feedback opportunity — asking abandoning visitors a single question before they go. A closed-format question like “What stopped you from buying today?” produces volume data that analytics tools don’t surface. Those answers point directly to what needs fixing: a pricing problem, a shipping threshold, a product page that isn’t building enough confidence.
The GSC Email Marketing, Pop ups app helps us get feedback from our customers (those that buy and also those that choose not to) without being too intrusive. Very easy to set up.
Online art store shopifyA sitewide exit popup shown on every page — including the order confirmation page — creates a poor experience and wastes the precision exit intent can offer. Product pages and collection pages are where browsing intent is clearest; the cart page is where purchase intent is highest. Scoping exit popups to the pages where they’re relevant — and excluding order confirmations, blog posts, and account pages — keeps the experience clean and the offer meaningful.
| Exit popup type | Target page | Marketing objective |
|---|---|---|
| Email signup form | Product pages, sitewide | Email list building |
| Discount popup | Cart page only | Cart abandonment prevention |
| Exit-intent survey | Product pages, cart page | Understanding why visitors leave |
Exit-intent popups intercept visitors who were already on their way out, so the instinct to close them is strong by default. That’s why the pitch must be clear and immediately valuable — worth the attention of someone who has already decided to leave. A specific offer beats vague urgency: “Save 15% before you go” outperforms “Don’t miss out,” whether it’s a last-minute discount, an email popup with an incentive, or a promo reminder.
An exit-intent popup that’s hard to close creates frustration at exactly the moment you’re trying to make a good impression. A clearly visible close icon and a labeled dismissal option — “No thanks” or “Maybe later” — signal that the offer is genuine. Visitors who dismiss the popup without converting aren’t lost — but visitors who leave annoyed are. Making the exit as clean as the offer protects the brand impression regardless of the outcome.
Once a visitor submits a form or claims a discount, showing the same popup again immediately undermines the offer and the experience. The same applies to visitors who dismiss it — repeated exposure on every visit trains people to close the popup on reflex without reading it. A suppression window of at least a few days after dismissal keeps the popup relevant for visitors who genuinely weren’t ready the first time.
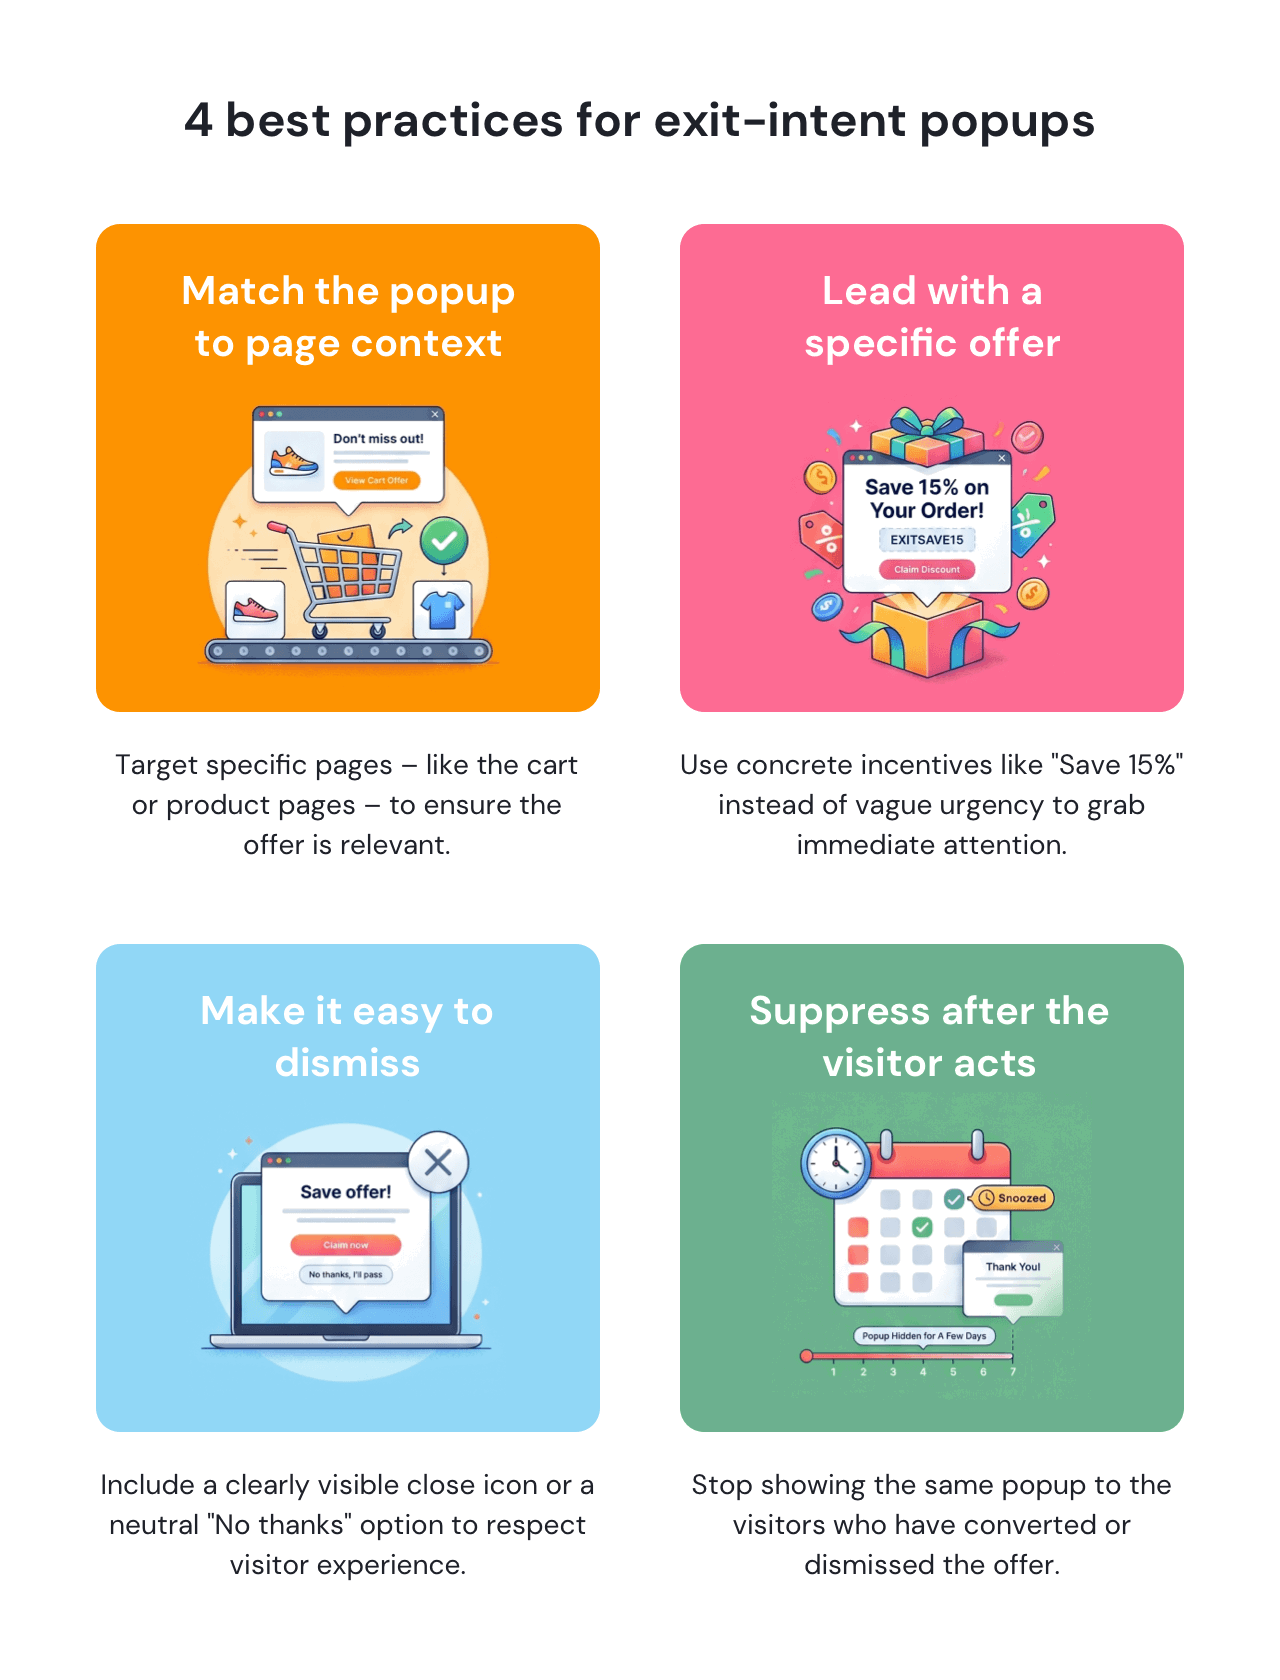
An exit popup shown on the cart page should acknowledge that the visitor has items waiting. One shown on a product page should relate to what they were browsing. A sitewide “Get 10% off” shown to every leaving visitor regardless of context misses the precision that makes exit intent valuable in the first place — and converts at a fraction of what a relevant, moment-aware offer would.
An exit popup has a fraction of a second to hold attention. A multi-field form, a lengthy value proposition, or a two-step flow where one would do — all of these add friction at the worst possible moment. The visitor was already leaving. The simpler the ask, the better the odds of catching them before they’re gone.
“No thanks, I don’t want to save money” might feel clever in the moment, but it reads as condescending to the visitor who’s already decided to leave. Guilt-tripping opt-out copy doesn’t convert skeptics — it irritates them. A neutral “No, thanks” or “Maybe later” respects the decision and leaves the brand impression intact.
A visitor who has already seen the exit popup and returned to the store without claiming the offer is a warmer prospect than someone seeing it for the first time. Showing the same discount again signals that the offer is permanent, which trains future visitors to wait for it rather than buy at full price. It also devalues the incentive for anyone who remembers seeing it before.
Shopify stores running multiple popups simultaneously need to make sure each one knows what the others have already accomplished. A visitor who signed up via a welcome popup earlier in the session shouldn’t see an exit-intent email capture popup on their way out. They’ve already subscribed — the ask is redundant, and the experience feels disjointed.
To create effective exit-intent popups on Shopify, you need a tool that understands Shopify’s data — not just a generic popup builder. The GSC Email Marketing, Pop ups app connects directly to Shopify, giving you pre-designed templates for email capture, cart abandonment recovery, and exit surveys, alongside native targeting features like cart and customer filters.
Popup design and targeting rules are fully customizable through a visual editor. Email marketing features — welcome sequences, follow-up automations, broadcast emails — are built into the same platform, so there’s no need to connect a separate app to follow up with captured subscribers. If you run into anything along the way, 24/7 live chat support is available on every plan. Find GSC Email Marketing, Pop ups in the Shopify App Store, and see it in action.
GSC Email Marketing, Pop ups is definitely the most robust popup manager I could find. Easy but versatile customization, also very good at the different use-cases for popups… Exit Intent is great for that last moment pitch before the visitor leaves your site.
Condensation control brand shopifyMatch the offer to where the visitor is in the session. Cart abandoners respond best to a friction-reducer — free shipping or a small discount applied to the cart immediately. Visitors browsing the store without items in the cart are better candidates for email capture with a first-order perk delivered via inbox. For higher-AOV stores, free shipping or a bonus add-on often outperforms a percentage discount because it feels valuable without undercutting perceived quality.
One problem, one offer, one next step. Lead with a headline that matches what the visitor was doing (“Still deciding?” or “Before you go”), follow with a single line of value, and use an action-labeled CTA button (“Apply discount” or “Send me the code”). If you’re collecting emails, tell the visitor exactly what happens next. Replace vague urgency with a concrete deadline if you have one.
Track outcomes, not views. For cart-saver popups: conversion rate, recovered checkout visits, and completed orders from those visitors. For email capture: opt-in rate and revenue from the follow-up sequence. Run the popup for at least 7 days before drawing conclusions, consider segmenting results by traffic channel, and A/B test one variable at a time so you know what actually moved the numbers.
Shopify restricts third-party scripts from running on the checkout page. However, the GSC Email Marketing, Pop ups app lets you display exit-intent popups on the cart page, which is the last accessible step before checkout and the highest-intent moment in the session.
Set page targeting to the shopping cart page, then set the trigger to exit intent. This way, the popup only appears when a visitor is already on the cart page and heading to exit.
The most common formats are an email capture popup on product pages, a discount popup on the cart page for abandonment recovery, and an exit survey asking visitors what stopped them from purchasing. Among these, cart page exit popups with an immediate discount tend to produce the highest conversion rates.
Nina De la Cruz is a content strategist at Getsitecontrol. She is passionate about helping small and medium ecommerce brands achieve sustainable growth through email marketing.
As a website owner, you need a simple way to publish sitewide updates — and know visitors will actually see them. Announcement bars solve this problem by staying visible at the top or bottom of the page as people browse, without interrupting the experience.
Sticky bars help visitors immediately see discount codes, sale announcements, shipping thresholds, and service updates without searching or contacting support. This format works particularly well on mobile, where screen space is limited.
If you want to collect feedback from your paying customers, the best moment to do that is right after they make a purchase.
That’s what Shopify post-purchase surveys are for.
If you run a Shopify store and you aren’t capturing emails before checkout, you’re likely missing out on a lot of potential subscribers.
A well-timed Shopify newsletter popup is an easy way to solve this. It invites visitors to join your list — usually in exchange for a discount offer — so you can introduce your brand, bestsellers, and current offers via email.
Subscribe to get updates
Get beginner-friendly tips for growing your online business.