Try Getsitecontrol for free
Add a post-purchase survey to your Shopify store
If you want to collect feedback from your paying customers, the best moment to do that is right after they make a purchase.
That’s what Shopify post-purchase surveys are for.
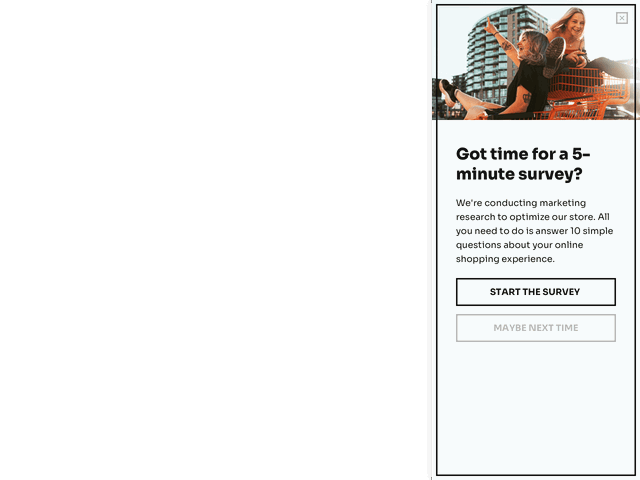
The easiest way to implement a post-purchase survey on Shopify is to display it on the Thank you or Order status pages. Here is what it may look like:
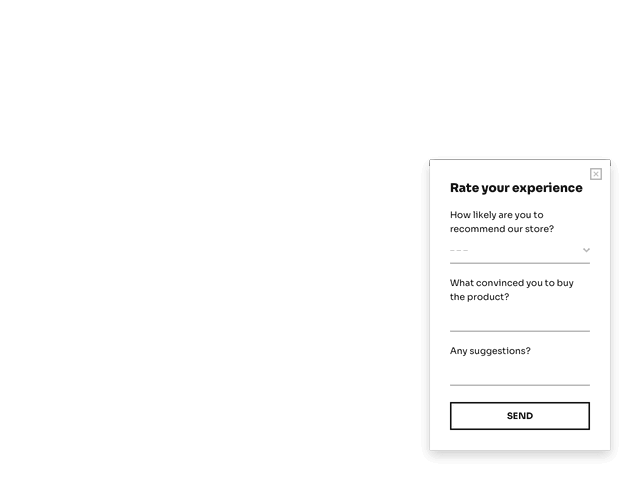
In the tutorial below, we’ll show you exactly how to add a survey like this one to your store within minutes using Getsitecontrol. You’ll be able to select any survey template from the gallery and ask customers:
Without further ado, let’s dive right in.
Getsitecontrol is a zero-code popup building app for Shopify. To create a survey for your store, all you need to do is add the app to your store, select a survey template, and adjust it to your needs. The entire process should take you less than 30 minutes.
Before getting started, decide what type of survey you want to conduct. To access survey templates, log into the Getsitecontrol dashboard, hit Create widget, and proceed to the template gallery.
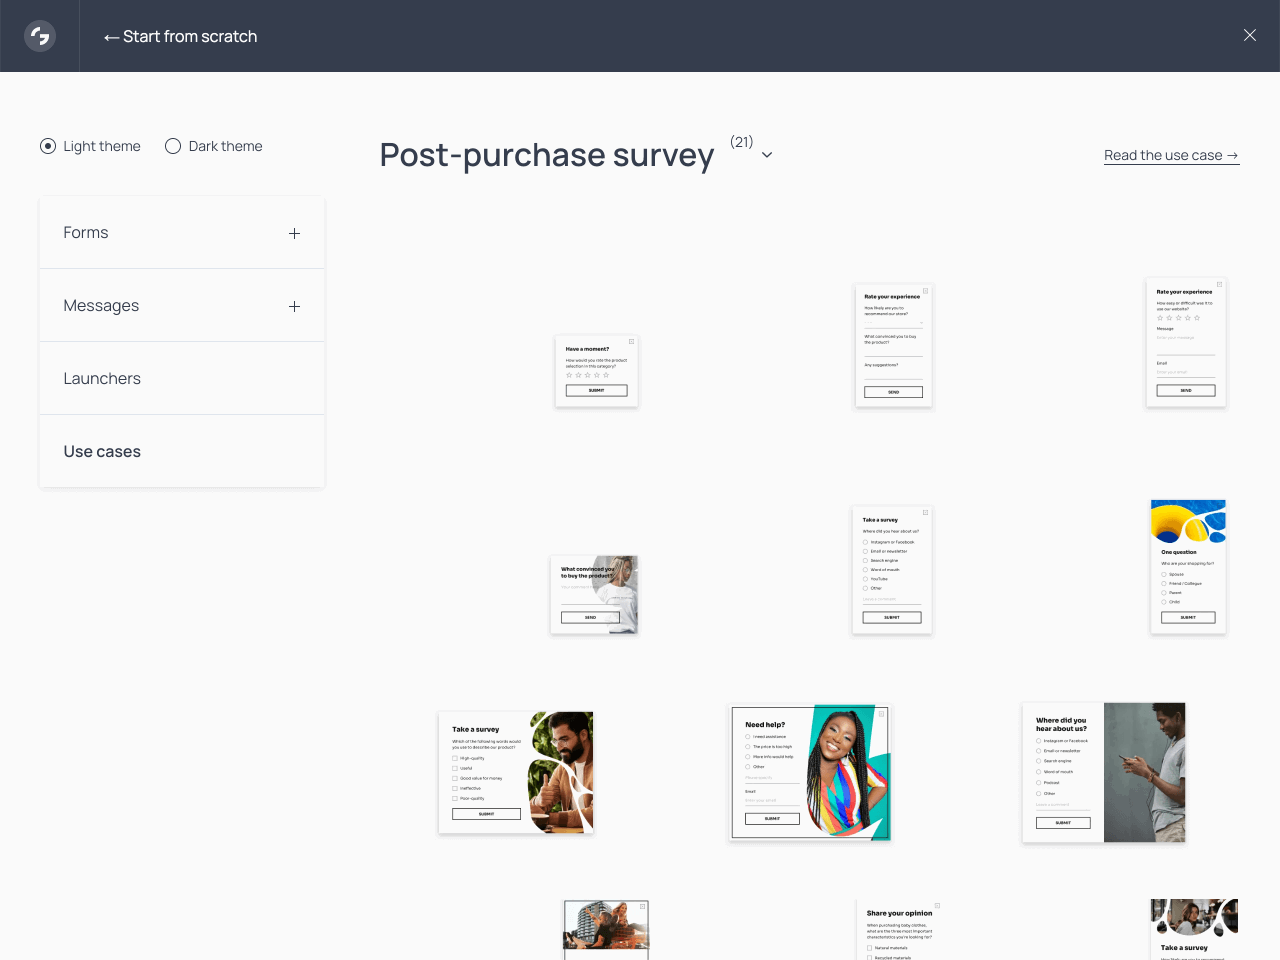
Select a template that works for you and follow the prompts to add it to the dashboard for editing.
💡Even if you don’t find the exact survey you’re looking for, worry not: you’ll be able to tailor any template to your needs in terms of both content and appearance.
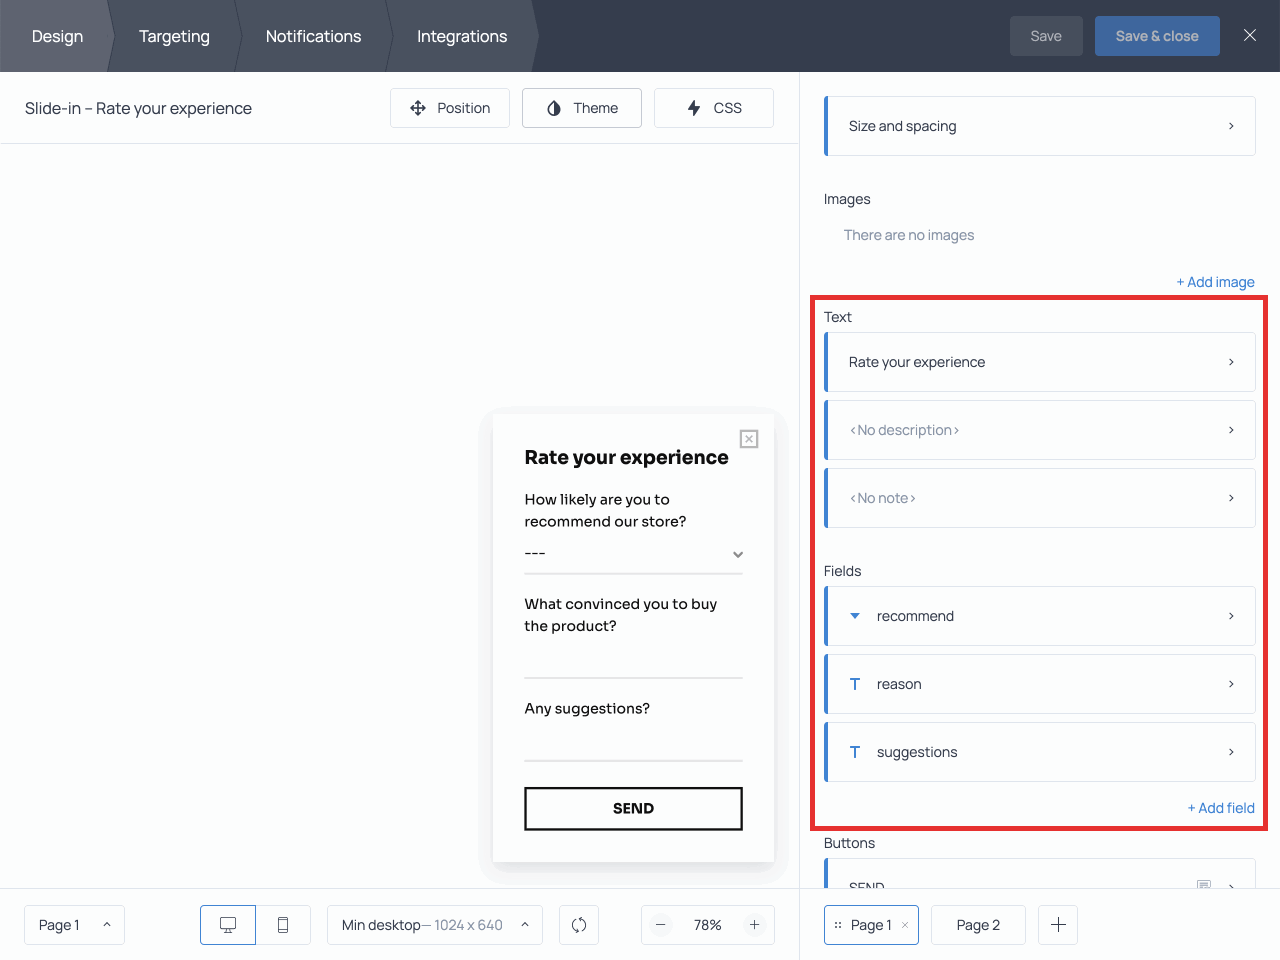
Once in the dashboard, click on any element you want to customize and proceed with the changes. To remove an existing field, click it and proceed to ‘Remove’; to add a new field, hit +Add field and select the field type you want to use.
When you’re finished customizing the questions, switch to Page 2 to view the submission success message 👇
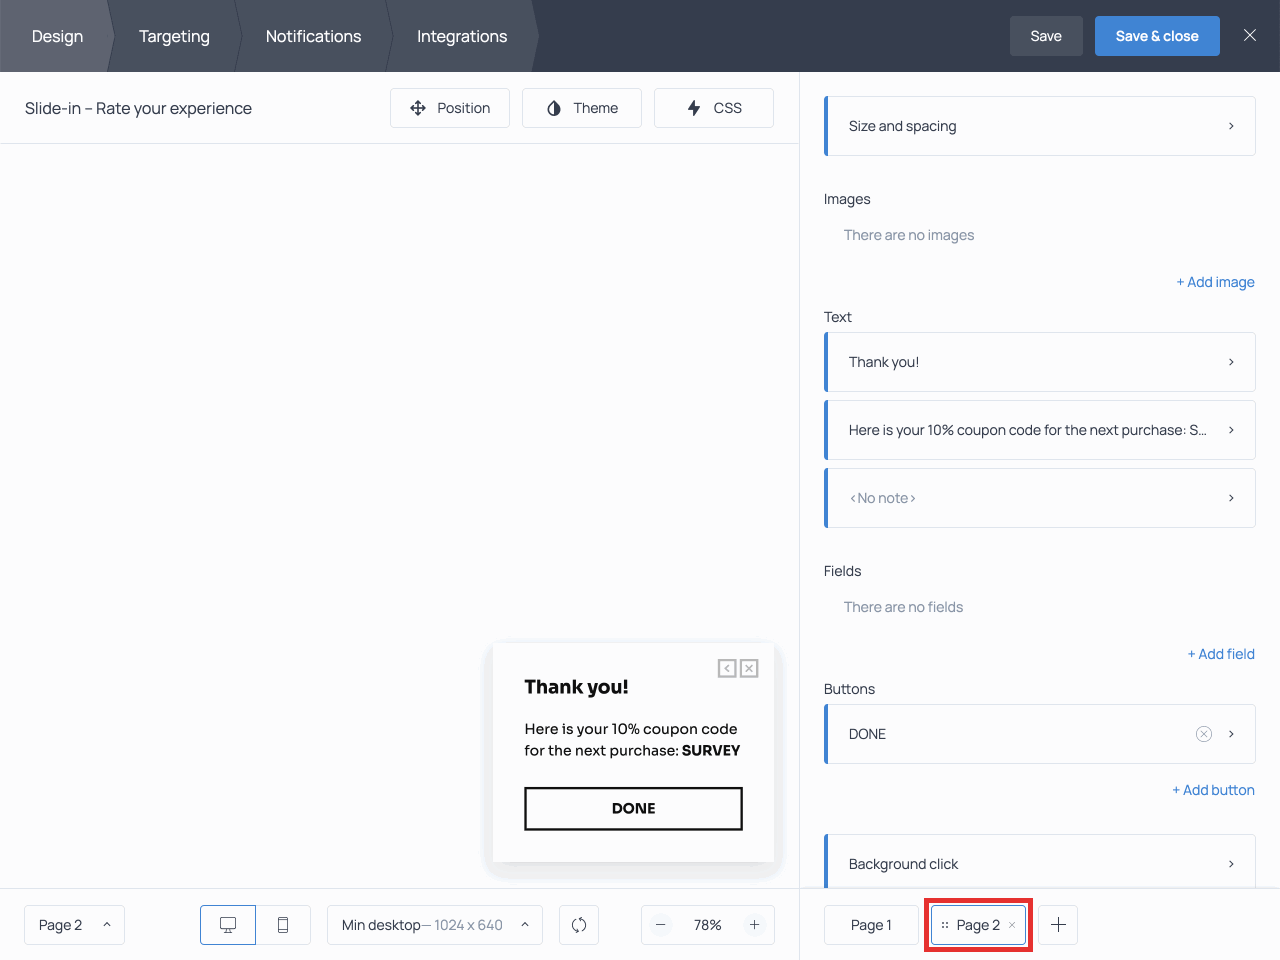
Feel free to leave it as is or change the text as well. For instance, you can suggest joining your email list or provide a coupon code for the next purchase.
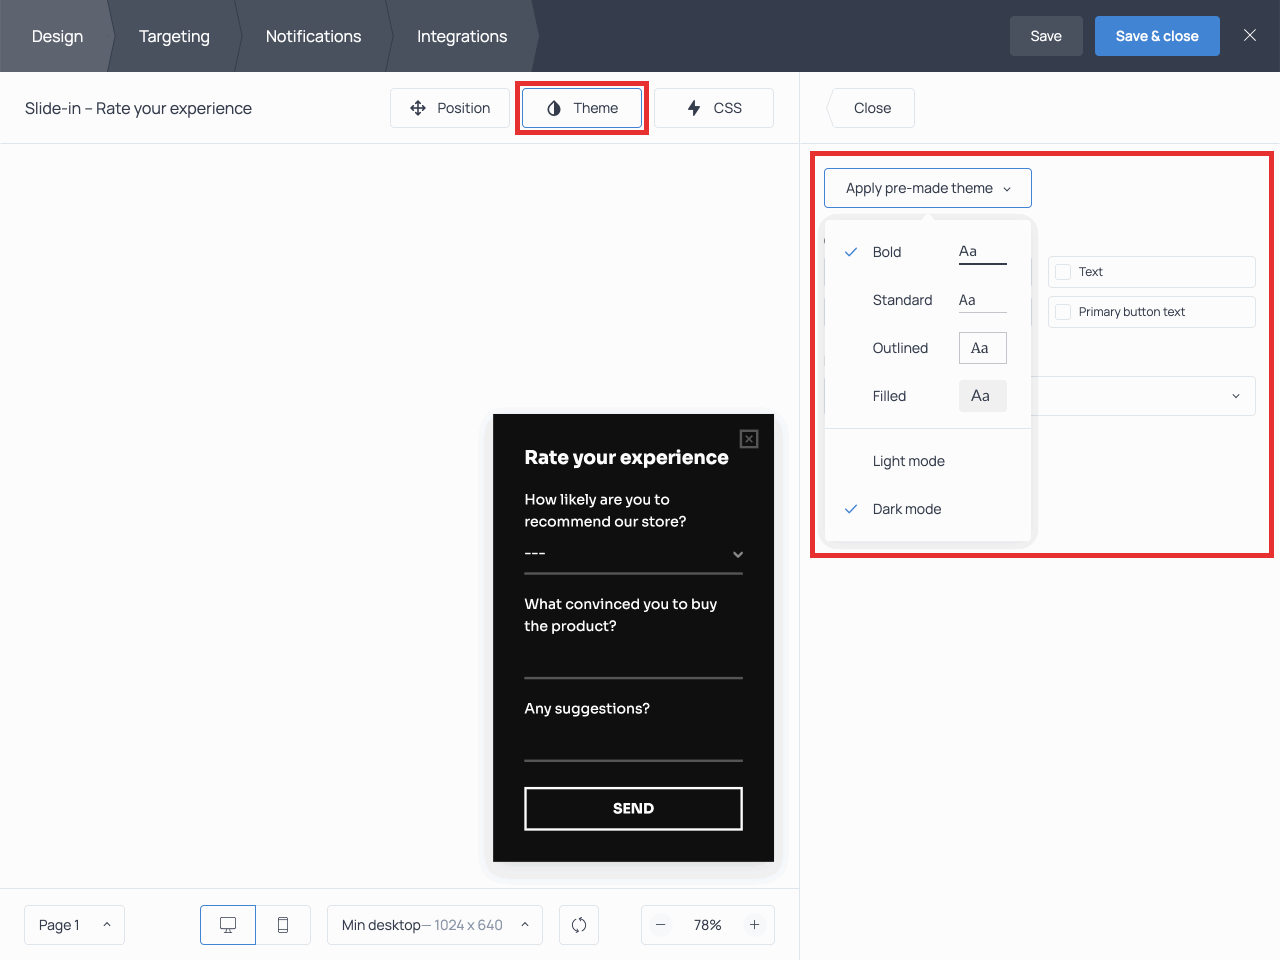
It’s a good practice to apply the style of your website to all your website forms. To do that, you can use the Theme menu and the CSS editor, the latter being designed for more advanced users.
The bare minimum you should do is adjust the color theme and font to make them match your website.
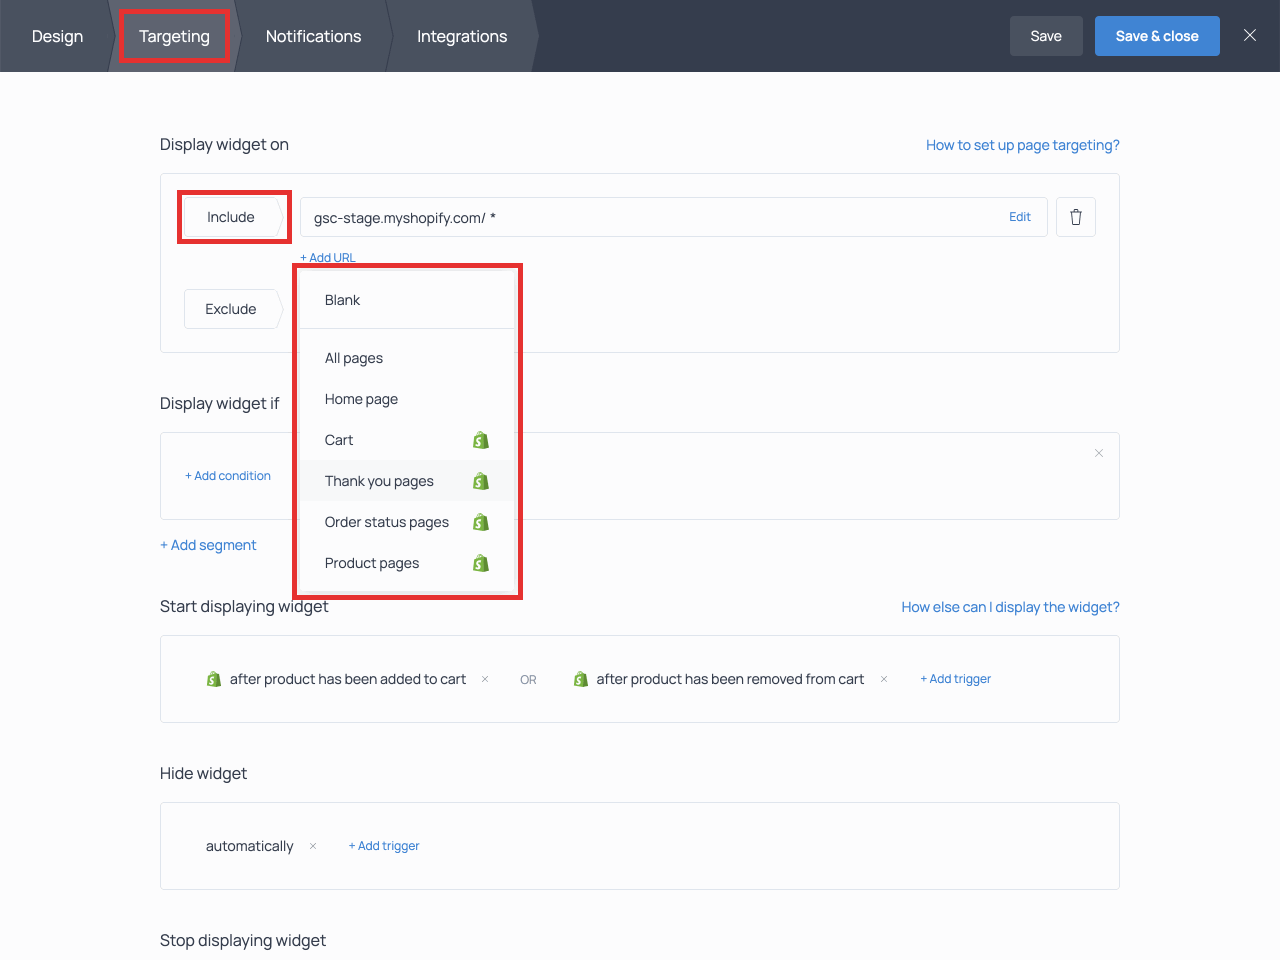
Now that your Shopify post-purchase survey is ready, let’s specify the pages where it should pop up. In our case, it’s the Thank you pages or/and the Order status pages.
The Thank you page opens right after checkout. When closed, it can’t be opened again. The Order status page can be accessed at any time. It’s usually included in the order confirmation email because it contains order details.
Open the Targeting tab and find the Include field. Hit Add URL and select the desired option 👇
To prevent customers from submitting the same survey twice, scroll down to Stop displaying the widget and select Upon action.
💡 If you want to avoid pestering customers who decline the survey use the OR operator and select Upon view as well.
That’s it! Your survey form is ready to collect responses. Hit Save & close in the top right corner and activate the form following the prompts in the dashboard. If you decide you want to add, edit, or remove a question, you’ll be able to do it at any point without having to create a new survey.
When the form starts receiving views and submissions, the numbers in the dashboard will reflect that. To view a more detailed report, hit Statistics and click around.
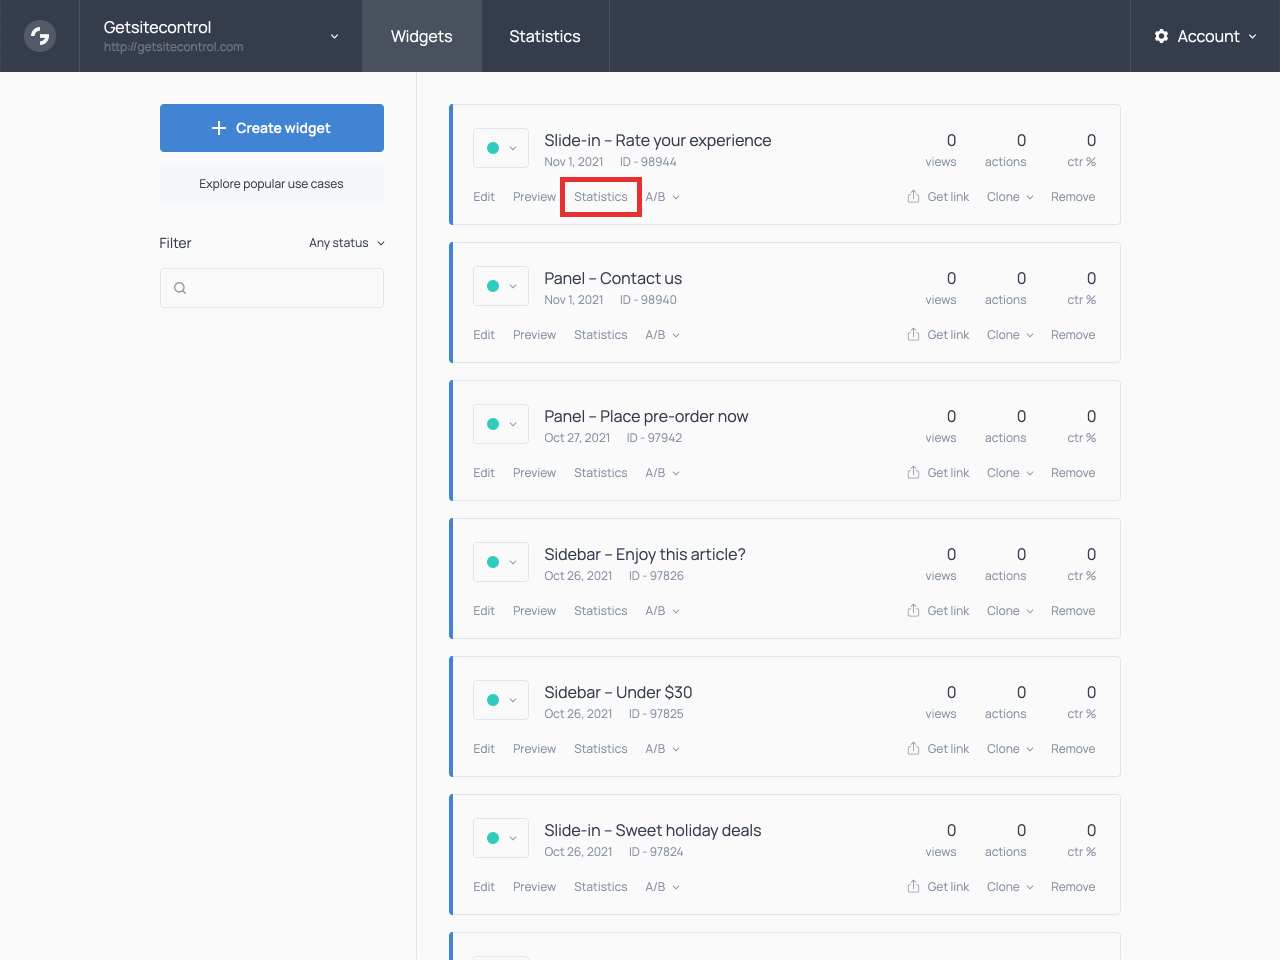
You’ll be able to view the overall survey performance as well as a breakdown by pages, countries, devices, and other parameters.
Now that we’ve walked you through the basics of creating a survey form, let’s see what you can do to encourage people to fill it out.
Getsitecontrol allows you to create multi-page survey forms, but we recommend doing it only if you absolutely need to. The more fields your survey has, let alone extra pages, the more likely customers are to abandon it halfway through. Keep it as concise as possible and only ask questions that are essential to your business.
Offering survey incentives is a common practice. Post-purchase surveys aren’t an exception. You can use any incentive, including a discount, free shipping coupon, or even an ebook. In most cases, incentives significantly increase survey submission rates which means you’ll collect your data faster. It’s also an absolute must-do if you choose to create a long, multi-page survey.
If you decide to go this route, mention the incentive in the description to make sure customers are aware of it. To deliver the incentive, you can use the submission success message page or the autoresponder feature.
To make things easier for your customers, we recommend using fields with pre-selected responses: dropdown menus, checkboxes, radio buttons, and star rating scales. It’s much faster for them to select a corresponding option instead of typing the answer to an open-ended question.
💡 If your survey does include open-ended questions, consider making them optional by ticking off the Required checkbox in the field editing menu.
If you want to have more paying customers, it might be a good idea to start surveying those who already fall into that category. Add a post-purchase survey to your Shopify store today and start collecting valuable insights for free. And while you’re at it, check out other Getsitecontrol popups designed to help you get more sales.
Nina De la Cruz is a content strategist at Getsitecontrol. She is passionate about helping small and medium ecommerce brands achieve sustainable growth through email marketing.
What better place to promote a discount than where shoppers are closest to making a purchase? Product pages are where customers compare options, evaluate products, and decide whether to add an item to their cart. A well-placed popup or banner makes your offer more visible at this critical moment, encouraging hesitant shoppers to take action.
Whether you’re offering a first-order discount, a limited-time coupon, free shipping, or another promotional offer, displaying it on the product page can increase conversions. Instead of manually reducing the prices of individual products, you can promote the same offer across selected products, collections, or vendors with a single targeted popup.
As a website owner, you need a simple way to publish sitewide updates — and know visitors will actually see them. Announcement bars solve this problem by staying visible at the top or bottom of the page as people browse, without interrupting the experience.
Sticky bars help visitors immediately see discount codes, sale announcements, shipping thresholds, and service updates without searching or contacting support. This format works particularly well on mobile, where screen space is limited.
Discount popups are among the easiest conversion tools available to Shopify merchants. A well-timed offer gives hesitant visitors a reason to act — whether that’s completing a first purchase, returning to an abandoned cart, or joining an email list.
Subscribe to get updates
Get beginner-friendly tips for growing your online business.