Try Getsitecontrol for free
Add fullscreen age verification popup to your website.
If your website offers age-restricted products, implementing an age verification popup (or “age gate”) isn't just good practice — it's often a legal requirement.
An age verification popup restricts website access until visitors confirm their age. This simple step helps you comply with regulations, protect your brand, and keep age-sensitive content out of reach from underage audiences.
You can create an age verification popup with Getsitecontrol, and add it to your website for free, adjusting the text and appearance to your needs. It works on all platforms, including Shopify, WordPress, Squarespace, and others — no coding is required.
When a new visitor enters your website, the age gate will pop up, covering the webpage content. If a visitor confirms they are of the required age, the popup will close automatically; if they state they’re underage, they’ll be redirected to a page of your choice.
You need an age verification if your website falls under the following categories:
I’ve been using it for over 6 months. Easy user interface to understand; trending marketing strategies to help beginners. This app is a blessing!
Tobacco store owner capterraMost age gates rely on one of two age verification approaches: buttons or checkboxes. Both setup options are available in Getsitecontrol.
Button-based confirmation is very common. Visitors confirm they meet the stated age requirement with a single click that closes the popup; those who indicate they’re underage can be redirected to a different page or away from the website. This pattern is fast, straightforward, and it works well for most websites.
Checkbox confirmation adds an extra layer of intent because it requires visitors to check a box before clicking the button. This additional step can be useful for stricter compliance scenarios where explicit confirmation matters.
Age requirements vary by industry and region. For example, alcohol-related websites in the United States typically require visitors to be 21 or older, while 18 is more common for European countries and other restricted content categories.
Whatever threshold applies to your business, make sure it’s visible and consistent throughout the popup: both in the headline and in the confirmation button text.
Effective age gates rely on unmistakable language. Most common confirmation copy is simple, declarative, and legally unambiguous. That applies to the headline, description, and button text.
In compliance contexts, clarity outperforms personality. Avoid vague or playful phrasing because it creates confusion and undermines the purpose of the popup. When the message is clear, visitors know exactly what they’re confirming, and the popup can close automatically once they do.
An age verification popup isn’t just about blocking access — it’s about handling underage visitors of your website responsibly. When someone confirms they don’t meet the age requirement, the best practice is to redirect them to a neutral-content destination rather than leaving them at a dead end.
Common redirect destinations include search engines, general information pages, or other pages of your website that don’t contain restricted content. A respectful redirect protects your brand and maintains professional experience, even for visitors you can’t serve.
Once a visitor has confirmed their age, repeatedly showing the same popup during their visit can create unnecessary friction. Most businesses display the age gate on every new visit to ensure that each individual accessing the website confirms eligibility. This approach is preferred for stricter compliance scenarios because of the possibility of someone visiting your website from a shared device.
Some website owners limit the popup to the first visit to create a smoother experience for returning users. While this reduces friction, it offers less protection on shared devices. For businesses with rigorous compliance requirements, repeated verification that pops up each visit is often the safer choice.
If your entire website contains age-restricted content, displaying the age gate on entry makes sense: every visitor sees the verification popup as soon as they arrive, regardless of which page they land on.
For mixed-content websites, you have more control options. For example, age verification can be applied to specific pages, subfolders, or product collections (for ecommerce sites selling both restricted and unrestricted items). This ensures sensitive content stays protected, while you aren’t over-blocking access to general information pages.
Age verification popups are often the first interaction visitors have with your website. A popup that clashes with your visual identity will create friction before someone even confirms their age.
Customizing colors, fonts, imagery, and tone helps you make the age gate feel like a natural part of your website rather than a generic compliance roadblock. When designing the popup, take a few extra minutes to ensure that all visual elements are matched with your branding. Getsitecontrol built-in popup editor makes it easy to achieve maximum visual alignment.
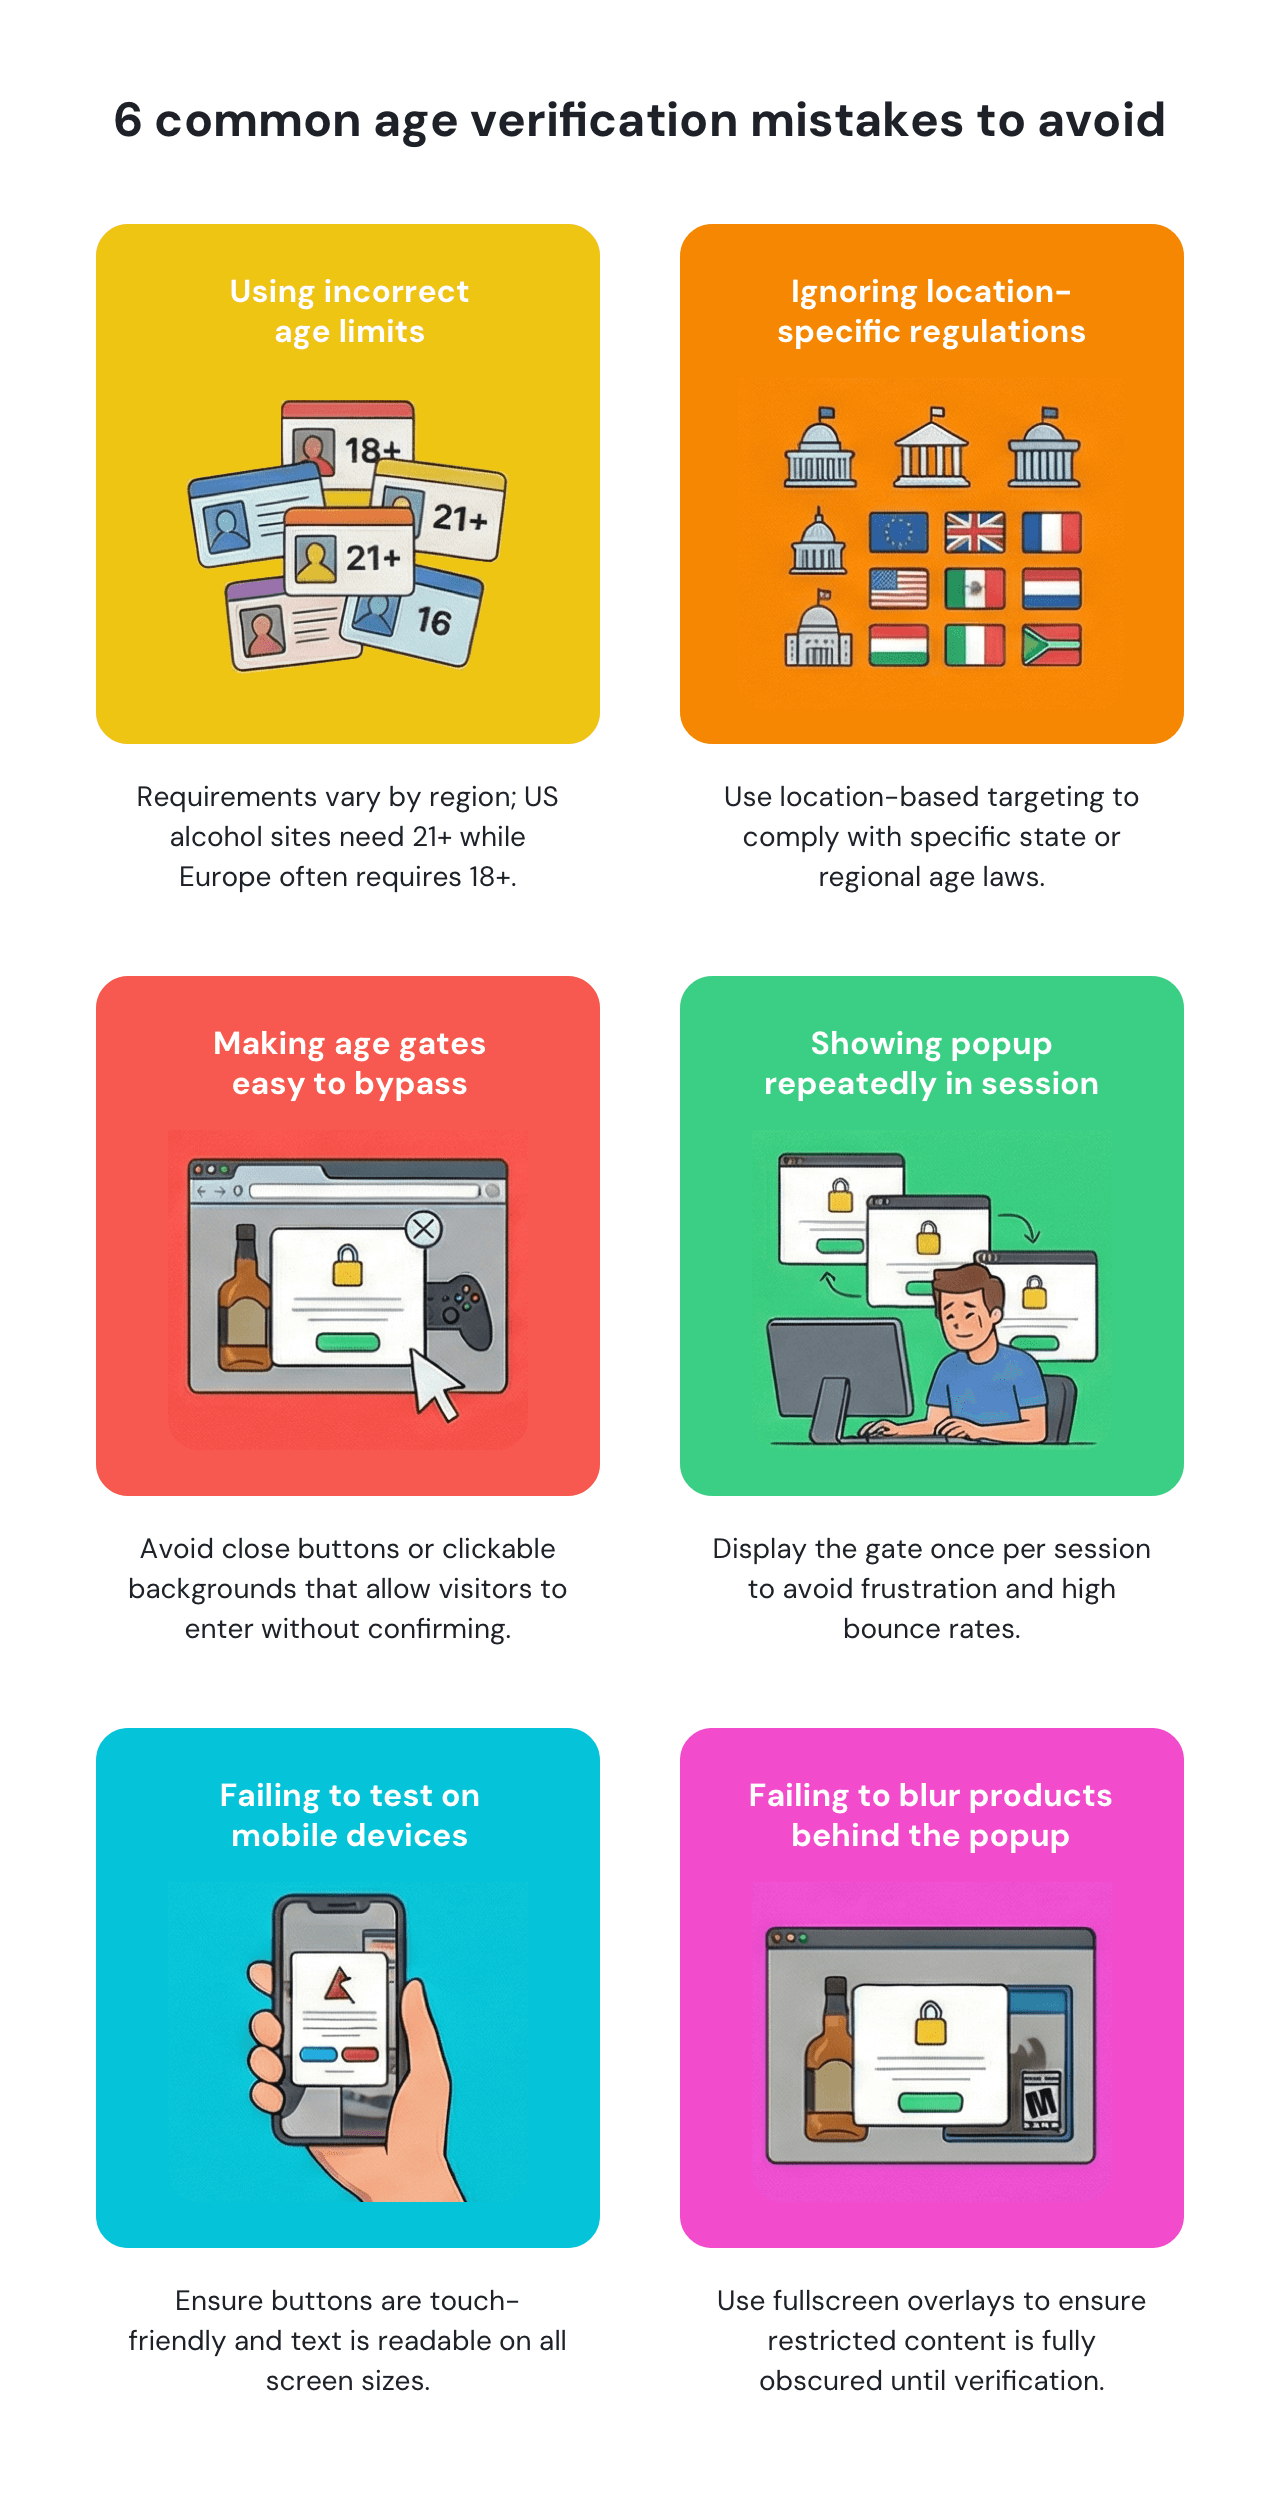
Age requirements aren't universal: alcohol websites need 21+ verification in the US but only 18+ in most European countries. Using a single age threshold creates compliance problems in stricter jurisdictions while unnecessarily restricting access in others.
Age restrictions vary not just by country but by state or region within countries; for example, cannabis websites face different laws in Texas versus California. Treating all website visitors the same creates compliance gaps. Research legal age requirements in every jurisdiction where your business operates, then use Getsitecontrol’s location-based targeting to display appropriate age thresholds based on visitor location.
Some age gates reappear every time a visitor navigates to a new page during the same browsing session, creating frustration and increased bounce rates. Configure your age gate to appear once when someone enters your website, then stay dismissed until they close their browser or return another day.
Age verification popups designed for desktop may break on mobile: text becomes unreadable, buttons are too small to tap, or the popup doesn't fit on screen. With Getsitecontrol, you’re unlikely to face this problem because of the unique built-in technology that adapts popups for mobile. However, it’s crucial to always preview your age gate on different screen sizes before launch to ensure buttons are touch-friendly, text is readable, and the layout works across all devices.
An age gate that can be closed without confirmation defeats its purpose. A common mistake is to overlook the close button on a popup or allow clicking outside the popup to dismiss it. To avoid this, use premade popup templates designed specifically for age verification: they are typically fullscreen and have no close buttons, ensuring the only options are confirming age or being redirected away.
Choosing the wrong popup format may also result in the page content being partially visible to the visitors. To avoid this mistake, choose either fullscreen overlays or modal popups with a blurred background, so that the page content remains restricted until a visitor confirms their age.
Creating an age verification for your website doesn't have to involve complex coding or expensive solutions. With Getsitecontrol, you can choose among pre-designed templates, adjust their content, and implement a professional-looking age gate in just minutes. The fullscreen design ensures visitors can't access your content without confirming their age, while customization options let you match the popup perfectly to your brand.
Most users get their popup live quickly, without needing a developer. And if you need help, live chat support is available around the clock.
Ready to add an age verification popup to your website? Then create an account now. Getsitecontrol comes with a generous free plan, so you don’t have to add your credit card to create a popup and publish it on your website.
Very easy to set up a site popup. I needed it to set up an age gate. Integrated very well with my client's Squarespace site. Had no issues, everything is straightforward.
Freelance Designer in Canada capterraAn age verification popup is an overlay that appears when someone lands on your website and asks them to confirm their age. It helps restrict access to visitors under a certain age, usually for legal or safety reasons. Unlike standard popups, age gates cannot be closed without confirming eligibility.
If you sell products like alcohol, tobacco, CBD, vapes, or adult content — yes, you likely need one to stay compliant with regulations in many countries. Without proper age verification, businesses risk fines, legal action, and potential shutdown in regulated industries.
Yes. All Getsitecontrol age verification popups are mobile-responsive by default, displaying correctly on phones and tablets without additional configuration. However, you should still preview your customized popup on different screen sizes before publishing to ensure your specific text, images, and button sizes work well across all devices.
Poorly designed age gates can be bypassed if they include close buttons, allow clicking outside the popup, or only appear on the homepage. Visitors can also lie about their age regardless of design. Getsitecontrol age verification popups are fullscreen with no close button and no way to dismiss them without confirming age. This prevents accidental bypass.
You can redirect them to another page of your website or send them to a completely different URL outside your website. Most businesses redirect underage visitors to a search engine or a page explaining age restrictions.
Yes. You can include custom text below the age confirmation, such as “By entering, you confirm you're of legal drinking age in your location” or references to specific regulations. This adds compliance context without complicating the main confirmation action.
You can choose whether to show the popup on every visit or only once per visitor. For stricter compliance, showing it every time is safer, especially in case a visitor uses shared devices. Businesses in highly regulated industries typically choose per-visit verification.
Age verification popups created in Getsitecontrol work on any website platform, including Shopify, WordPress, Squarespace, Webflow, and custom HTML sites.
No. You’ll create your age verification popup in an intuitive WYSIWYG editor that is built into Getsitecontrol. To connect Getsitecontrol to your website and show the popup, you will receive a simple code snippet. Just copy and paste it.
Setting up an age verification popup with Getsitecontrol typically takes around 30 minutes. Select a template, customize the text and appearance to match your brand, add the embed code to your website, and publish. Detailed guides and 24/7 live chat support are available if you need help.
Nina De la Cruz is a content strategist at Getsitecontrol. She is passionate about helping small and medium ecommerce brands achieve sustainable growth through email marketing.
You’re reading Getsitecontrol usecase collection where we talk about the best practices for using website popups. This usecase is a part of Show notifications section.
Create popups for free
Email forms, promos, coupons, surveys, bounce-stoppers.
Get started, it’s free →If you want to grow your email list, popups are hard to beat. According to our stats, they’re twice as efficient at attracting subscribers than inline forms.
Yet, not all popups are created equal.
A high-converting email opt-in popup follows three simple criteria:
Consider this modal popup as an example 👇
A floating “Contact us” button gives website visitors a direct line to your team without forcing them to search for a contact page.
Unlike traditional forms that live on separate pages, a floating button stays visible as people browse and opens a pop-up contact form instantly upon click. This approach works well for general inquiry forms, support request forms, business inquiry forms, and beyond.
As a website owner, you need a simple way to publish sitewide updates — and know visitors will actually see them. Announcement bars solve this problem by staying visible at the top or bottom of the page as people browse, without interrupting the experience.
Sticky bars help visitors immediately see discount codes, sale announcements, shipping thresholds, and service updates without searching or contacting support. This format works particularly well on mobile, where screen space is limited.
Subscribe to get updates
Get beginner-friendly tips for growing your online business.