

Try Getsitecontrol for free
Create a winning email opt-in popup for your website.
If you want to grow your email list, popups are hard to beat. According to our stats, they’re twice as efficient at attracting subscribers than inline forms.
Yet, not all popups are created equal.
A high-converting email opt-in popup follows three simple criteria:
Consider this modal popup as an example 👇
The second-best format for collecting emails is a slide-in (featured below). It is considered to be less intrusive, as it appears in the corner instead of the center of the screen.
With the Getsitecontrol app, you can add pop-up forms like these two to your website within a few minutes – even if you have zero technical skills.
In the tutorial below, we’ll show exactly how to do that.
Getsitecontrol’s free plan allows you to create non-targeted popups – i.e. popups that will be displayed to every visitor as soon as they land on your website – at no cost. If you want to target visitors based on their behavior or other parameters, you can use the Pro plan.
With Getsitecontrol, you can create a popup entirely from scratch, but it’s way faster to get started with a template. Just log into your account, click Create widget and continue to Premade widgets. Then select any popup featuring an email form:
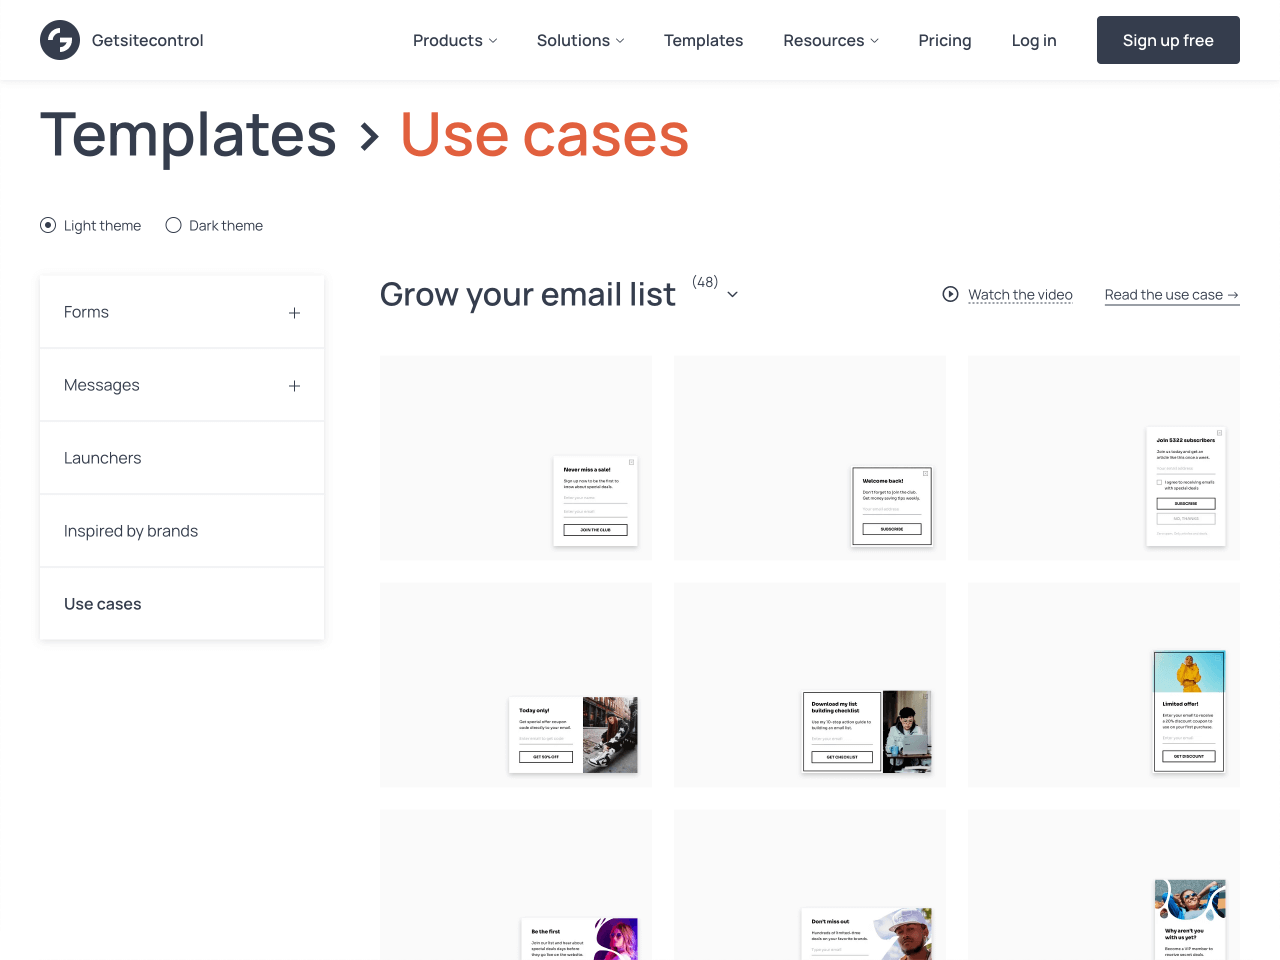
If you want to explore more designs, check out the gallery available on the website. You can view and test these templates without registering an account:
Once you find the template you like, click on it, and hit ‘Take this template’ to add it to the Getsitecontrol dashboard.
Once in the dashboard, you can tweak any element of the popup. Click on the title, description, or button text and just type your copy – it’s that simple.

If you switch to Page 2 you can also edit the submission success message – a short note confirming email subscription.

Feel free to rewrite the default text, so it echoes your brand voice.
When you’re finished editing the copy, you may want to tweak the look of your popup as well. For example, we suggest using your own image and changing the font and color theme to make the popup look like an integral part of your website.
To replace the image, click on it and continue to Change image. Then either upload your own image or pick something from the built-in gallery:

Replace the image on the second page of the popup as well, and if you need to change the font, color theme, or field style, use the Theme menu at the top.
💡 To achieve a more cohesive look for the popup, it’s a good practice to use the same font you’re using on the website.
One of the most important decisions you’ll need to make is when to display the email opt-in popup. There are several options to choose from:
To choose the trigger, open the Targeting tab and scroll down to Start displaying the widget; then choose a displaying rule.

Once finished, scroll down a bit more and create another rule: Stop to display the widget → Upon action. This way, the popup will no longer be displayed to those who have joined your list already.
💡 If you want to display the opt-in popup to a certain type of visitors – first-time visitors, for example – use the Display widget if menu.
To create a confirmation email that will be automatically sent to your new subscribers, move on to the Follow-up tab. Then either edit the suggested template or create a new email:

Creating a follow-up email is optional, but it’s considered good practice. You can use it to show your gratitude, introduce your brand, promote bestsellers, or feature a limited-time offer to give new subscribers a reason to return:

If you need help crafting a confirmation email, you’ll find a large collection of examples in this guide.
The last step is connecting the popup to the email marketing software you’re using. To do that, open the Integrations tab and select your platform.

Once the popup starts collecting new subscribers, their email addresses will go straight to your list. If you don’t want to connect the EMS just yet, the addresses will be stored in your Getsitecontrol account, under the Responses report, as well as in the Contacts section. You can download collected emails at any time.
And that’s all! At this point, your opt-in popup is ready. Hit Save & close and activate it on your website following the app prompts.

As soon as your website visitors start interacting with the popup, you’ll start seeing its click-through rate right on the widget card on the main dashboard screen. However, there’s a more detailed statistics report available 👇
So, you’ve added an email opt-in popup on your website. Great job! Now, you may want to see how efficient it is. Here is what you’ll need to do.
Under the Statistics tab, your Getsitecontol dashboard houses all the information on the popup performance.

Apart from the overall number of views and submissions over time, you want to look for a trend. For example, you can use filters to see if people subscribe more actively:
With all this data, you’ll be able to make informed decisions on whether your opt-in popup performs at its best or needs attention.
For instance, if you set a scroll-triggered popup, you’ll probably see lower sign-up rates on mobile – because scrolling 30% of a page on mobile takes longer than on desktop – and some visitors will simply miss the popup.
The only surefire way to optimize popup performance is to launch an A/B test where you create 2 versions of the same popup and display version A to half of the audience and version B – to the other half. At some point, you compare results and leave the winning version on the website. Read a more detailed guide to running A/B tests.
For ecommerce businesses, email remains the most efficient marketing channel, as of today. However, to make it work, you first need to get people to join your email list, and popups have proven to be the most efficient tool for that task.
Add one to your website today to see how it works. With Getsitecontrol, it’s a complete no-brainer, and if your website already has some traffic, you’re likely to see the first results within days.
Nina De la Cruz is a content strategist at Getsitecontrol. She is passionate about helping small and medium ecommerce brands achieve sustainable growth through email marketing.
You’re reading Getsitecontrol usecase collection where we talk about the best practices for using website popups. This usecase is a part of null section.
If you want to grow your email list, adding an email opt-in form to your website is the first step. When timed well and tied to a clear benefit, it converts casual visitors into subscribers you can reach again.
Depending on the format, timing, and incentive, opt-in forms convert between 1% to 8% of website visitors, on average. This translates into 1 to 8 new email subscribers for every 100 people who visit your site.
As a website owner, you need a simple way to publish sitewide updates — and know visitors will actually see them. Announcement bars solve this problem by staying visible at the top or bottom of the page as people browse, without interrupting the experience.
Sticky bars help visitors immediately see discount codes, sale announcements, shipping thresholds, and service updates without searching or contacting support. This format works particularly well on mobile, where screen space is limited.
Are you looking for a way to improve the visitor experience on your website and collect feedback? Here's something to help you easily create eye-catching popup surveys and target them for specific pages or audiences.
Subscribe to get updates
Get beginner-friendly tips for growing your online business.