Add email popups to your store
Start building your email list today.
Few list-building tactics are as efficient as a well-placed email popup. When the offer is right, and the timing is deliberate, Shopify email popups convert between 3-8% of visitors into subscribers — often on their first visit. What makes the difference is showing the right popup at the right moment.
Online stores use email popups in several formats, including welcome popups, exit-intent popups, scroll-triggered popups, and time-delayed popups. Each format suits a different visitor situation and conversion goal.
If you’re a Shopify store owner looking to grow your email list, GSC Email Marketing, Pop ups app is built for exactly that. The app integrates deeply with Shopify, comes with pre-built popup templates, and gives you full control over design, message, and timing.
You can create an email popup that is fully aligned with your branding and publish it on your website in minutes. Send new subscribers directly to your contact list, build segments, and set up welcome email automation. The app comes with a free plan, so you can see it in action at no cost.
The welcome discount is the most common starting point for email list building. First-time visitors who haven’t yet purchased are the highest-volume segment in any store, and an offer presented within the first few seconds gives them a reason to subscribe before they even start browsing. A percentage off, free shipping on the first order, or a small gift with purchase — all work well here. The format performs consistently across product categories and store sizes.
Exit-intent email popups appear at the moment a visitor’s cursor moves toward closing the tab. It creates the last chance to capture an email address before a visitor is gone. That address keeps the door open for email marketing to do what the first store visit couldn’t: turn a visitor into a buyer. Urgency-based offers and messaging that acknowledge the moment tend to work best here.
A visitor who has spent time on a page — scrolling through products, reading descriptions, comparing options — has already done something most visitors don’t: they stayed. Engagement-based popups take advantage of that signal, appearing only after a visitor has demonstrated interest. The result is a smaller but higher-quality subscriber segment. These visitors already know what the store is about before they see the invitation to join the list, which tends to translate into stronger email engagement rates down the line.
We used GSC Email Marketing, Pop ups to increase email subscriptions. Immediately — first day — we saw a major increase, and it has not stopped. The options and ideas provided are stellar, so easy to use.
Furniture & home decor brand shopifyNot every popup moment calls for the same offer. A first-time visitor who just landed on the homepage is in a different mindset than someone who has spent five minutes browsing and is about to leave — and the offer should reflect that.
For example, welcome popups convert well with a straightforward discount or free shipping incentive, because the visitor has no prior relationship with the store and needs a clear reason to subscribe. Exit-intent popups, by contrast, benefit from messaging that creates urgency because the visitor was already leaving, so the offer needs to work harder.
| Shopify email popup | Headline example |
|---|---|
| Welcome | Get 15% off your first order |
| Exit-intent | Don’t leave empty-handed! Grab 20% off for next time |
| Engagement-based | Enjoying what you see? Join the list for exclusive deals |
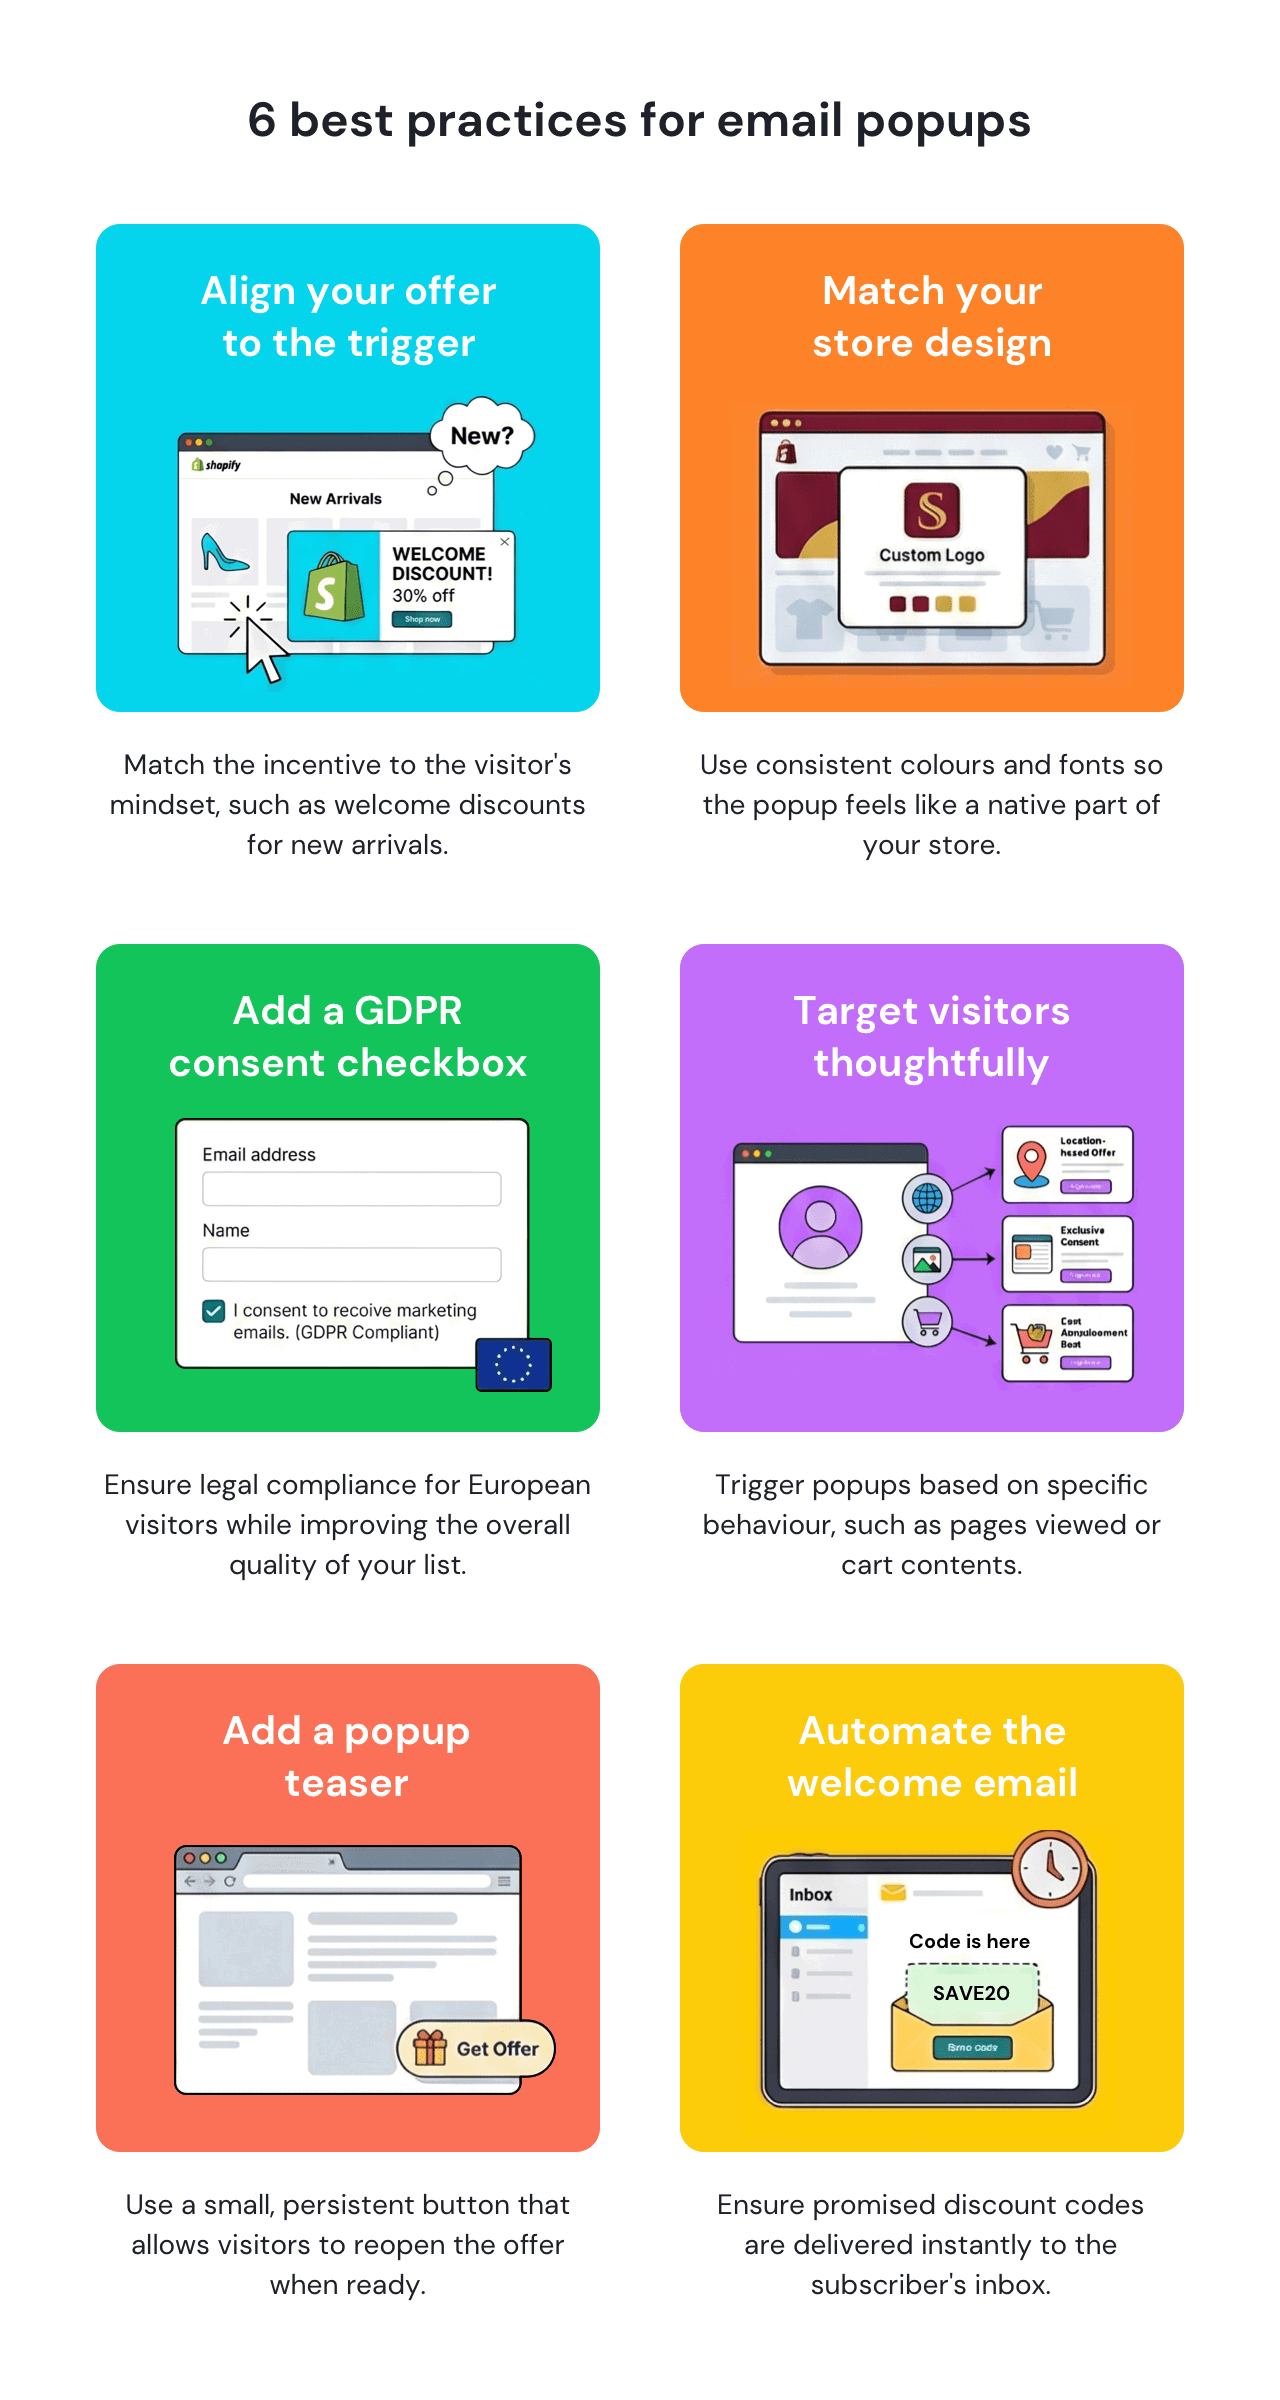
A popup that looks out of place erodes trust before the visitor has read a single word. When the colors, fonts, and imagery match the store, the popup feels like a natural part of the experience rather than a third-party interruption. That first impression directly affects whether a visitor engages with the offer or dismisses it. GSC’s popup editor gives you granular control over every visual element, so the popup can be made to feel native to any store design.
Stores with European visitors are legally required to obtain explicit consent before sending marketing emails. A mandatory GDPR consent checkbox added to the popup form satisfies that requirement at the point of email capture. Beyond compliance, it also improves list quality. Subscribers who consciously check a consent box tend to be more engaged than those who signed up without fully understanding what they were agreeing to.
Timing and targeting rules determine who sees a popup, when, and under what conditions. Getting those details right is often the difference between a form that converts and one that gets dismissed. For example, a store selling skincare can show a different email popup to visitors browsing anti-aging products than to those looking at SPF. Exit-intent popups can be configured to present different offers to the visitors who have added items to their cart and those who haven’t.
A visitor who closes a popup without subscribing is not necessarily uninterested. They may have been mid-scroll, distracted, or simply not ready at that moment. For this scenario, GSC Email Marketing app lets you add a popup teaser — a small, persistent button that remains visible after the main popup is dismissed. Teasers give visitors a way to reopen the offer when they are ready. They capture a portion of signups that would otherwise be lost, without showing the full popup again and risking frustration.
A subscriber who signs up for a discount code and doesn’t receive it immediately is likely to lose interest before making a purchase — or worse, mark the first email as spam when it arrives with a delay. With the GSC Email Marketing, Pop ups, you can set up a welcome automation directly in the dashboard, so the promised incentive goes out the moment someone joins your list, with no manual follow-up needed.
The first version of a popup is rarely the best-performing one. Three changes in particular tend to have an impact on conversion rate — and none of them require redesigning the popup from scratch.
The incentive is the highest-leverage element to test. Getsitecontrol’s research shows that popups with a promotional offer convert over 150% more than those without one. The strongest offer type varies by store and product category: percentage discount may outperform free shipping for one audience and underperform for another. Running both variations simultaneously is the only reliable way to find out, and GSC’s popup A/B testing handles the split automatically, so results are comparable without manual rotation.
A two-step popup replaces the immediate email field with a yes/no question — “Want 15% off your first order?” — and only reveals the form after the visitor clicks yes. A visitor who has already committed to yes is significantly more likely to complete the form than one who encountered it cold. Paradisefold, a Shopify fashion brand using GSC Email Marketing, Pop ups, sees nearly 18% of first-time visitors click through on the first step of their two-step welcome popup.
Adding a countdown timer to an email popup makes the signup offer feel time-limited rather than permanently available — and that urgency has a measurable impact on conversions. The tactic works particularly well on exit-intent popups, where a ticking clock gives a visitor who is about to leave a compelling reason to subscribe before the offer expires. GSC Email Marketing, Pop ups lets you add animated countdown timers to any popup’s layout, and it’s an element worth testing.
Conversion rates vary widely based on offer strength, trigger timing, and audience quality. According to Getsitecontrol’s research, email popups convert an average of 3.77% of desktop visitors and 6.57% of mobile visitors into subscribers — with top-performing campaigns reaching 20-25% on mobile and 15-20% on desktop.
The single biggest factor driving those numbers is the incentive. Popups with a lead magnet or promotional offer convert up to 155% more than popups without one on desktop, and over 100% more on mobile. After the incentive, format has the next largest impact: modal popups outperform slide-ins by up to 75% on mobile. Timing, design, and smaller UX details follow: adding an image increases email signup rates by 63%, while an opt-out button — giving visitors an explicit way to decline — lifts click-through rates by around 14%.
Consistent list growth comes down to three things working together: the right template, a compelling offer, and precise timing. GSC Email Marketing, Pop ups brings everything you need to create a winning email popup into one place: pre-built templates, deep Shopify integration, and built-in email automations that deliver the promised incentive the moment someone subscribes.
You can get started on the free plan and have your first popup live in minutes. Find the GSC Email Marketing, Pop ups app in the Shopify App Store and see how quickly it adds up.
Yes. GSC Email Marketing, Pop ups is available on the Shopify App Store and includes a free plan that covers popup templates, targeting options, and welcome email automations — enough to get your first popup live and start building your list without paying anything upfront.
The most effective upgrade for Shopify stores looking to collect more emails is switching from embedded signup forms to popups. From there, adding a lead magnet or discount offer to a popup can increase conversions by over 150%. Format matters too: modal popups consistently outperform slide-ins and sticky bars, particularly on mobile.
Discount codes and free shipping are the most effective incentives — popups with a promotional offer convert over 150% more than those without one, according to Getsitecontrol’s research. Percentage discounts work across most stores; free shipping tends to outperform for stores with higher average order values. Content-based incentives such as a buying guide or early access to a new collection work well for stores where discounting would undermine brand positioning.
Getsitecontrol’s research found that delaying a popup by at least eight seconds generates significantly more conversions than showing it immediately. For scroll-based triggers, top-performing popups appear after a visitor has scrolled at least 35% of the page. The ideal timing varies by store — a useful benchmark is to set the delay slightly below the average session duration, so the popup appears before most visitors leave.
Yes. The targeting rules in GSC Email Marketing, Pop ups let you display different popups based on visitor location, traffic source, pages viewed, cart contents, and new vs. returning visitor status. A visitor arriving from a paid ad campaign can see a popup tailored to that campaign’s offer rather than a generic welcome discount — which tends to improve both relevance and conversion rate for that segment.
It depends on whether the visitor has already subscribed. Returning visitors who are already on the list should never see the signup popup — most popup tools allow you to suppress it automatically for existing subscribers. For returning visitors who haven’t yet subscribed, showing the popup again is reasonable, though the frequency and offer may warrant adjustment.
Two tools address this at different stages. Google reCAPTCHA works invisibly in the background, blocking automated bot submissions before they reach your contact list — no visible challenge for real visitors. Double opt-in adds a second layer by requiring email confirmation before a subscriber is added, ensuring only valid, intentional signups make it into the list. Using both together provides the strongest protection. The GSC Email Marketing, Pop ups app includes both as built-in options on any email capture popup for Shopify.
Single opt-in adds a subscriber to your contact base the moment they submit the form. Double opt-in sends a confirmation email first — only those who click the verification link are added. The extra step makes the process more deliberate, resulting in a smaller but more engaged list with lower bounce rates and fewer spam complaints. Stores with European visitors or strict deliverability requirements generally favor double opt-in; single opt-in is a faster way to get the list moving.
Nina De la Cruz is a content strategist at Getsitecontrol. She is passionate about helping small and medium ecommerce brands achieve sustainable growth through email marketing.
Create popups for free
Collect emails, offer coupons,
run surveys, stop abandonment.
What better place to promote a discount than where shoppers are closest to making a purchase? Product pages are where customers compare options, evaluate products, and decide whether to add an item to their cart. A well-placed popup or banner makes your offer more visible at this critical moment, encouraging hesitant shoppers to take action.
Whether you’re offering a first-order discount, a limited-time coupon, free shipping, or another promotional offer, displaying it on the product page can increase conversions. Instead of manually reducing the prices of individual products, you can promote the same offer across selected products, collections, or vendors with a single targeted popup.
If you want to collect feedback from your paying customers, the best moment to do that is right after they make a purchase.
That’s what Shopify post-purchase surveys are for.
Most Shopify store visitors leave without buying — and without any indication of why. If you’re a store owner, the moment visitors are leaving is your last opportunity to capture an email address, prevent cart abandonment, or ask them what’s missing. With the right trigger and the right offer, Shopify exit popups can turn a session that would have ended with nothing into a conversion.
Subscribe to get updates
Get beginner-friendly tips for growing your online business.