Create welcome popups for free
Add popups to your website in minutes.
A welcome popup is a message that appears when someone arrives at your website for the first time. It greets new visitors with a targeted message — an offer, an invitation to subscribe, or a prompt to explore specific content. Regardless of the format, the goal is the same: engage first-time visitors at the moment of highest intent.
Welcome popups typically appear as modal overlays in the center of the screen, though they can also take the form of full-screen overlays or slide-ins. Most are triggered automatically on page load — either immediately or after a short delay — and can be configured to display only to first-time visitors.
If you run a website and want to add a welcome popup to capture the attention of a new audience, Getsitecontrol lets you do it without coding or design skills. You can use it for collecting emails, offering first-purchase discounts, driving attention to specific pages, or surveying your visitors. Just choose a template from the built-in gallery, adjust the design, and publish it on your website.
Email signup popups are among the most common welcome popup types. They typically offer a discount coupon, free shipping code, or a small gift with a purchase in exchange for an email address, giving visitors a strong reason to join the list before they start browsing the website.
This format makes particular sense if you rely on ads to drive website traffic. Instead of letting most visitors leave without a trace, a well-timed popup captures their contact details so you can nurture them toward a purchase via email. This approach turns ad spend into a list, not just a one-time visit.
Coupon popups are the go-to format for online stores that want to convert first-time visitors into buyers on the spot. Instead of asking for an email address, they display a discount code immediately — no form to fill out, no commitment required. Visitors see the offer, copy the code, and are more likely to follow through at checkout knowing a discount is waiting. This frictionless approach tends to drive higher immediate conversions, though it captures fewer email addresses than a form-gated offer.
Not every welcome popup needs to collect an email or deliver a coupon. Sometimes the most useful thing you can do for a first-time visitor is point them toward what’s happening on the site right now — a seasonal sale, a flash deal, a new collection, or any offer that’s too good to miss.
This format works particularly well when you’re running a promotion and want to make sure visitors find it before they navigate away. It removes the guesswork and gives new arrivals an immediate reason to explore further.
Sometimes, first-time visitors need a reason to trust the store before they’ll consider buying at all. A reassurance welcome popup addresses purchase hesitation upfront by highlighting what makes the shopping experience safe and reliable: returns policy, shipping speed, secure checkout, or customer support availability.
This format works particularly well for new brands and stores selling higher-ticket items. Removing doubt at the welcome moment can be more effective than a discount for visitors who are interested but hesitant — particularly those comparing options or buying from the store for the first time.
Multi-step popups start with a simple yes/no question before revealing the discount code or asking for an email address. The logic is straightforward: visitors who click “yes” have already expressed interest, so whatever comes next — a discount code, a signup form, or both — feels like a natural next step rather than an interruption.
This small shift in structure tends to reduce abandonment noticeably. The first screen requires no personal information and takes a single click, which lowers the barrier to engaging.
Survey popups take a different approach to the welcome moment. Instead of assuming what the audience wants and leading with an offer, they let you ask what your visitors are actually looking for. This makes welcome surveys especially useful for newer brands still learning about their customers.
A survey popup can work on its own as a standalone feedback tool, or it can lead to a second screen — an email signup form, or a product recommendation based on what the visitor selected. Either way, the answers can feed into segmentation and personalization logic, making follow-up emails and suggestions more relevant.
Conversion rates among welcome popups vary based on the offer, the audience, and the format. The figures below are drawn from Getsitecontrol’s analysis of over 200 popups across ecommerce stores and content websites.
Mobile popups consistently outperform desktop: email signup popups convert an average of 6.57% of mobile visitors compared to 3.77% on desktop. Popups with images convert 63% more visitors than those without, making visual design one of the highest-leverage variables to test. Adding an opt-out “No thanks” button increases engagement by around 14%, likely because it makes the offer feel less pressured.
| Welcome popup type | Desktop | Mobile |
|---|---|---|
| Email signup with no offer | 1–3% | 3–5% |
| Email signup with a discount | 4–7% | 6–10% |
| Click-to-copy coupon | 3–5% | 5–8% |
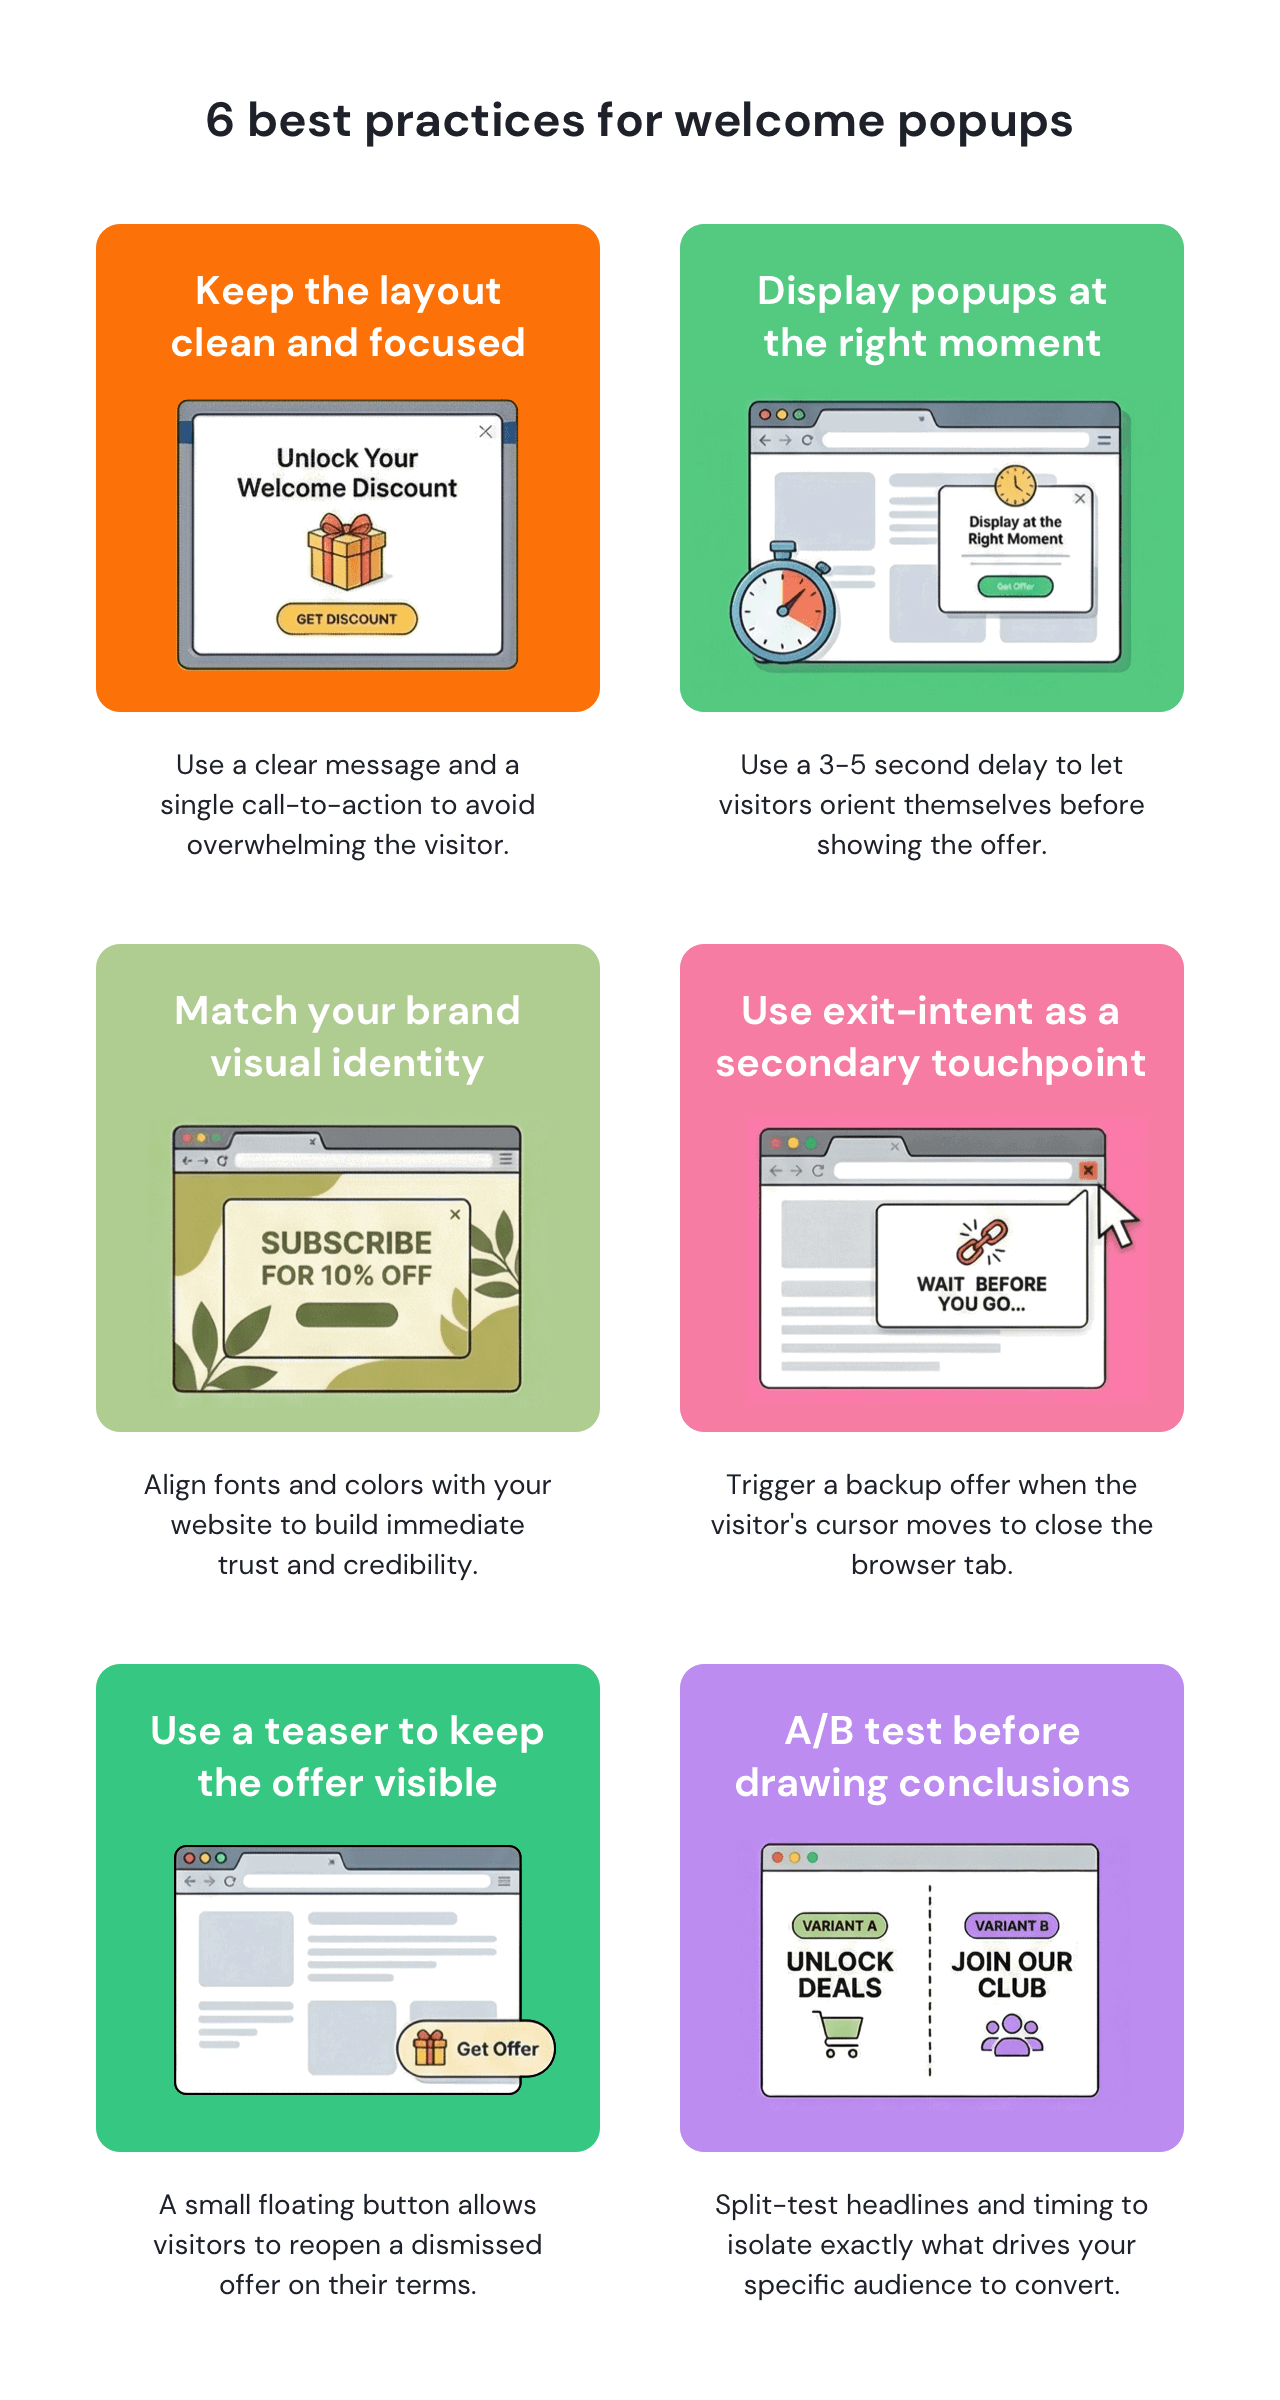
Popups with a clear message and a single CTA consistently outperform cluttered designs. Removing secondary links, competing copy, and decorative images that don’t support the primary action can help improve conversion rates without changing the offer itself.
A popup that uses the same fonts, colors, and tone of voice as the rest of the website feels like a natural part of the experience. Mismatched popup designs create visual friction on first visits, especially when brand credibility is still being established. The CTA button performs best when it visually separates from the background, while staying within your branding color theme.
When a visitor closes the welcome popup, the offer doesn’t have to disappear entirely. A teaser — a small floating button that remains visible on the page after the popup is dismissed — gives visitors a way to reopen it on their own terms. Whether they closed the popup accidentally or just weren’t ready, the option stays available without interrupting their browsing.
The teaser button label should reflect the offer: for example, “Get 15% off” or “Your welcome offer” work well to entice visitors to take a second look. Getsitecontrol lets you add a teaser to any popup in a couple of clicks, so your offer stays accessible.
A welcome popup displayed to returning visitors or existing subscribers delivers no value and risks irritating users who have already taken action. Targeting rules that exclude known subscribers and returning visitors keep the experience relevant. A 3-5 second delay reduces dismissal rates by giving visitors time to orient themselves before the popup appears — though immediate display works well for discount popups where the offer is relevant from the first second.
Exit-intent popups are displayed when a visitor’s cursor moves toward the browser’s close button. Adding this as a secondary trigger reaches visitors who dismissed the initial welcome popup — or never saw it — just before they leave. The two triggers run independently and can carry different offers tailored to where the visitor is in their session.
Small changes to headline copy, offer amount, button label, or display timing often have a measurable impact on conversion rates. Running two variants simultaneously — with traffic split evenly — isolates which variable is driving the difference. Getsitecontrol includes a highly versatile popup A/B testing feature, so you can optimize your welcome offer right within the platform.
If you’re ready to start capturing emails and sharing promotional offers with first-time visitors, Getsitecontrol has everything you need in one place. It works on any website platform — Shopify, WordPress, Wix, Squarespace, and others — and requires no coding. Pick a template, customize the copy, adjust colors, and publish a welcome popup on your website.
Getsitecontrol’s template library covers all common welcome popup types: email signup forms, coupons, multi-step offers, pop-up surveys, and announcements. Each template is fully customizable and comes with targeting settings built in — so you can show the right popup to the right visitors from day one. A free plan is available with no time limit and no credit card required.
Getsitecontrol has significantly improved the way I communicate with my audience, capture leads, and promote offers. The widgets are beautifully designed, easy to customize, and integrate seamlessly with my website. Switched from Klaviyo for easy setup and better design.
Building Materials Store Owner capterraA welcome popup performs best with a direct headline that states the offer, one sentence of supporting context, and a single call-to-action. Visitors scan rather than read — every additional line of copy increases the chance they’ll close the popup without acting.
Immediate display works well for discount and coupon popups, where the offer is relevant to any first-time visitor regardless of how long they’ve been on the page. A 3-7 second delay tends to reduce dismissal rates for email signup popups and surveys, giving visitors a moment to understand what the site is about before the popup appears.
Getsitecontrol supports on-site visitor targeting by traffic source, geographic location, device type, or pages visited. A visitor arriving from a paid ad can see a different welcome offer than one arriving from organic search, and a mobile visitor can see a simplified version of the popup designed for a smaller screen. You can also stack multiple conditions together for more precise audience targeting.
Two approaches are standard. The code can be displayed on a confirmation screen within the popup immediately after form submission — this is the lower-friction option. Alternatively, the code can be delivered by email using an automation connected to the popup’s signup form.
A welcome popup appears when a visitor first arrives on the site. An exit-intent popup is triggered when the visitor shows signs of leaving — typically by moving their cursor toward the browser’s close button. The two can run together: the welcome popup runs on arrival, and the exit-intent popup serves as a recovery offer for visitors who didn’t convert.
Nina De la Cruz is a content strategist at Getsitecontrol. She is passionate about helping small and medium ecommerce brands achieve sustainable growth through email marketing.
Create popups for free
Collect emails, offer coupons,
run surveys, stop abandonment.
As a website owner, you need a simple way to publish sitewide updates — and know visitors will actually see them. Announcement bars solve this problem by staying visible at the top or bottom of the page as people browse, without interrupting the experience.
Sticky bars help visitors immediately see discount codes, sale announcements, shipping thresholds, and service updates without searching or contacting support. This format works particularly well on mobile, where screen space is limited.
A survey popup is a short feedback form that appears over website content at the moment of your choice. It can be triggered by time on page, exit intent, or a completed action — capturing feedback while it’s most relevant, before the experience fades.
Collecting feedback in the moment is what separates pop-up surveys from email surveys and standalone feedback tools. A visitor who just abandoned a cart can explain why while the friction is still fresh. A customer on the order confirmation page can tell you how they found you and what made them choose you over alternatives.
Discount popups are among the easiest conversion tools available to Shopify merchants. A well-timed offer gives hesitant visitors a reason to act — whether that’s completing a first purchase, returning to an abandoned cart, or joining an email list.
Subscribe to get updates
Get beginner-friendly tips for growing your online business.