Create email opt-in forms for free
Add opt-in form to your website within minutes
If you want to grow your email list, adding an email opt-in form to your website is the first step. When timed well and tied to a clear benefit, it converts casual visitors into subscribers you can reach again.
Depending on the format, timing, and incentive, opt-in forms convert between 1% to 8% of website visitors, on average. This translates into 1 to 8 new email subscribers for every 100 people who visit your site.
You can add an email opt-in form to your website for free using Getsitecontrol — a simple email marketing tool for small businesses. Start with a template, tailor the text and visuals to your brand, and publish it where it fits naturally into your visitor journey.
Most successful websites use a combination of 2-3 email opt-in form types, strategically placed throughout their website: for example, one pop-up form, one floating bar, and one inline form.
Pop-up email opt-in forms appear directly over website content. Because they interrupt the browsing experience, they work best when paired with a compelling incentive: a welcome discount, early access, or a limited-time offer.
Popup designs range from fullscreen overlays to smaller slide-ins and modals. For a less intrusive experience, some websites use teaser-style popups that visitors can reopen when they’re ready to interact. In general, popups perform best when the message feels relevant to what visitors are already doing — for example, browsing products, reading an article, or preparing to leave the site.
Floating bars, also known as sticky bars, are slim banners that remain fixed at the top or bottom of the screen as visitors scroll through your website. They provide persistent visibility without blocking content, making them ideal for ongoing list-building campaigns.
The advantage of sticky bars is their balance: they stay visible throughout the browsing session without interrupting the experience, the way a popup might. A common practice is to start displaying a bar right after a visitor has landed on your website. Effective floating bars use extremely short copy — 5 to 8 words maximum — with colors that match your branding.
Inline forms blend naturally into a page layout without interrupting the visitor’s experience. With Getsitecontrol, any form template you choose can be displayed on your website as a popup, or embedded statically within the content of your website pages.
Inline forms convert best when placed after you’ve delivered value. For example, if someone has just read your entire blog post or scrolled through your product details, they’re more likely to be willing to hear from you or your brand. In these scenarios, the signup feels like a natural next step rather than an interruption. Effective inline forms match the visual style of surrounding content and use contextual copy that references what visitors have been reading or browsing.
Across hundreds of websites we’ve observed, email opt-in forms consistently deliver strong signup rates. For example, pop-up email opt-in forms convert 6.57% of visitors on mobile and 3.77% on desktop, on average. Top-performing forms reach 20–25% conversion rates, particularly when shown as modal popups and paired with a strong incentive.
Conversion rates depend less on format alone and more on how well the form aligns with visitor intent. A clear, compelling incentive makes a measurable difference, as does timing — forms shown after genuine engagement tend to outperform those that appear immediately. Above all, relevance drives results: the closer the offer matches what visitors are already interested in, the higher the likelihood they’ll subscribe.
| Form type | Average signup rate | Best used for |
|---|---|---|
| Pop-up | 4-7% | Limited-time offers and welcome discounts |
| Floating bar | 0.5-2% | Ongoing list-building campaigns, persistent visibility |
| Inline | 0.5-1% | Post-content signups, blog posts, product pages |
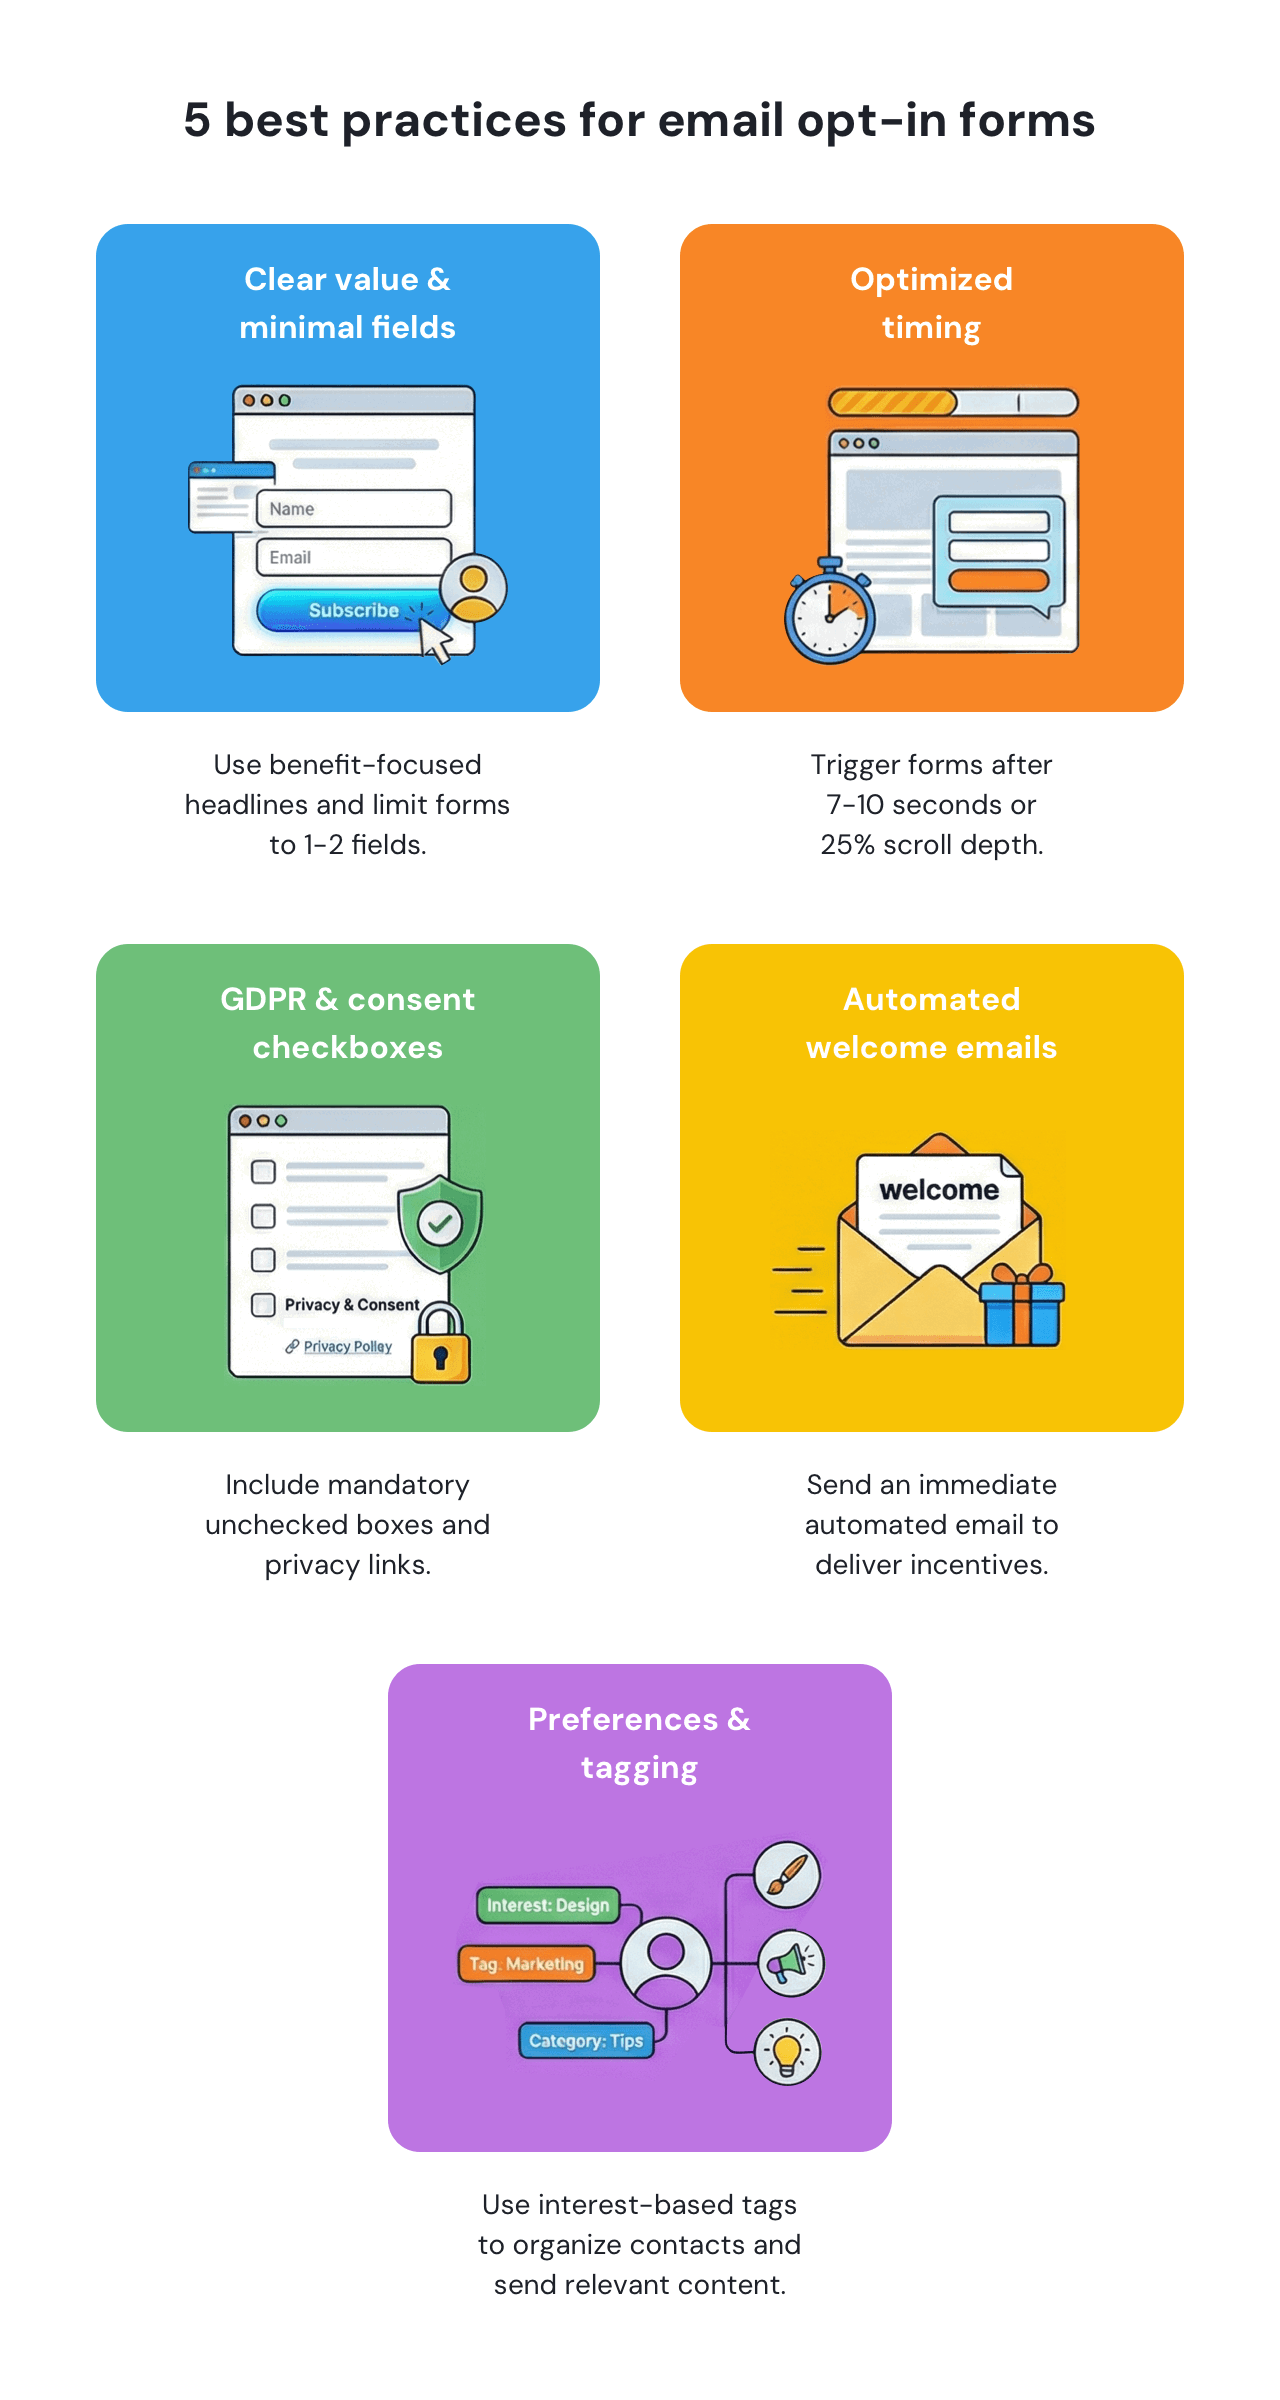
Your opt-in form should make the benefit obvious in the first line. “Get 10% off your first order” will almost always outperform a vague “Join our newsletter” because it tells visitors exactly what they’re signing up for.
High-performing forms stay lightweight — most collect just an email address, optionally a first name. Visually, effective forms feel like part of the website rather than an add-on, using brand colors and fonts with imagery that reflects actual products rather than generic templates.
Timing matters because an opt-in form performs best when it appears after a visitor has shown real interest. A form that shows up immediately can feel intrusive; one that appears too late won’t be seen at all.
In practice, that means calibrating triggers to behavior. A short delay gives visitors time to orient themselves before responding. Scroll-based forms perform better after someone has engaged meaningfully with the page. Exit-intent popups capture attention at the moment of departure. The objective isn’t maximum volume, but attracting subscribers whose interest is already established.
Whether you have visitors from the EU or not, it’s a good practice to follow the GDPR requirements and ask for explicit consent when inviting visitors to join your list. This means a mandatory unchecked box that explains what someone is agreeing to, with a link to your privacy policy.
Consider using double opt-in confirmation as well: it sends an email asking subscribers to verify their address before they’re added to your list. While it adds a step, it filters out fake addresses and keeps your list clean. Even when GDPR doesn’t apply, transparency builds trust. Let visitors know what emails they’ll receive, how often, and include “You can unsubscribe anytime.”
Giving subscribers a say in what they receive leads to better engagement and fewer unsubscribes. Simple preference choices — email frequency, content type, or topics of interest — set expectations early and filter intent naturally. Keep options simple: one or two relevant questions work better than overwhelming people with choices.
Use automatic tagging to organize subscribers from the moment they join. Someone interested in home decor tips shouldn’t receive the same emails as someone who only wants new arrival notifications. Tags help you build targeted segments for automations and campaigns without manual work.
When someone joins your list, the best next step is to send a welcome email and thank them for subscribing. This email confirms their subscription, delivers any promised incentive (like a discount code), and sets expectations for future emails.
Welcome emails have significantly higher open rates than regular campaigns because people are expecting to hear from you right after signing up. Use this moment to make a strong first impression and guide them toward the next step, whether that’s making a purchase or exploring your content. You only need to set up this email automation once, and it will run on autopilot.
Growing a list is a long-term effort, but a well-designed email opt-in form helps you build momentum faster. The templates and principles covered in this guide are designed to capture attention, set clear expectations, and turn interested visitors into subscribers you can actually engage.
With Getsitecontrol, opt-in forms, welcome emails, and ongoing campaigns work together as a single flow. Instead of treating email capture as a standalone tactic, you can connect signups to follow-up emails, tag and segment subscribers automatically, and refine performance over time based on how real visitors respond.
The result is a system that doesn’t just collect email addresses, but supports consistent, relationship-driven growth.
If you run an online store, try your homepage, product pages, and thank-you pages. If you’re a blogger or a service provider, embed your opt-in forms below blog posts, in the footer, or use delayed popups. In both cases, focus on your visitor journey and pages with high engagement. Pages where visitors spend more time or show intent tend to produce higher-quality subscribers than low-context placements.
In Getsitecontrol, you can easily add a consent checkbox to the email opt-in form. This typically includes linking to your privacy policy and clarifying how their data will be used. Clear consent not only supports compliance but also builds trust before the first email is sent.
Yes. You can include preference fields in your opt-in form — such as interests, content types, or email frequency — and group subscribers based on their selections. This allows you to send more relevant emails that match what people actually signed up for.
To get more people to subscribe via your email opt-in form, make sure it remains visible and communicates the value of joining your list. To boost signup rates, offer an incentive that makes sense for your visitors, such as a discount, a gift, or exclusive content. Design your form with mobile visitors in mind, keeping it short and easy to fill out.
Yes, you can. Getsitecontrol lets you set up an automated welcome email that’s sent as soon as someone fills out the form, or with a slight delay. You can use a pre-designed email template or write your own message to thank subscribers and let them know what to expect next.
Research shows 1-2 fields perform best. Collect email address (required), optionally first name, and use pre-filled checkboxes or radio buttons for email preferences. Each additional field can decrease signup rates, so only ask for information you'll actually use.
Both formats serve different purposes. Popups work well for time-sensitive offers and immediate visibility, while inline forms feel more natural within content-heavy pages. Many high-performing websites use a combination of two or three opt-in form types to reach visitors at different moments.
Using CAPTCHA and double opt-in confirmation helps filter out fake or invalid email addresses. These measures protect list quality without significantly impacting genuine subscribers. A cleaner list also improves deliverability and long-term email performance.
Nina De la Cruz is a content strategist at Getsitecontrol. She is passionate about helping small and medium ecommerce brands achieve sustainable growth through email marketing.
Create popups for free
Collect emails, offer coupons,
run surveys, stop abandonment.
A welcome popup is a message that appears when someone arrives at your website for the first time. It greets new visitors with a targeted message — an offer, an invitation to subscribe, or a prompt to explore specific content. Regardless of the format, the goal is the same: engage first-time visitors at the moment of highest intent.
Most visitors will leave your website without converting. That’s normal, especially for first-time visitors who are still comparing options, browsing products, or researching solutions.
Exit-intent popups give you one last opportunity to engage those visitors before they leave. These popups appear when a visitor shows signs of leaving the page — for example, moving their cursor toward the browser bar on desktop or quickly scrolling upward on mobile.
If your website uses analytics, marketing, or personalization cookies, you need a cookie consent message to inform visitors. It typically appears as a banner, bar, or small slide-in notification that explains your cookie policy and allows visitors to acknowledge it.
Depending on your region, displaying a cookie notice may be required under regulations such as the EU ePrivacy Directive and GDPR. But even where it’s not mandatory, most websites use cookie banners to maintain transparency and build trust with visitors.
Subscribe to get updates
Get beginner-friendly tips for growing your online business.